(( Beginner Tutorial )) Zipper Bracelet
| Table of contents |
|---|
| 1 - Introduction 2 - Materials and Set Up 3 - Step by Step 3.0 - Step 1 3.1 - Step 2 3.2 - Step 3 3 - Tips 4 - Example images 5 - Videos |
Introduction
This bracelet is easy and quick. Looks just like a real zipper. This bracelet would be easy for beginners learning forward backward knots. HAPPY KNOTTING!
Materials and Set Up
3 strings, all different colors. One string you will NOT see in the bracelet.
Red, yellow, and blue will be used as an example.
Order your strings: Red, yellow, blue.
Step by Step
There is a pattern for this tutorial:
Step 1
Take your red string and tie a forward/backward knot with it onto yellow. Then tie a backward/forward knot onto yellow so that the red string is back on the far right. You could also take the red string and make half a forward knot, leave it and go to the blue string.
Step 2
Take your blue string and tie a backward/forward knot with it onto yellow.Then tie a forward/backward knot onto yellow so that the blue string is back on the left. You could also, after you take the red string and do that, you take the blue string and put a backwards knot on the red string. You have completed one knot.
Step 3
Repeat steps 2 and 3 until the bracelet it as long as you'd like.
Tips
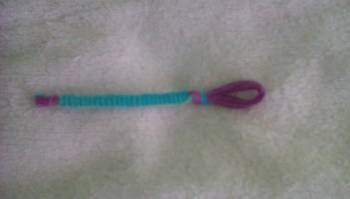
Try using 2 strings, and doubling them up. This way, you have a loop to tie off on after and your bracelet is a little thicker since you are knotting around two strings instead of one. Plus, at the end you have 4 strings to braid or just tie off with.
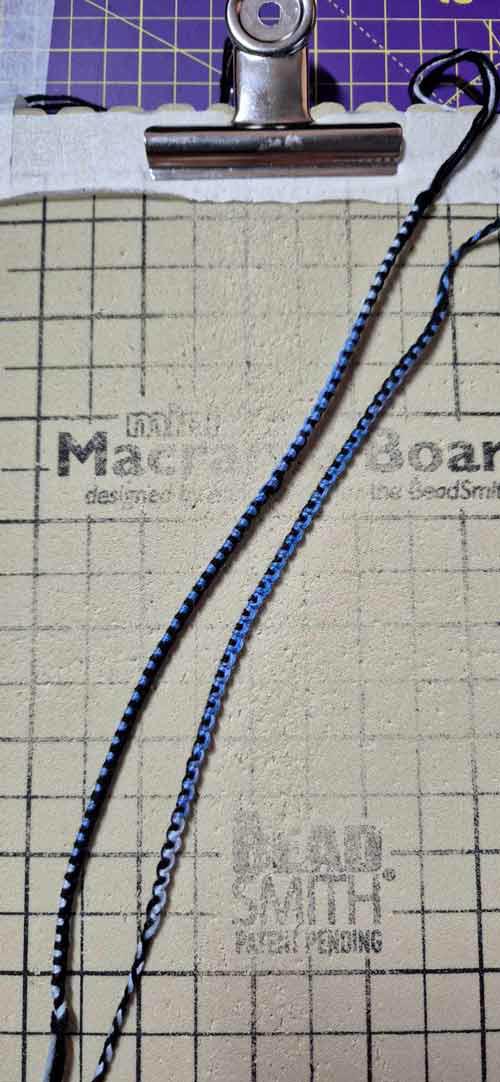
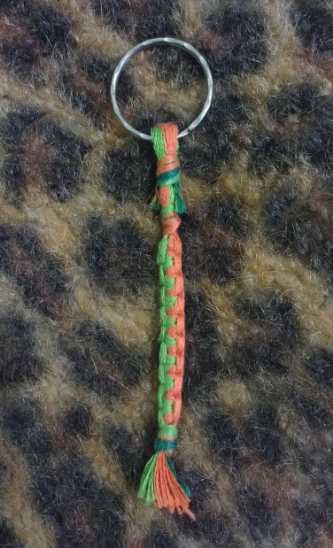
Example images


Videos
Editors
The original author of this tutorial is kallum but it was also edited by Stefan, Becca_roo, happybunny, tazemaster, usr24357, Sareana, Jeckle, Matina, CandyAce, Kestrel, Danduna2, Alicat, mysterytour, Masha_Knots and kleinevos.
Uploaded photos (see all 54)
Comments