(( How to... )) Everything For Beginners
Introduction
If you are a beginner, there are a few things to know before you get started.
Basic Knots
To make any friendship bracelet, you'll need to know the 4 basic knots. They appear in all of the bracelets. They are the Forward Knot, Backward Knot, Forward Backward Knot and the Backward Foward Knot. For more info on how to make the basic knots, look at the tutorial on Knots used for Bracelets
Materials
There are several different mediums available to use when making friendship bracelets.
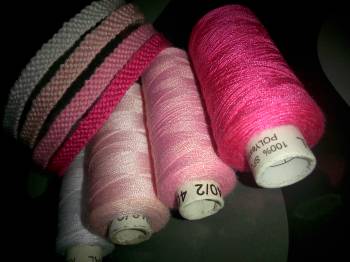
Embroidery Floss
Embroidery floss, such as Anchor, DMC, or J&P Coats is the most widely used thread for making bracelets. It's 6 stranded, 100% cotton, usually has a luster, and can be separated to make smaller bracelets. When knotted up, the knots look smooth.
Craft Thread
This is an economical version of embroidery thread. It's 6 stranded and smooth, and it's almost always cheaper. Craft thread is usually bought in packages, and colors are more limited than embroidery thread. Craft thread is a lower quality, so it constantly breaks if pulled too hard. Craft thread has no shiny aspect to it.
Rayon: Usually made by DMC, rayon is a silky material. If comes in fluorescent colors as well. Rayon is incredibly hard to keep tied, so it's not recommended for use in bracelets, especially without regular cotton thread to keep it together.
Pearle Cotton
Pearle cotton is available in several different sizes. It has a decent variety of colors. It can be bought in economical packs, which have the same drawbacks as craft floss. Pearle Cotton thread looks as though it's twisted throughout the string, so when braided, it looks almost textured.
Yarn
Mercerised cotton works best. That comes in many thicknesses, from very thick to very thin. Size 10 is thinner than floss, size 3 a little bit thicker. Size 5 is the same size as floss. Acrylic yarn can be used too.
More info on string can be found in the tutorial on String types
Reading Patterns
If you look, there are a bunch of diagrams showing you how to make the bracelets. The things you need to know are: Always do two knots, or your work will twist; work row by row or diagonally ( A faster way to tie ) and know the symbols for the knots. The arrow slanting right is the Forward knot, the one slanting to the left is the Backward knot. An arrow changing direction to point toward the left is a forward backward knot, and an arrow changing direction to the right is a backward forward knot.
Generator
The generator is an awesome tool that lets you create your own patterns and learn how to make them. There are 3 types of generators:
Normal Pattern Generator
Alpha Generator
Kumihimo Generator
To change the strings in the normal pattern generator, you click the + on the left hand corner, and to subtract click the - that is right next to the plus. To change color, you can click the top of the thread to change them, there will be a pop-up where you can pick your color, and PRESTO! you did it!
The alpha generator lets you create alpha patterns. You create the shape of the pattern you want with the code for your color you want. These patterns are usually used images and names, although name patterns won't be accepted by the moderators. Name patterns can be made using the font patterns on the site. Fonts can be found typing in the word "font" or "alphabet" in the search bar, selecting alpha, and hitting search. Keep in mind that Alpha patterns are made differently than normal patterns.
Patterns
There are 2 types of patterns: Regular and Alpha. Both of them are super easy to make and generate. The basic difference between alphas and normal bracelets is the way that they are tied.
A normal pattern has a diagram. To read the diagram, use the colors at the top of the bracelet diagram. You should always pair up all the strings. One knot will always be tied over it's neighbor string. The little triangles on the sides mean to leave the first and the last string. These skip a row and are used in the next row again.
An alpha pattern has a grid. Instead of tying one knot over it's neighbor, you tie the background string over all the letter strings. To make the image, tie the letter string over the background sting when it's time to use the letter string. The letter string knots should be the opposite knots used for the background string in that row. For further help on alpha bracelets, check out the tutorials on alpha patterns and multicolour alpha patterns.
Easy Patterns
7112
34744
9793
7124
5383
1
36911
33342
27979
35297
33132
32577
31758
26903
26109
23918
Video
Basic Knots
This girl has an excellent tutorial on doing the four basic knots in patterns.
Editors
The original author of this tutorial is superc but it was also edited by Gracie04, Carrie, Freakyy, Foz, Kestrel, k_marie, Alicat, Dodadoo, kleinevos and ManiJJManillas.
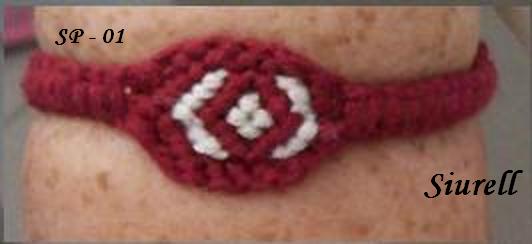
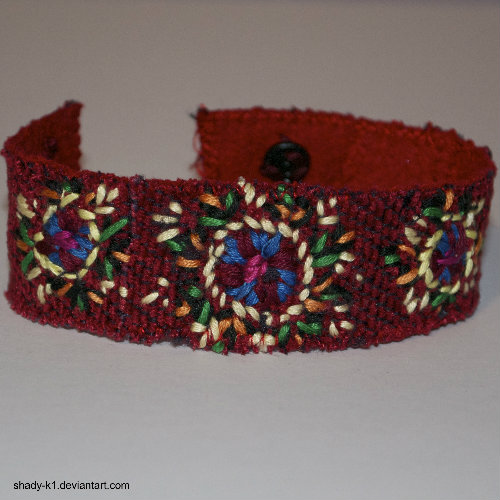
Uploaded photos (see all 5)
Comments