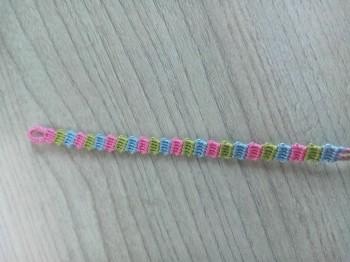
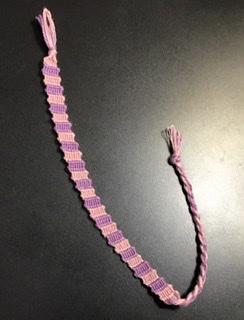
(( Bracelets )) Flip Flop Zig Zag Friendship Bracelet
__________________________________________
Introduction
Bracelet: Flip Flop Zig Zag.
Difficulty: Easy/Moderate.
Looks good with: An even number of strings.
You need to know how to do: Forward Knots (f/k) and Backward Knots (b/k) REMEMBER: TIE DOUBLE KNOTS! (like usual)
It helps that you know how to make the: Diagonal/Candy Stripe, Snake Zigzag.
Materials
8 strings, 4 colors, 2 strings of each color. Each string should be 3 feet (36 in.) This bracelet uses a lot more string than expected. Make strings longer for larger wrists.
Example: 8 strings, 2 red, 2 yellow, 2 green, 2 blue.
---------------------------------------------------------------------
Step by Step
Step 1
Order your strings: Red, red, yellow, yellow, green, green, blue, blue(R,R,Y,Y,G,G,B,B) .
Step 2
Tie a f/k with the first red onto the other red. Tie another f/k onto the first yellow, followed by the second yellow. Tie f/k with the first red strings all the way across your other strings. Do this with the second red strings as well.
Step 3
Now that you have done 2 rows with your red strings, FLIP THE BRACELET OVER, so it's upside down. I know, that sounds funny, but that's what you have to do. Now do 2 rows of f/k with your red strings again. (Flipping the bracelet over should return the red strings to the left side.)
Step 4
Now that you have 4 rows of red, flip the bracelet over AGAIN. Do 2 MORE rows of f/k with your red strings. You should have 6 rows of red now. So what you have done, is you did 2 rows of a color, flipped the bracelet over, did 2 more rows, flipped the bracelet over again, did you more rows, and that all you need to do..... for now.
Step 5
Your red rows should have formed a "circle" like shape. Now take your first yellow string and tie b/k all the way across. Do this with your other yellow string as well. Every time you do 2 rows, flip your bracelet over, even if you change colors. Flip the bracelet over, and do 2 more rows of b/k. Flip the bracelet over again, and do the last 2 rows of b/k with yellow. There should now be 6 rows of red, and 6 rows of yellow as well. Do what you did with red to green. Do what you did with yellow to blue. Continue doing these steps until the bracelet is as long as you like. Remember to flip your bracelet over every 2 rows, but it definitely won't ruin your bracelet if you forget.
__________________________________________
Videos
__________________________________________
-----------------------------------------------------------
Alternative Tutorial
Materials and Set Up
Number of Strings:2 of each color
Number of Colors:as many as you want
Length for each string: 65 inches
Order of Strings: AABBCC
-------------------------------------------------------------------
Step by Step
Step 1
Take the strings and tie a knot a the top.
Step 2
Make forward knots until you reach to the last strand. (do that with both strings of that color.)
Step 3
Flip the bracelet over and do forward knots.
Step 1
Repeat steps until the length of your bracelet is enough
__________________________________________
Alpha Version
Basically this is the same as a regular alpha, except you flip the bracelet over after each row. I learned how to make this from my best friend, so I'm not sure where she got the idea from! All these pictures are from her and of her bracelets, so the credit goes to her! Hope you enjoy!
If you don't know how to make a regular alpha bracelet, click here: https://www.friendship-bracelets.net/tutorial.php?id=3750
Materials and Set Up
-2 different colors: however many of the color for the words to make your bracelet however wide you want, and one very long string like you would use for a normal alpha. I usually just use the skein.
-You set this bracelet up just like a normal alpha.
-------------------------------------------------------------------
Step by Step
Step 1
Start your bracelet however you want! My friend was lazy, so she just taped down her strings! Notice that you have several shorter strings (12 purple ones in her case) and one long one, the yellow.
Step 2
Next you will just knot your first row! You'll tie forward knots with the yellow around all the purple ones.
Step 3
Now you will flip the bracelet completely over and tie another row of forward knots with the yellow.
Step 4
You'll just keep flipping and knotting for however long you just want the yellow background.
Step 5
Now, when you want to start with letters or a pattern or something, you will do the same thing as a normal alpha. You'll just tie a backward knot with the purple around the yellow. And then you just keep going.
Well, that's about it! You just keep going like this, and remember to flip after every row. I personally think this is a little easier than a regular alpha, but everyone is different. Again, all the pictures are ones my friend gave to me when she was explaining it to me So I hope they help!
_____________________________________
Editors
The original author of this tutorial is kallum but it was also edited by Stefan, Geyn, DancingTurtle, Jeckle, totoro113, k_marie, Dodadoo, usr58785, Foz, gerbilsrawesome, jeany115, Alicat, kleinevos and halokiwi.
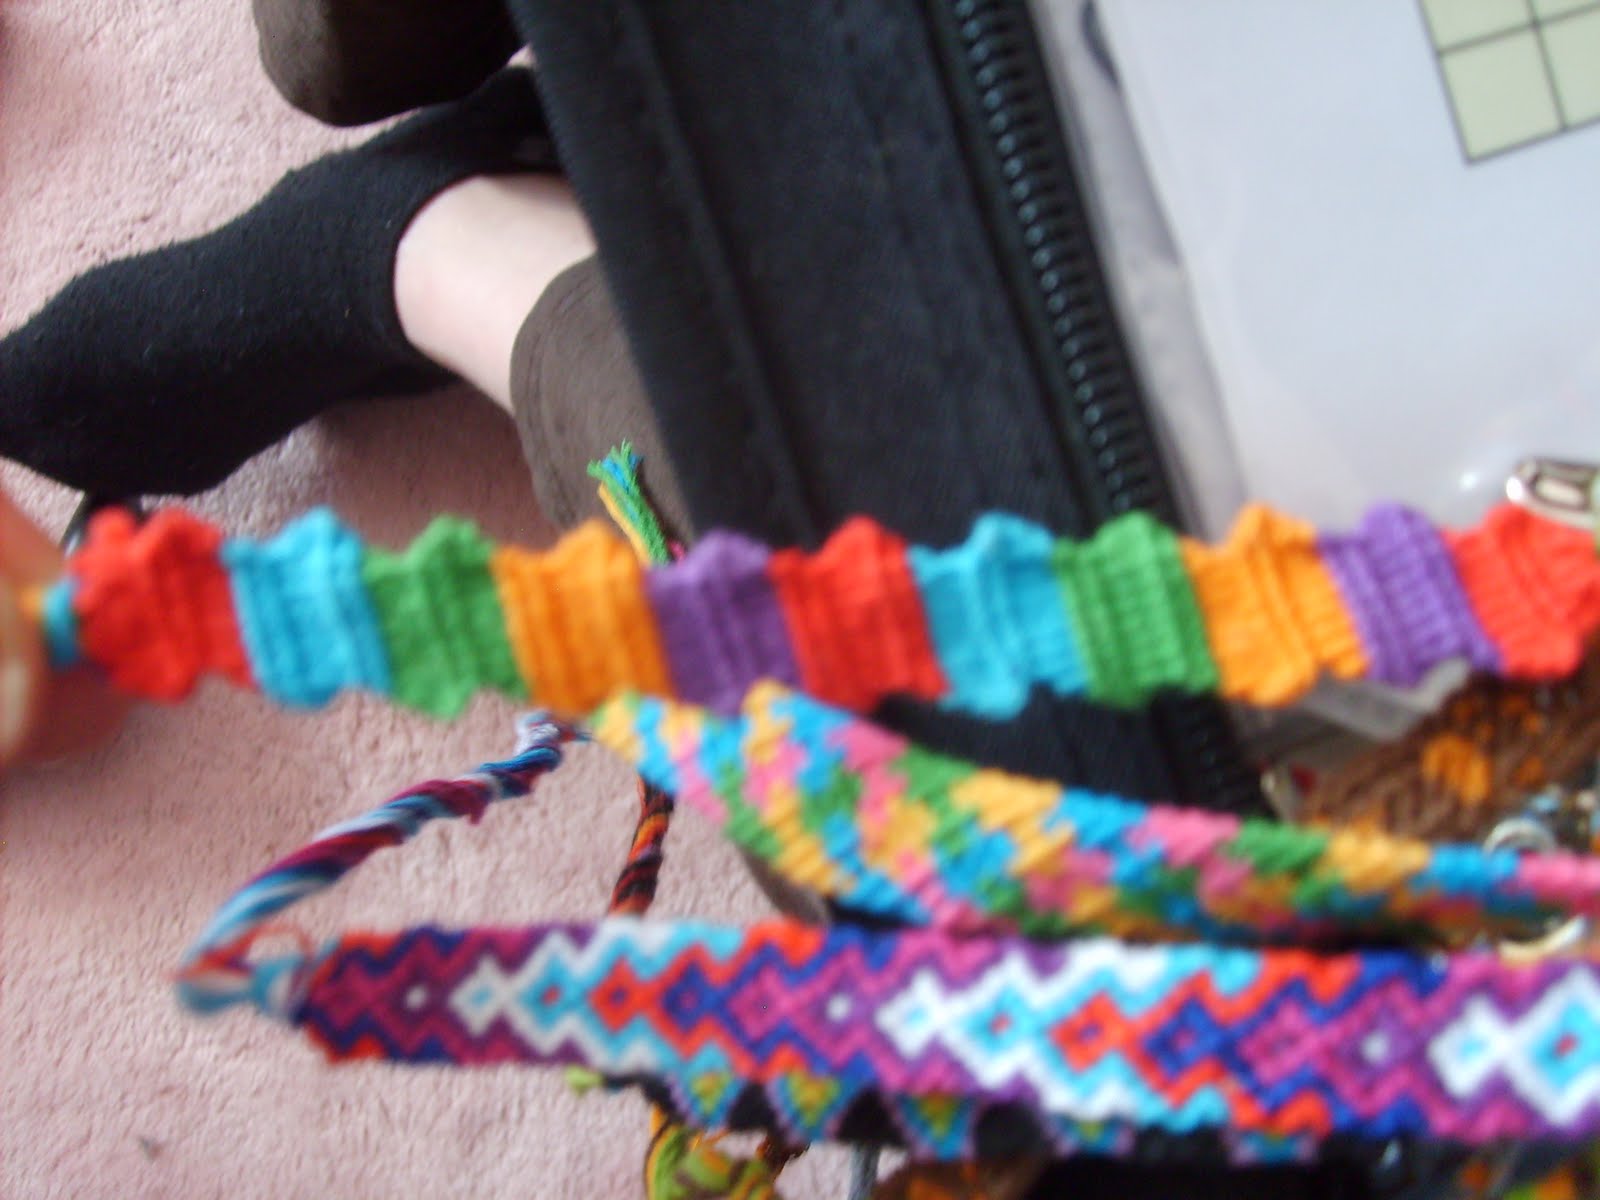
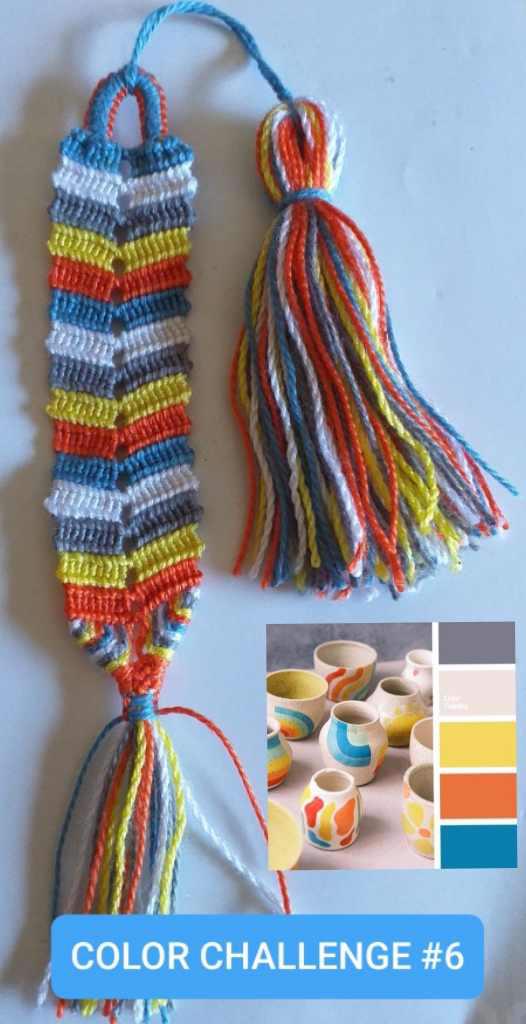
Uploaded photos (see all 269)
Comments