(( Bracelets )) Zigzag with a pattern
There are several tutorials about making a zigzag-bracelet:- with horizontal stripes
- with a border
- same without a border
- with vertical stripes
- with double zigzag
- 3d shaped zigzag
- flat spiral zolino
- with a zolino-like design: new zigzag
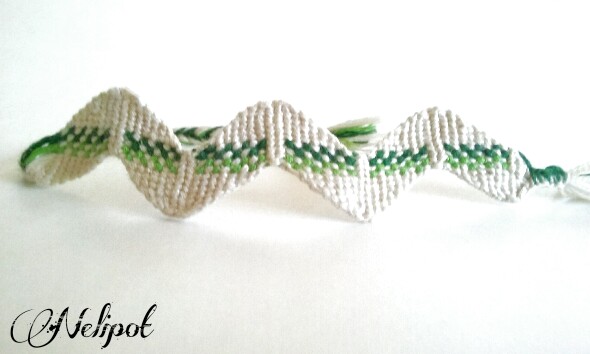
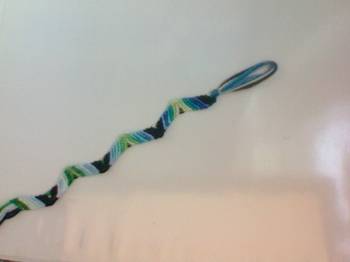
This zigzag differs from the other zigzag-designs only because it uses a (normal) pattern. Any normal pattern will do, and even small alpha-patterns are possible.
To start you need to pick part of a pattern (I will be using an existing normal pattern) and line up your strings according to the diagonal line in the pattern, instead of a horizontal line, like you would normally do:
I will be using the part of the pattern (#83045) that's in between both red lines ( picture top right )
To make the bracelet, you need to mirror that part every time you turn the other way/make the corner.
Pattern:

1 and 2
Start with a buckle or braids.
Start knotting halfway the part of the pattern you've chosen, to get start and finish of the bracelet in the middle. Your strings need to be in the order of a diagonal line! In this case from row 14 to row 24. I've done 2 rows of black first, using my border-strings, but you can of course also just start the pattern.
If you want uni-color lines inbetween the zigzag-parts, like I did, you can take one of the outermost strings ( in my case the added border-strings ) ,or the string next to that one, to knot 2 rows back-and-forth over all of the strings.
Note: If you start these rows at the outside of the corners,like I did here, the corners will be less neat than starting the rows at the other side!
Making backward-forward- and forward-backward-knots at the turning point also helps to make the edges smooth.
3 and 4
After the first part you need to turn the other way. The pattern needs to be mirrored now to proceed the knotting!

After the second part you can knot the third part exactly like the first part.
Just keep knotting, each part is mirrored compared to the part before.
It helps to pin down your bracelet at the corner, or use a clipboard.
Finished!
As you can see you also have to end the bracelet halfway the part of the pattern you're using. That will line up start and end of the bracelet.
Note: The more rows you take, the wider the bracelet gets. More strings doesn't result in a wider bracelet.

Editors
The original author of this tutorial is kleinevos .


Comments