(( Beginner Tutorial )) 3-in-1 (magical) bracelet
| Table of contents |
|---|
| 1 - Introduction 2 - Materials 3 - Step by Step 3.0 - Step 1 3.1 - Step 2 3.2 - Step 3 3 - Variations 4 - Video |

Introduction
This is a new bracelet that I came up with. I wanted something I could literally just whip together. This is such an easy bracelet and I hope you guys like it. -ElleMay
Here we go!
Materials
Start off with 3 colors - 2 in the center, and 1 for the sides.
For the 2 center colors, cut one string, and for the outer color, cut two strings. Strings should be cut to your average length, different for each person. This gives you 4 strands, but 3 colors. Tie your bracelet as you like.
Set Up: A|B|C|A
Colors Used: A-brown, B-purple, C-blue
And now we can start!
Step by Step
Step 1
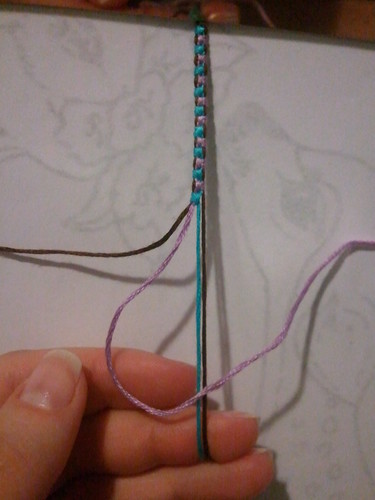
With string B(purple), make a forward-backward over both C and A. Pull gently and to the side keeping your knot square.

Step 2
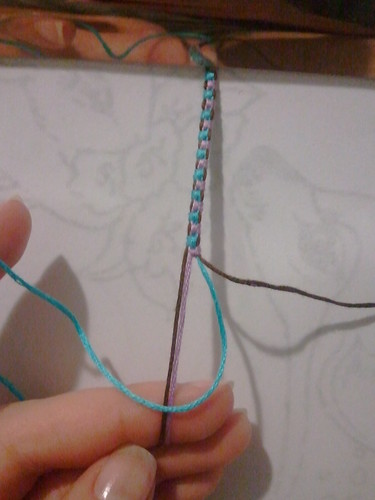
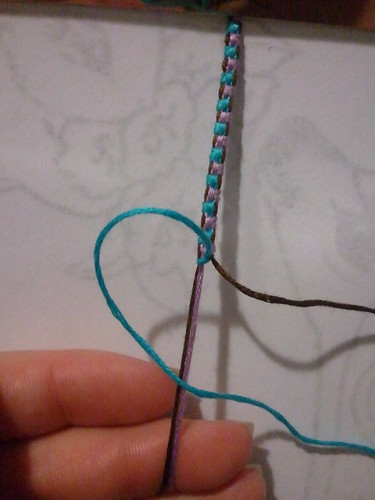
Now repeat with string C, in the opposite direction.
Step 3
Repeat steps 1-2 until you have reached your desired length. :)
Variations
***This bracelet has more to offer!***Keep Reading!***
If you pull the outer A strings tightly, your bracelet will warp, creating a double-sided bracelet to be worn 2 different ways! These pix can show you how! =)
Hold the bottom of the bracelet, and pull the outer strings gently and slowly. Do this one side at a time for a small section, then even it out by pulling the other side. This works best if you are doing this as you are making the bracelet.
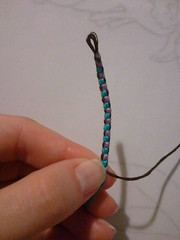


Once even, pull both outer strings at the same time, pushing gently upward with the colored knots. This will make it tighter.

Now the knots you made are to the outside of the bracelet. Below is the backside of what you just did.
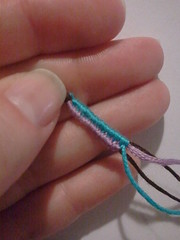
If you don't like the changes you made, its simple to make your bracelet go back to its original form. Holding the tied end, pull gently downward. Your knots will stretch out, revealing the outer strings. Again, work in small sections, from the top.
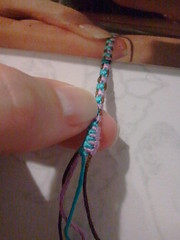
Once you have made your choice, finish your bracelet to its right length and tie it how you would like. After you have tied your bracelet it can not be changed. If you go with the altered version, you still have the choice to wear either side of course! :)
Video
Editors
The original author of this tutorial is ElleMay but it was also edited by Foz, Macarrones, _esv_, Squishy5454, purpledisaster, Matina, Kestrel, monaelis777, JesusLover, Assassino, ninga62, Alicat, boesangel, Vincoune, kskeel96, kleinevos and BobCorpora.


Comments