(( Closures )) How to make a V-shaped ending
| Table of contents |
|---|
| 1 - Video Tutorial |
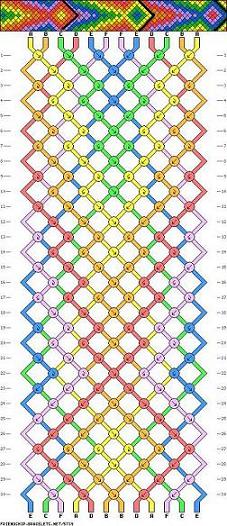
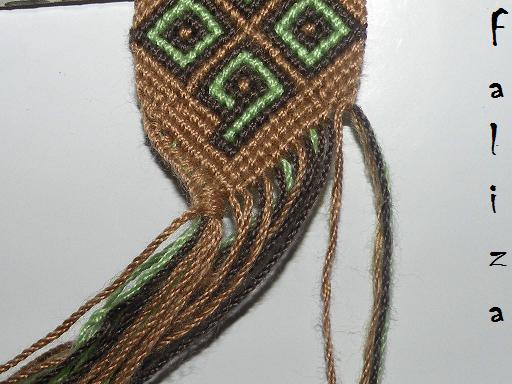
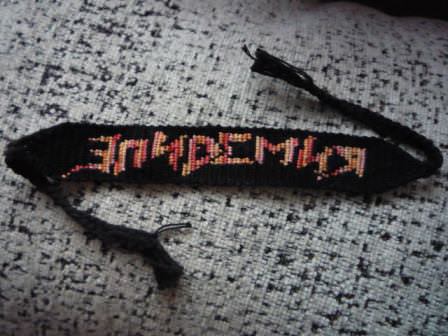
The black lines describe where you could end your bracelet.
Thank you Nimue for this nice pattern!
After finishing your bracelet you should tie it this way to create a "V" at the end:
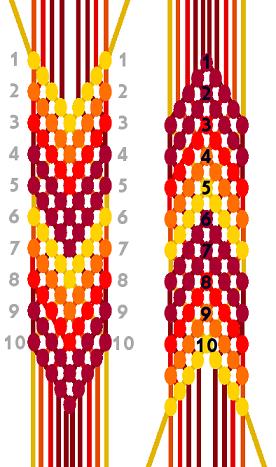
Source of image: http://freundschaftsbaender.valdkynd.de/)
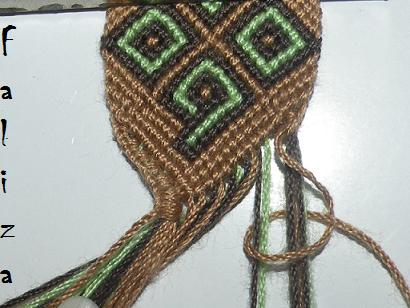
In this picture the left side is knotted to show you how it will look like when it's finished.
Now follow the pictures below step by step:
Step 1: Use the outermost string to make a backward knot over 2-3 of your strings (it depends on the number of strings left at the end of your bracelet). This string is the one which will be used to make all the knots of this ending!
When creating the ending on the left use forward knots and for the right side use backward knots.
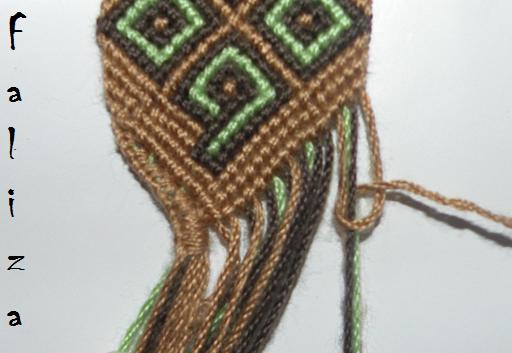
Step 2: Use the same thread as in step 1 to make another knot over the same 2 (or 3) threads, and include the next 2 threads as well. Continue adding more threads with each knot until you reach the end, i.e. the centre of the bracelet.


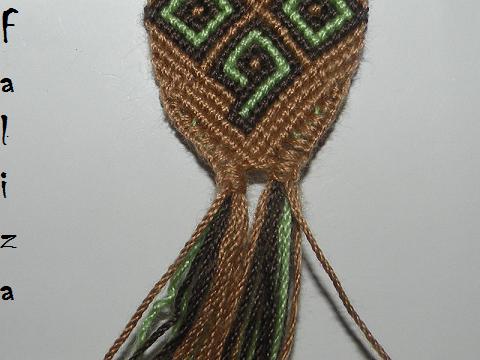
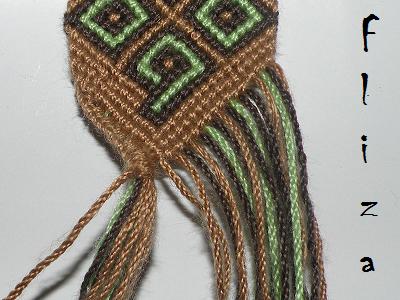
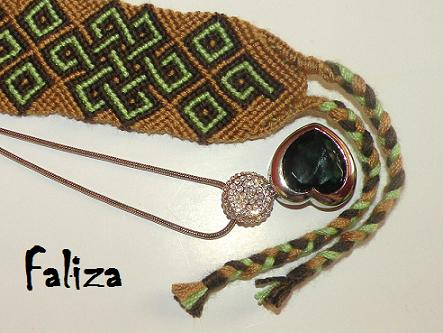
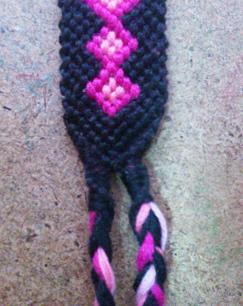
Finish off by making two braids, and it'll look like this:
Video Tutorial
By Masha Knots
Editors
The original author of this tutorial is faliza but it was also edited by Foz, ririttt, k_marie and Masha_Knots.
Uploaded photos (see all 8)
Comments