(( Projects )) How to Make a Kandi Cuff (Round Peyote Stitch)
| Table of contents |
|---|
| 1 - Materials 2 - Instructions 2.0 - Step 1 2.1 - Step 2 2.2 - Step 3 2.3 - Step 4 2 - Videos |
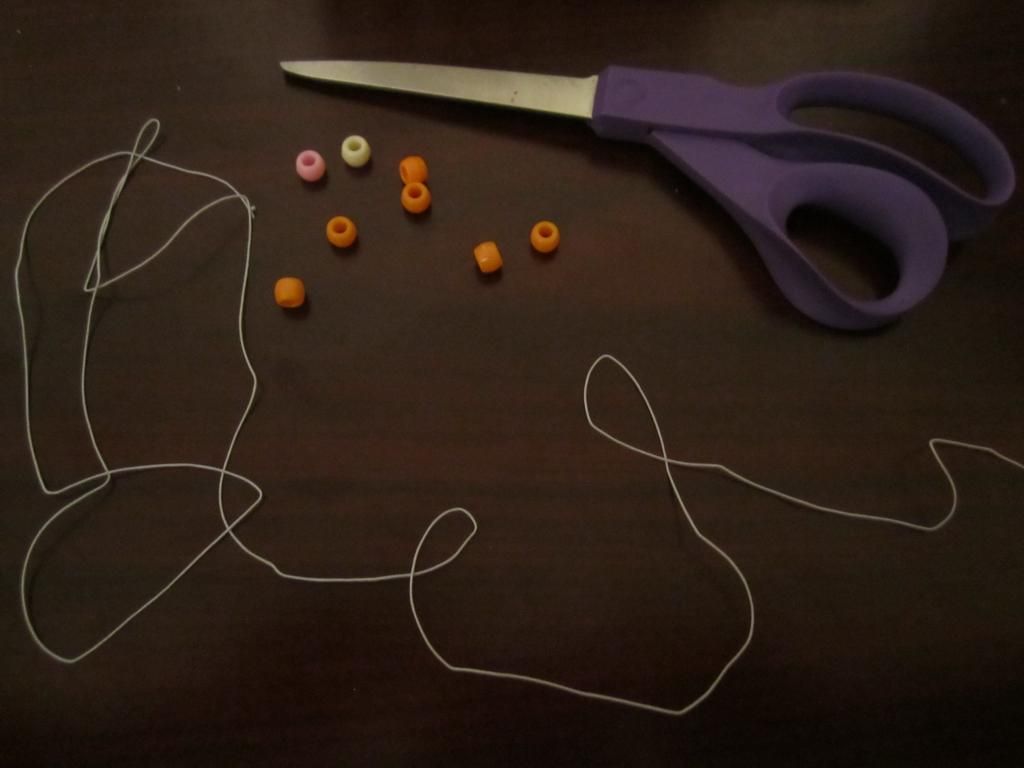
Materials
Elastic string
Pony beads
Scissors
Instructions
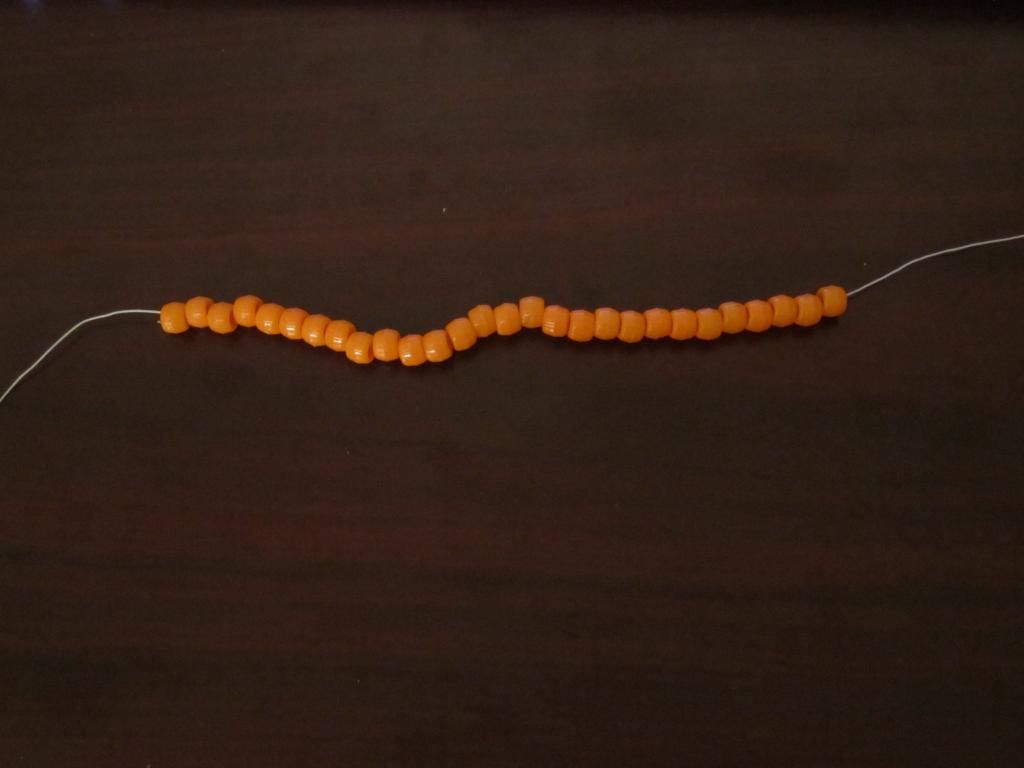
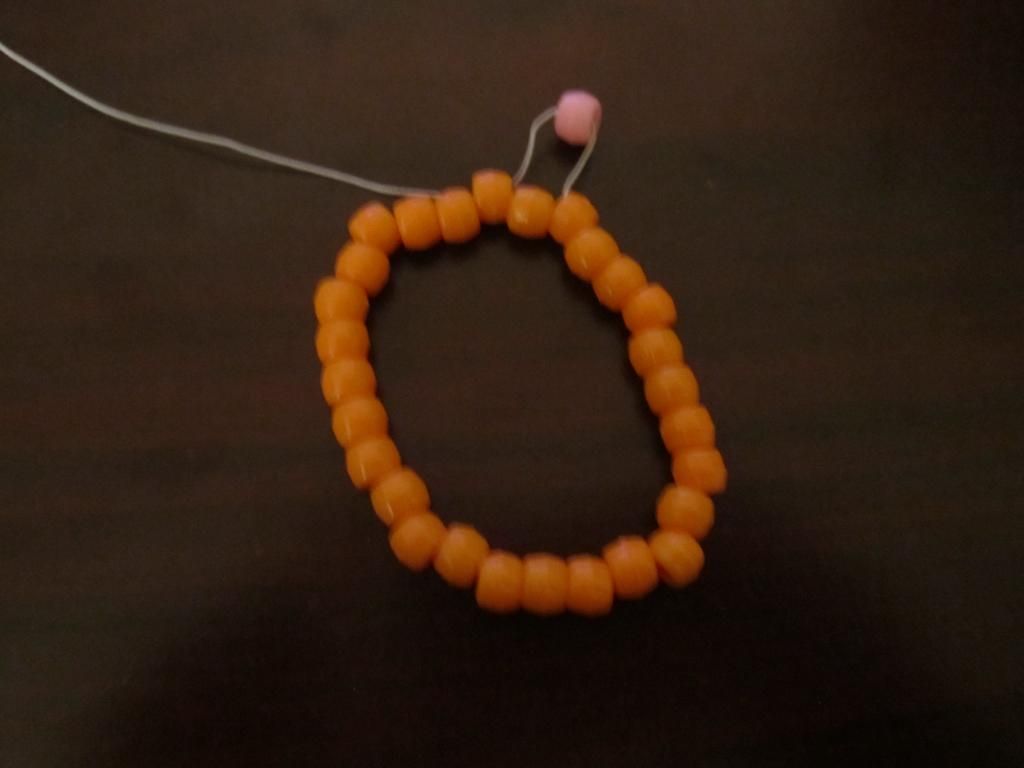
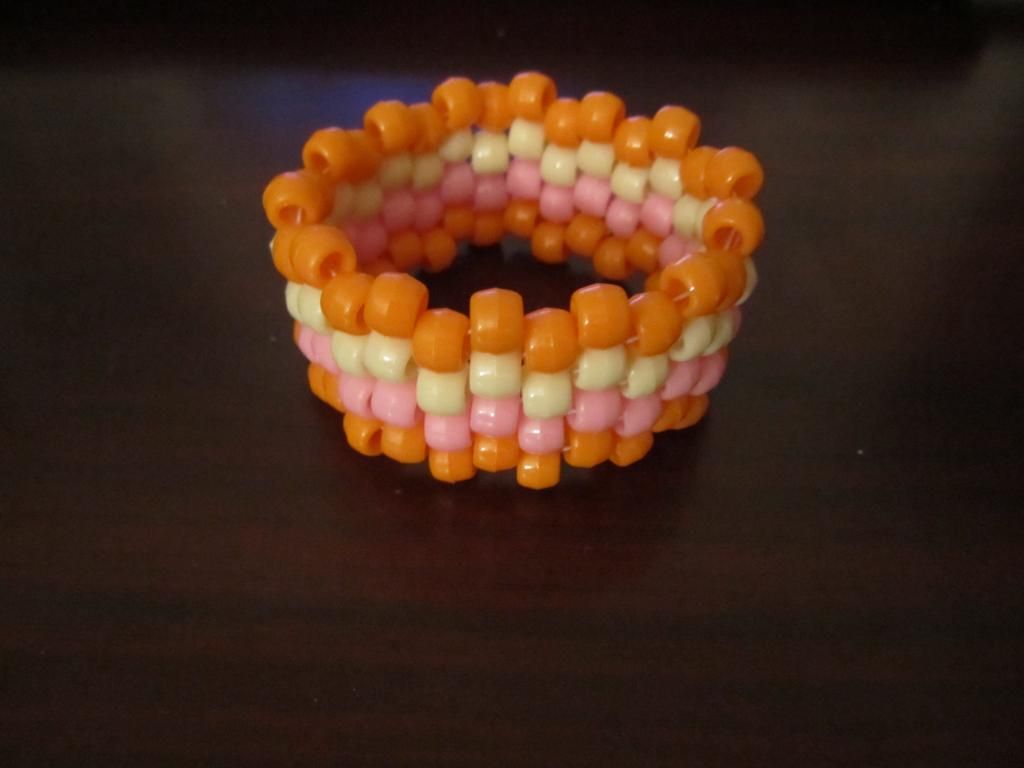
Step 1
Take the end of the elastic string and put an even number of beads on it to fit your wrist easily; make all the beads the same color. Do not make any knots on the string or cut it. Then take the end of your string and make it REALLY long (there is no set length, but I would recommend at least 3 ft). Tie together both ends of the string with a double knot. Allow the shorter string to fit under one of the beads, while the longer one is still exposed. DO NOT CUT THE LONGER THREAD.
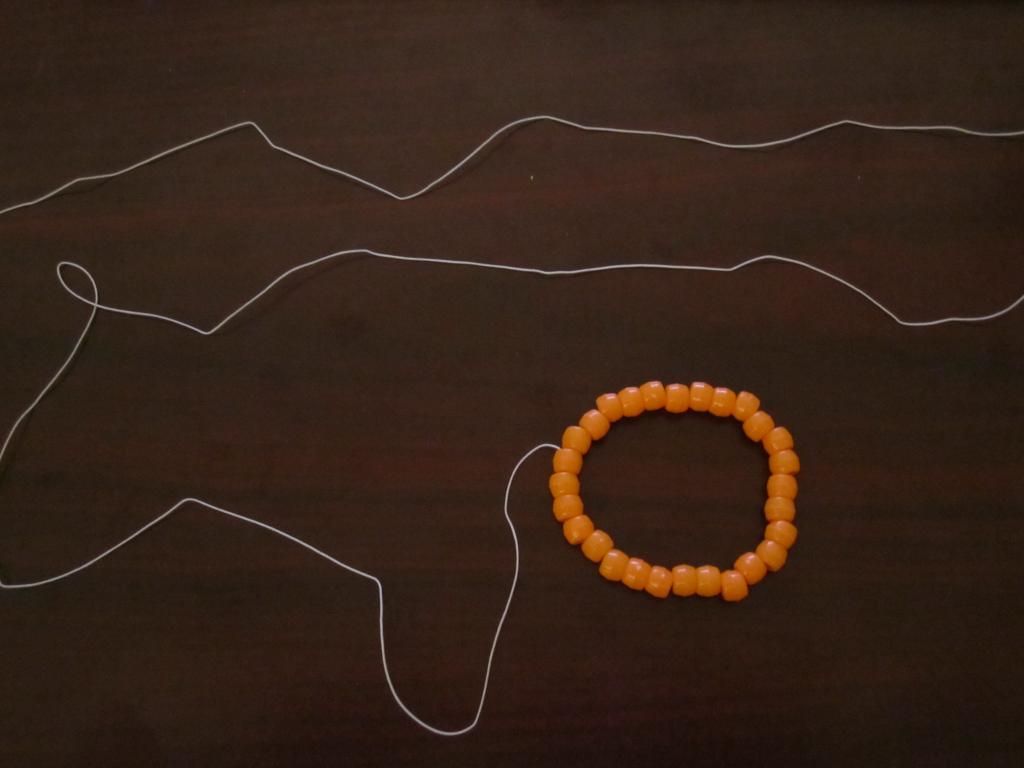
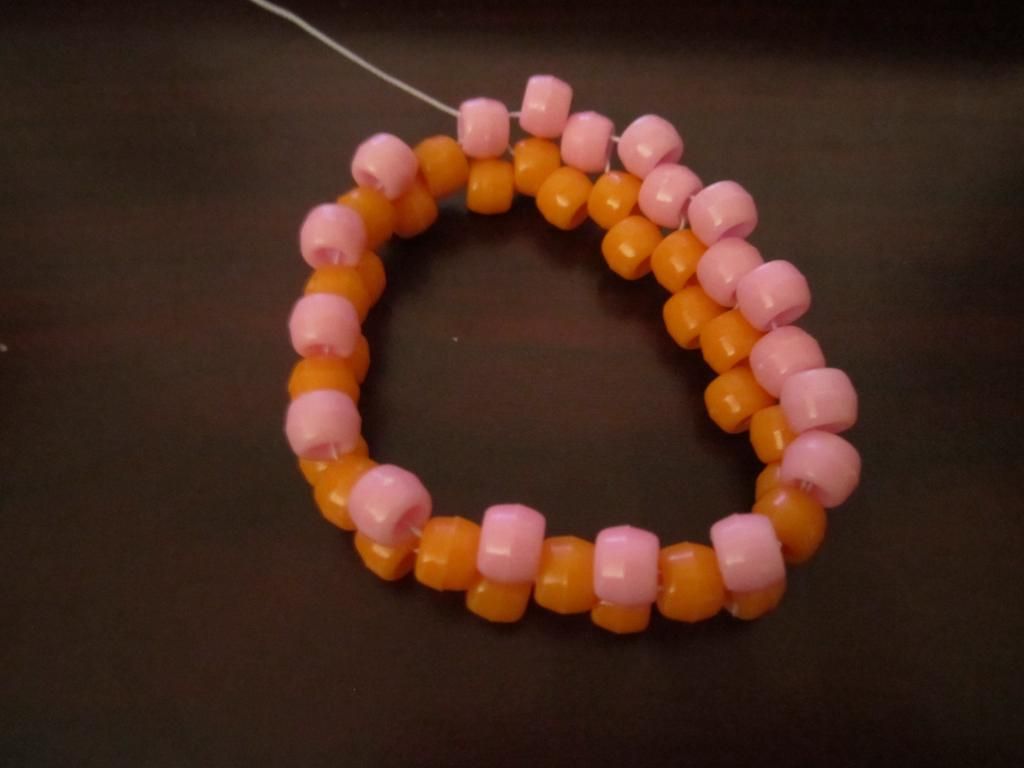
Step 2
Take the end of your string and put another bead on that's a different color. Skip one bead, and thread the string under the next bead. String on a bead, skip one then put it under the next. Do this over and over again until you go all the way around. Remember to pull the string every once and awhile.
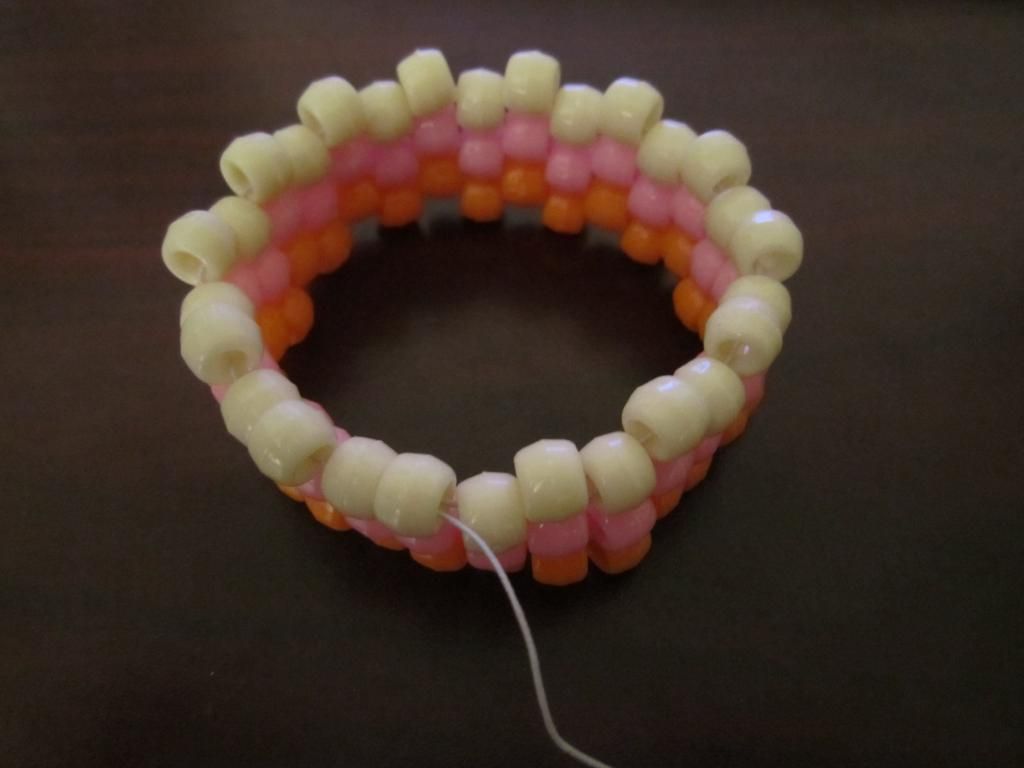
Step 3
Once you reach the end, put the string under the first bead and do step 2 again. It should be a bit easier, because the beads stick up now. The difference is that you want it to be the same color bead. Do this all the way around. The kandi cuff should eventually be able to stand up on its own.


Tip: Don't try on the cuff until you're completely done, otherwise it will get screwed up and be a little hard to continue.
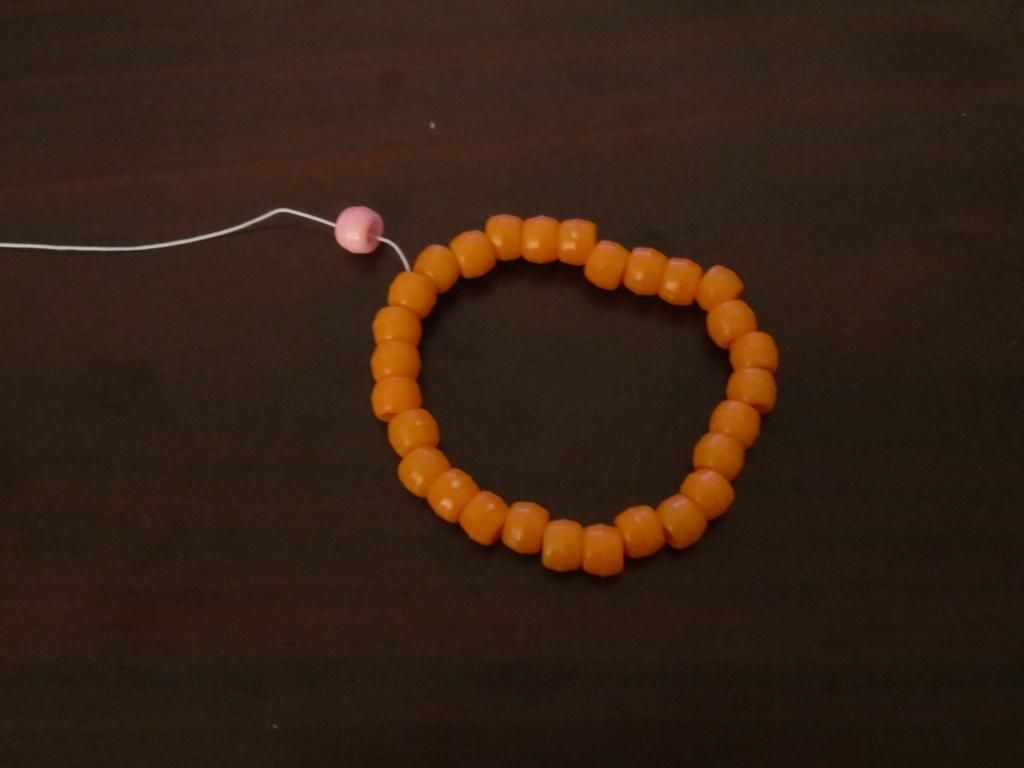
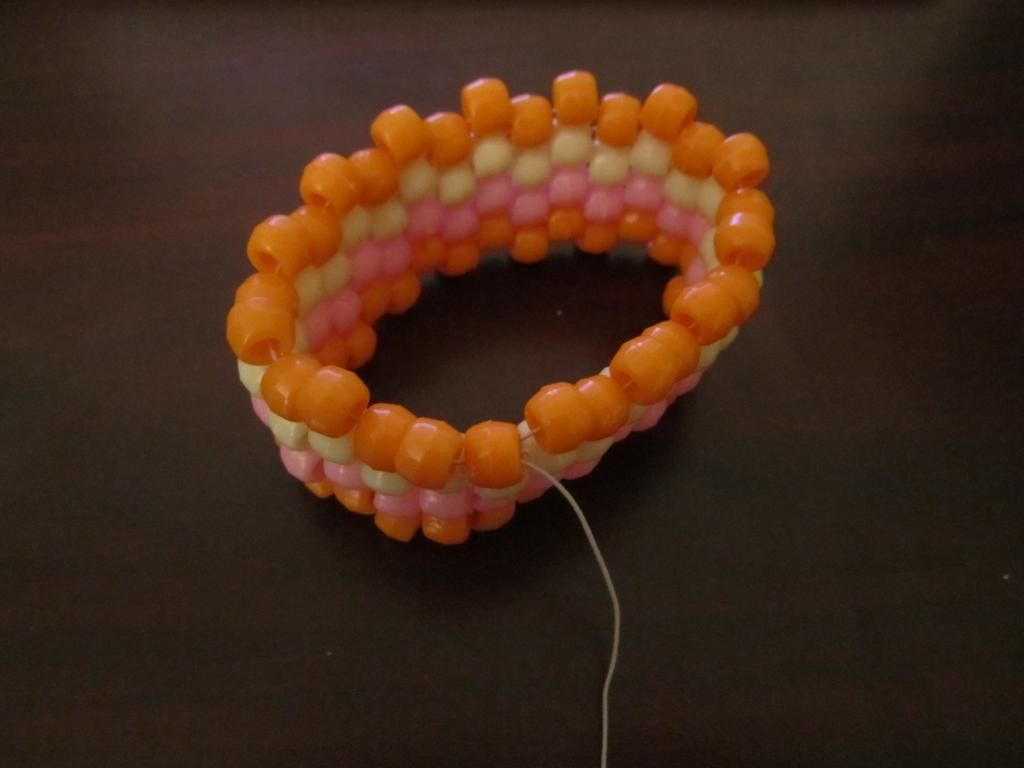
Step 4
Repeat steps 2 and 3 over and over again until you want to end the kandi cuff. To end it, I would just do a double knot on the string under it. Cut off the excess string and now you're done! :)
Videos
**Please note that these are not mine
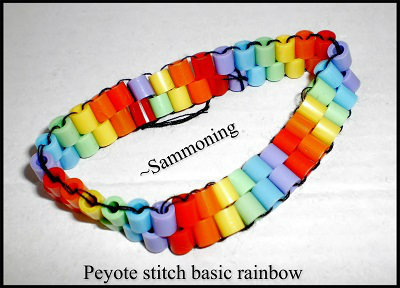
The website below has a wider variety of patterns for kandi cuffs (and perler beads, if that interests you). This tutorial shows the simplest way to make these, so I wouldn't recommend doing any complicated patterns until you totally understand how the bracelets work.
http://kandipatterns.com/
Enjoy!
Editors
The original author of this tutorial is piggyfan2 but it was also edited by princess_5775, abbyskigirl, AutumnRane, k_marie and JustbeingMe.
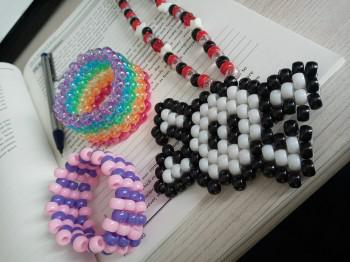
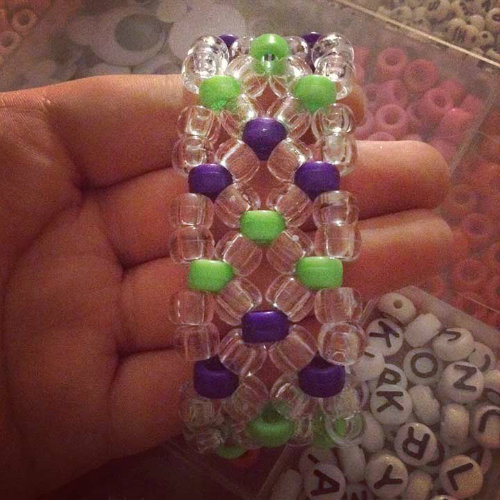
Uploaded photos (see all 41)
Comments