(( Buckle )) Removable Bracelet That Won't Fall Off
| Table of contents |
|---|
| 1 - Introduction 2 - Step by Step 2.0 - Step 1 2.1 - Step 2 2.2 - Step 3 2.3 - Step 4 2.4 - Step 5 2.5 - Step 6 2.6 - Step 7 2.7 - Step 8 2.8 - Step 9 2.9 - Step 10 2.10 - Step 11 |
Introduction
This is one of the best ways to start and finish a bracelet so that it is removable, but won't simply fall off. Some people have that problem with the common knot that goes into the loop. In this tutorial, I show how it's done with a four string, two color bracelet. I assume you may be able to do it with any number of strings, but I haven't tried it. Do not attempt this tutorial until you know the Macrame Knot, instructions for which can be found here. I apologize for bad photo quality in some of these pictures!
Step by Step
Step 1
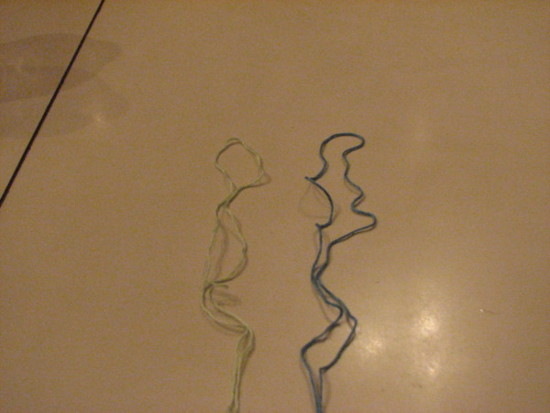
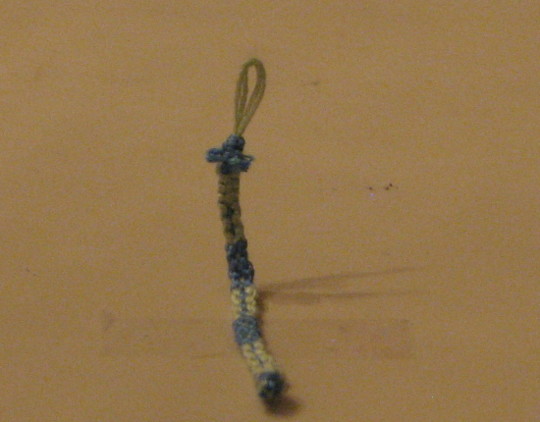
These are the string colors I will be using. I'll just call them green string and blue string for reference. Fold both of your strings in half, like in the picture.
Step 2
Begin tying a knot onto the green string. It doesnt matter which you use, really, so just pick one. You want to tie it about 1/4 of an inch from the end of the green loop. YES, the measurement is important. You can be a little off, but not too much.
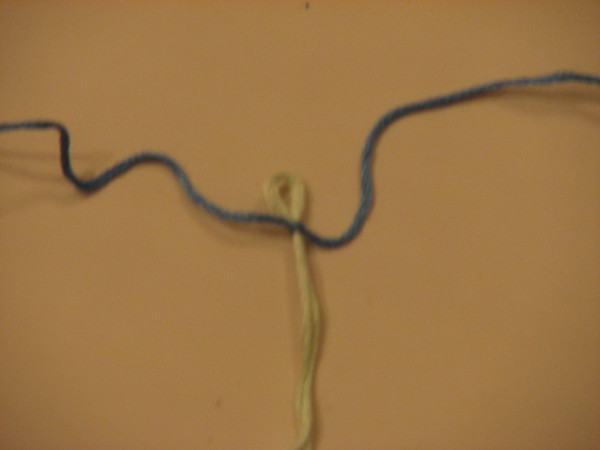
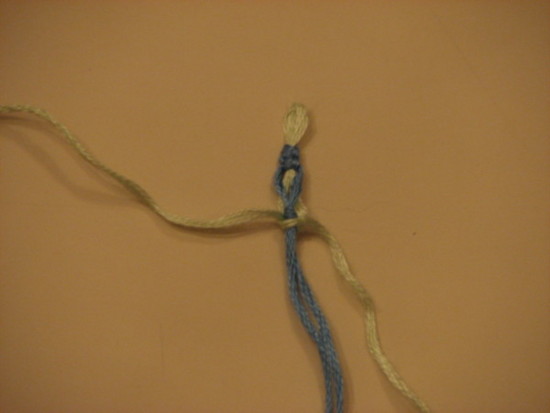
Step 3
Tie five Macrame Knots with the blue strings, onto the green strings. They should be tight enough so that they won't move by themselves, but loose enough so that you will be able to slide them up and down. Then, move the blue strings to the inside and the green to the outside.
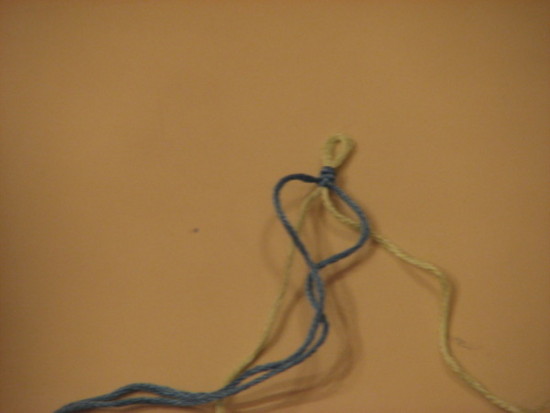
Step 4
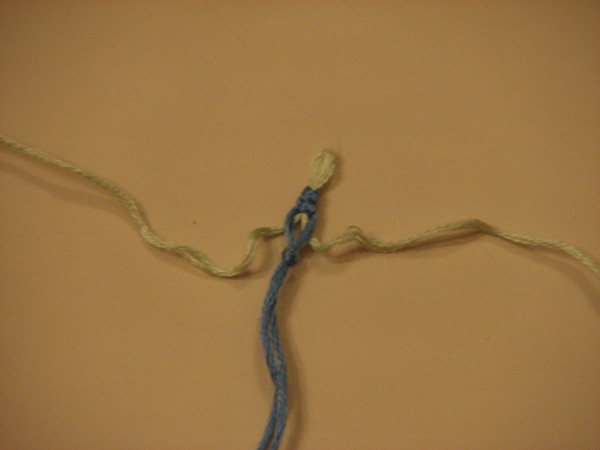
Use the blue string to tie a simple overhand knot 3/8 of an inch to 1/2 an inch away from the blue macrame knots. Again, measurement is important.
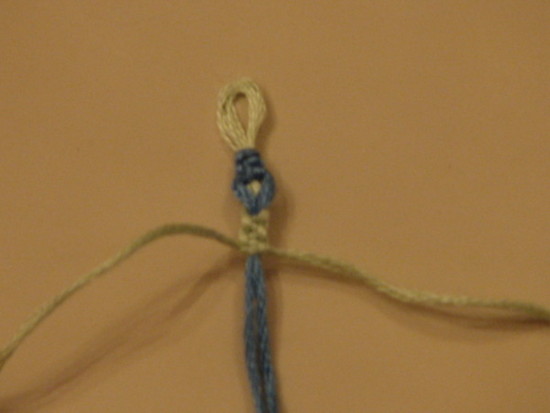
Step 5
Use the green strings to tie a Macrame Knot onto the blue, just below the knot made in step four. Make sure it looks like the photo below.
Step 6
Tie four more Macrame Knots (five total) with the green strings.
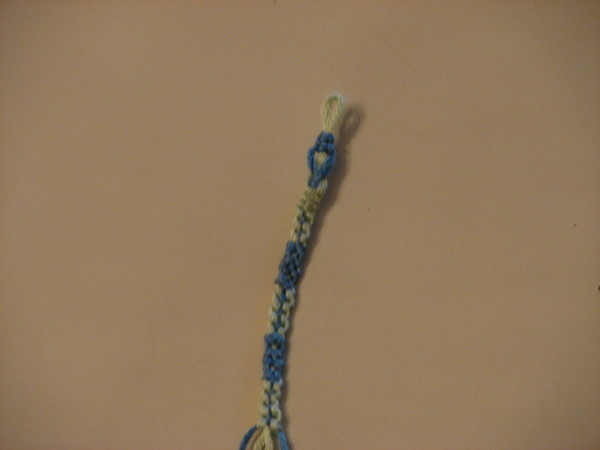
Step 7
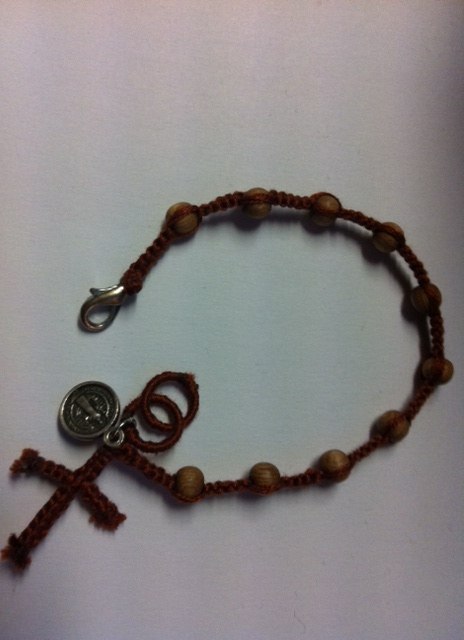
Now comes the fun part! Tie your pattern as you normally would. For all those who care, the pattern shown here is #14865.
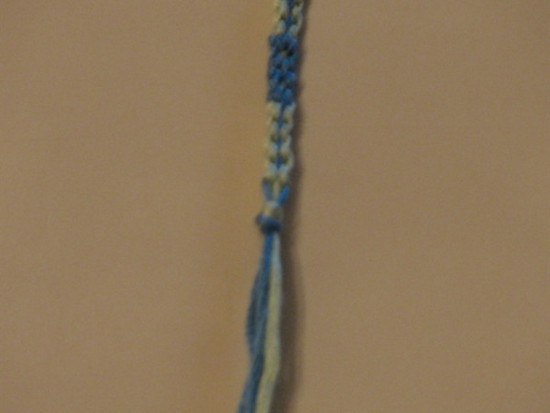
Step 8
Now back to work. About a 1/4 of an inch away from the end of your pattern, tie an overhand knot. Now you have a few options:
1) Tie one or two more overhand knots on top of it, so it becomes a bigger knot.
2)Tie a large bead (Anything bigger than a pony bead would probably work) on right after the first overhand knot.
3)Tie a round button on after the first overhand knot.
Here I've used the first option. I would recommend not cutting the ends off until you've completely finished with Step 11.
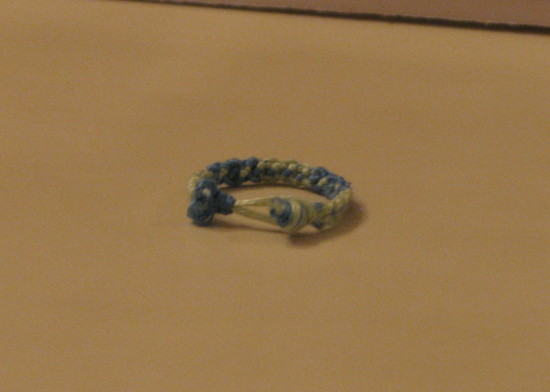
Step 9
We're pretty much done. Now you just have to learn how this type of loop works. Pinch the green loop at the top between two fingers. With your other hand, pinch the blue Macrame Knots at the top with two fingers. Pull the blue knots down. The result should be something like this. Notice how the green loop is now larger.
Step 10
Push the large knot, bead, or button at the bottom of your bracelet through the loop.
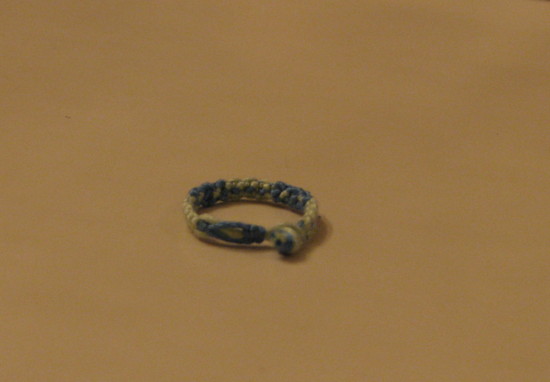
Step 11
Last step! Pinch the blue Macrame Knots and pull up towards the tip of the loop. Now, if you've done it correctly, the loop is smaller than your knot, bead, or button. If not, you'll have to tie a bigger knot or use a bigger bead or button. This is why it isnt a good idea to cut off the strings yet! To take your bracelet off, just pinch the Macrame knots, pull back, and slide the knot out.
 [/p]
[/p]
Congrats, you're finished! If you have any questions or comments, please post them below. Also, I'd love to see pictures of your work!
Editors
The original author of this tutorial is ConfessorKahlan but it was also edited by k_marie and Alicat.
Uploaded photos (see all 2)

Comments