(( Projects )) How to Make a Ministerial Stole
About this project
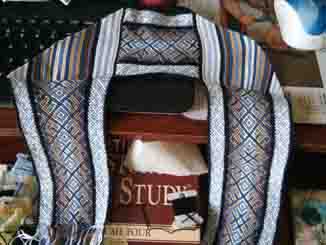
I'm a minister, and I make my own stoles. Stoles are the garment ministers wear over their robe. They came in all different colors and patterns. Many Protestant stoles are gifts from congregants. This is not an easy or quick project. You should plan to take six months to a year to finish it. My project took seven months. This is because I rushed through it at the end. If I stayed on target, five rows a day, it would have taken me eight months to finish.
Starting the Project
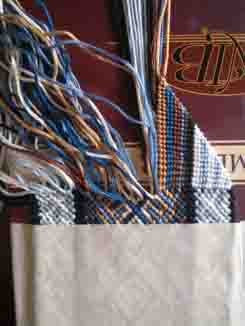
1. Make sure to pick a rather big pattern
I used a pattern that required 66 strings. I would say this is on the low end of required thickness. Most stoles are thicker. Also, picking a complex pattern will make it easier to figure out once you reach the halfway point. You will need to keep track of how many times you go through the pattern. For example: My stole used the pattern 25 times. Twelve times on each side, and one time in the middle. Because I knew how many times I did the pattern on the first side, I didn't have to keep measuring when I began working on the other side. This is just a tip to make your project easier. You are more than welcome to choose something that repeats often, but you might find it more difficult to keep track of the length. Another tip is to purchase all your required string in advance. I find two of each required strand is necessary. This meant, for my 66 strand pattern, I needed 132 skeins. I didn't purchase all my skeins in advance. When I had to purchase more, I couldn't find some of my original colors, and had to make due with changing the color slightly.
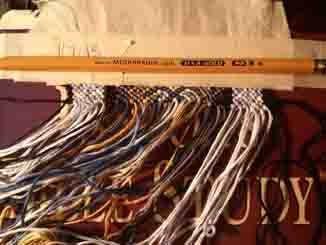
2. Tape Or Clip Your Strings
Tape or Clip to give a decent fringe at the bottom
You will need two inches or so of fringe, but make sure you actually give more than a two inch fringe, because some of the strings are naturally going to be pulled as you start. You need to give room to trim your fringe.
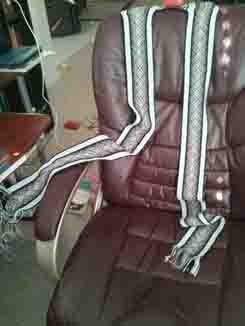
Find a long term project space
It will not be easy to move this project around, and you will be working on it for months. Find a project space where it it is not getting in the way of normal life. For me, I moved my keyboard and mouse to the top of my desk, and put the project on the pullout space.
Work the Pattern Left to Right and then Right to Left
This is just a really good tip for any big pattern. Instead of pulling all the strings back to the right to start a new line, just work the next line from the right to left. It will make your work quicker and easier.
Continue Project Until You have desired Length
Things to keep in mind when deciding your length:
1. The robes ministers wear do not touch the ground. The stole should be slightly shorter than the robe.
2. The neck of the stole is behind the minister's actual neck. This means you should anticipate the length to be a little longer to include this extra space.
Working on the Neck
1. Turning the pattern
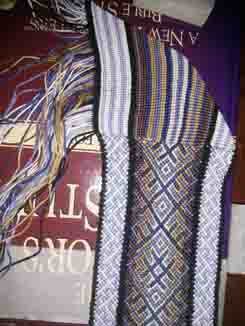
I learned this lesson the hard way. Retape the stole at the edge of the finished pattern. If you don't it might pull the strings and cause the corner to warp.
Working from the right, knot the string all the way down the line. Follow with the next string, but don't tie it to the previous strand you just finished. Continue with each strand until all the strands are turned 90 degrees.
2. Do the pattern until you have about two and half to three inches on neck

I only had to completely do the pattern once. I highly suggest whatever length you do with the neck, you finish the pattern so it doesn't mess up the other side.
3. Turning the pattern again
Follow what you did for the other side of the neck, only backwards.
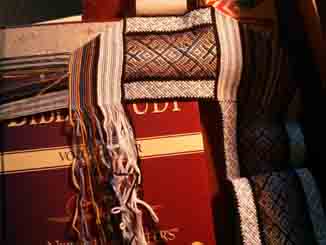
Finishing the Stole
Now you should be able to finish by doing the pattern the same amount on the other side that you did on the first side.
Added note: You will have to change out strings at some point. There are tutorials on how to change out strings mid-project.
Editors
The original author of this tutorial is PastorMelissa but it was also edited by .
Comments