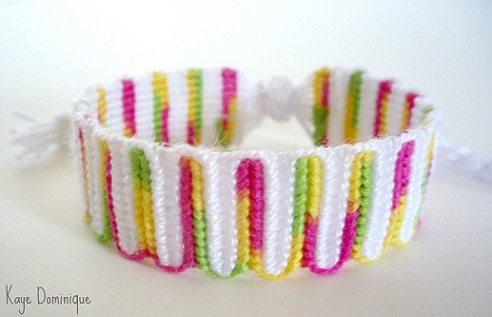
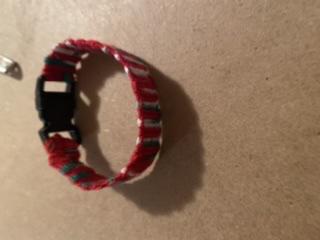
(( Bracelets )) Vertical Wave Bracelet
| Table of contents |
|---|
| 1 - Materials 2 - Step by Step 2.0 - Step 1 2.1 - Step 2 2.2 - Step 3 2.3 - Step 4 2.4 - Step 5 2.5 - Step 6 2.6 - Step 7 2.7 - Step 8 2 - Watch a Video Tutorial |
Materials
2 different colours of weaving string. You will need a lot so it's best if you use skeins and put them on bobbins or something.
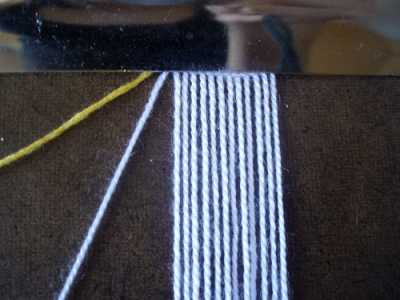
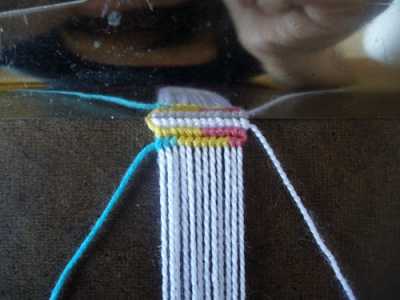
Background strings. 12 background strings makes a 2cm bracelet. You won't see them so you can use scrap strings. They should be about 70cm long each (will be folded).
A pair of scissors.
Something to hold the strings down while you work, like tape, a safety pin or a clipboard.
Step by Step
Step 1
Start your bracelet however you want. You can use buckles, braids, rope braids, etc.
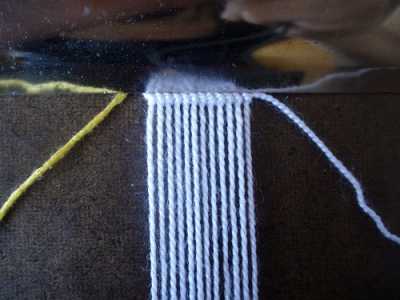
Step 2
Set the two weaving strings to the left of the background strings. These will be called strings A and B. The order does not matter at all as long as you stick to it throughout the whole bracelet.
Step 3
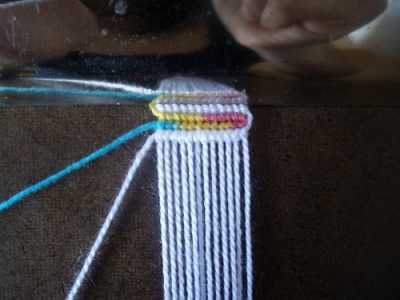
With string A, make a row of forward knots until it is on the right side of the background strings.
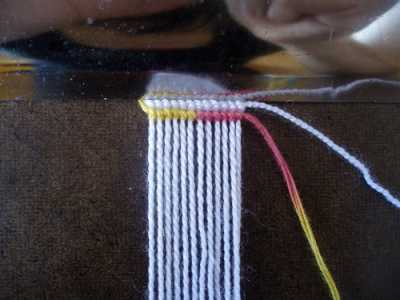
Step 4
Pick up string B and make a row of forward knots until it's on the right side too.
Step 5
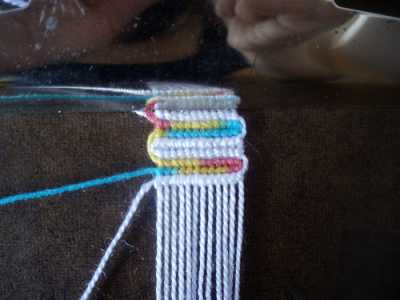
Still using string B, make a row of backward knots until you're back on the left side.
Step 6
Pick up string A again. Make a row of backward knots until you're on the left side. Strings A and B will both be back on the left of the background strings once you are finished.
Step 7
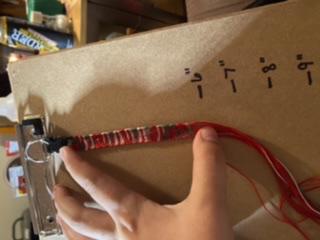
Repeat steps 3 to 6 until the bracelet is long enough.
Step 8
Finish the bracelet off using braids or attach ribbon clamps if you have any.
Watch a Video Tutorial
By Masha Knots
Editors
The original author of this tutorial is chibi_ragnarok but it was also edited by Alicat and Masha_Knots.
Uploaded photos (see all 105)

Comments