(( Closures )) How to use a paper clip as a clasp
You will need:1. Embroidery thread, DMC Floss, or Craft String.
2. A paper clip. (you can get them from almost anywhere, they come in all shapes, styles, widths, lengths, patterns, and colors, so be sure to choose one you like!)
3. A bracelet pattern (can work with any bracelet, but not large alphas.)
4. Hot glue (glue gun, heated elmers glue, whatever) OR superglue (don't get yourself stuck! O_O)
Step One: if you have to fold your strings in half, fold them around the end of the paper clip that DOESN'T have the double loop end. tie a knot tight, and slip the loop off the paper clip and put it under your clipboard. make the bracelet.
Alternative: If you DON'T have to fold your loop, tie a knot around the end of the paper clip just like Step One, but use only a tiny bit off floss, instead of folding everything over.
Step Two: make your bracelet to desired length. should be about a half inch shorter than normal because of paper clip clasp.
Step three: Tie an ending knot on your bracelet, attaching it to the double-loop end of your paper clip. Superglue/hot glue in place. Let cool/dry.
Step four. slip loop on opposite side of paper clip to fasten.
Step Five: WEAR YOUR BRACELET :D
___________________________________________________
Alternative Tutorial
Hey! I'm gonna show you a cute and easy way to have your bracelets around your wrist without it falling off or being too tight/loose. To do this we are going to need the following supplies:
- your bracelet, which MUST have a loop/buckle.
- a clip
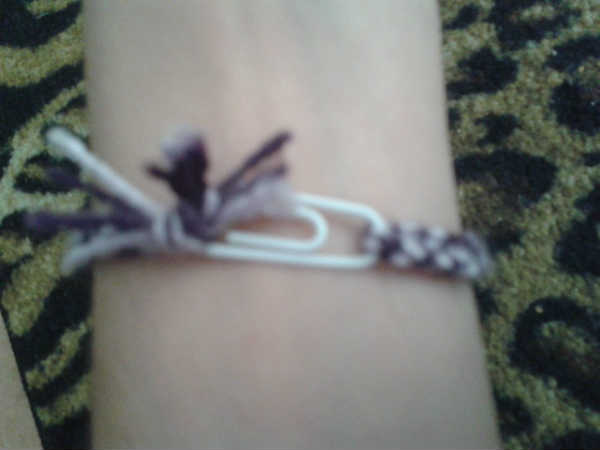
Okay, so this is my bracelet:
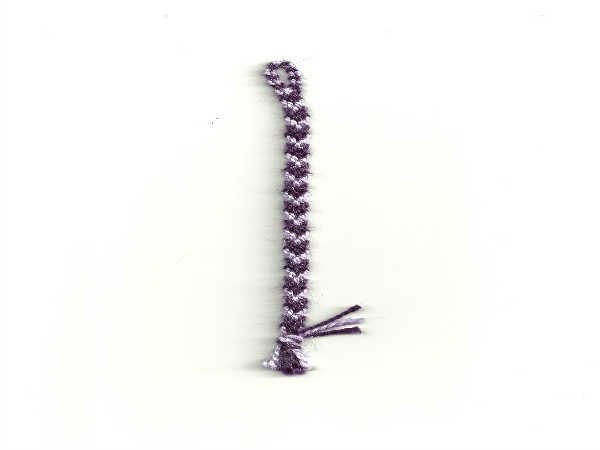
As you can see, I have used the Lark's Head Knot buckle: https://www.friendship-bracelets.net/tutorial.php?id=3282
It's smaller than the tutorial because my bracelet has only 4 strings, and to do that I ended up knotting 2 of the strings, so it's much smaller.
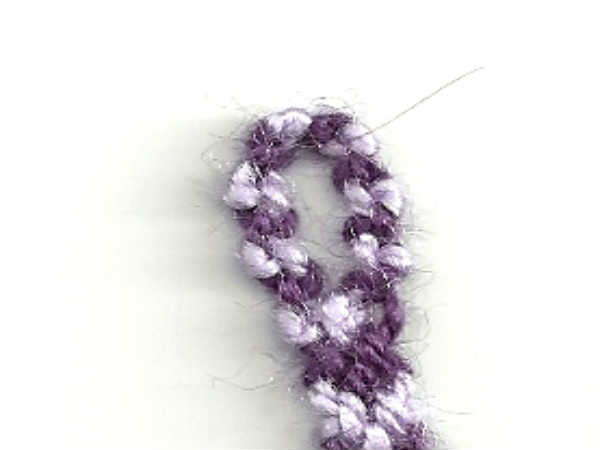
End your bracelet by simply doing an overhand knot at the very end. You can see it in the first picture.
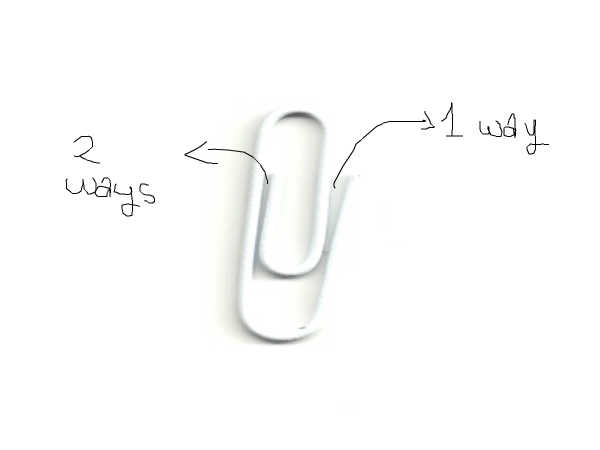
Okay, so now that you have your clip, you can see that there are two ways of placing the strings into a clip:
So, in the first way, place your loop/buckle like this:
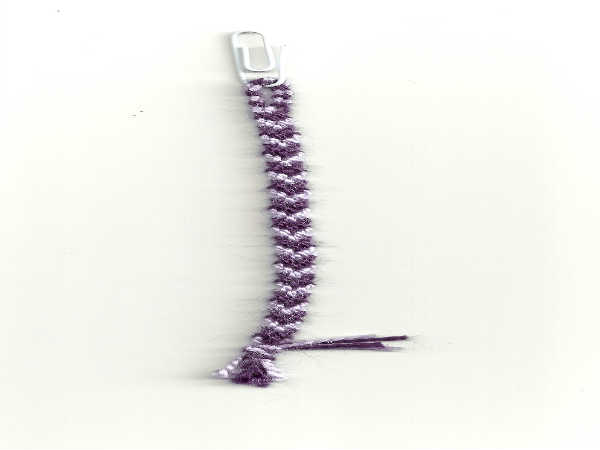
Then, insert the knot into the other side of the clip (way number 2). Make sure the knot is big enough to not fall out of the clip:

So that's it! Here is how it looks on a wrist:
You can add nail polish to harden the knot and if you don't like the strings coming out of the knot, cut them a little.
So there you have it! I hope you guys like it and please try it, it's useful! If you have any doubts, comment!!(:marina22
Editors
The original author of this tutorial is WhiteWolf101 but it was also edited by Sareana, k_marie, KnotterHolic and marina22.
Comments