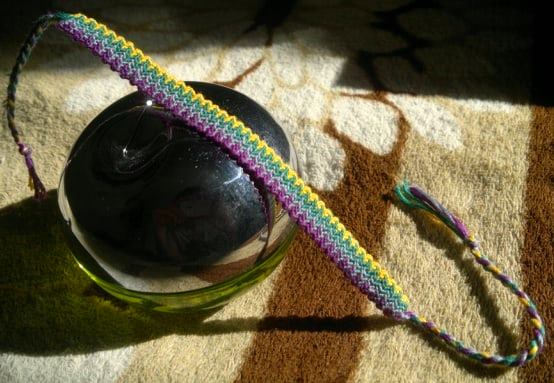
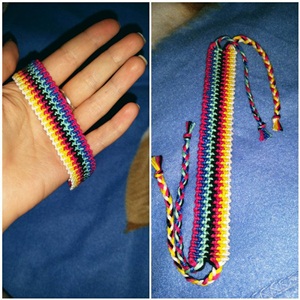
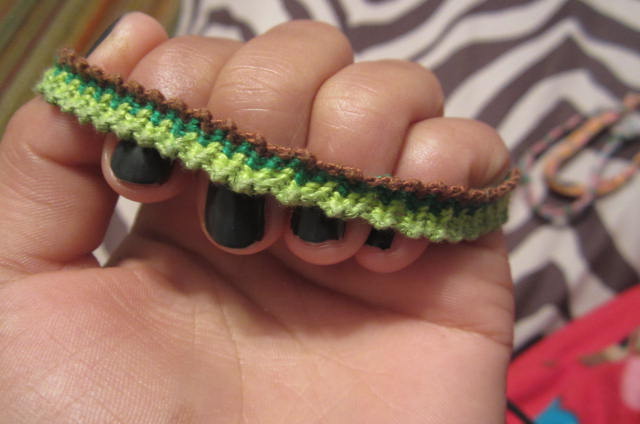
(( Bracelets )) Knitted Bracelet.
| Table of contents |
|---|
| 1 - Beginning Notes 2 - Step by Step 2.0 - Step 1 2.1 - Step 2 2.2 - Step 3 2.3 - Step 4(Optional) 2 - Videos |
Beginning Notes
Difficulty: Low, but adding alpha in step 4 is OPTIONAL and requires knowledge of basic alpha tying.
This bracelet requires extra string - cuts strings an extra 6 inches long. Since every string ties in each row, this bracelet will be much wider than a regular 10 string bracelet. Also takes a bit longer than usual 10 string bracelets.
Step by Step
Step 1
Set up your strings accordingly:
| A | A | B | B | C | C | D | D | E | E |
*Note: Make sure the first A string is an entire skein of floss (bobbin may help here)
Step 2
Tie a fb/k with A1 to A2. Then another fb/k with A2 to B1. fb/k with B1 to B2. fb/k with B2 to C1. Continue this pattern until the end of the row. Tie a fb/k with E1 to E2 at the end of the row.
Step 3
Tie a bf/k with E2 to E1. bf/k with E1 to D2. bf/k with D2 to D1. Continue this pattern until the end of the row. Repeat steps 2 and 3 until pattern is
Step 4(Optional)
This step adds alpha into the middle of the knitted bracelet. YOU NEED TO KNOW HOW TO TIE BASIC ALPHA FOR THIS STEP. Make string A1 an entire roll on a bobbin.
After steps 1-3, take A1, which should be an entire roll on a bobbin, and use it to tie basic rows of alpha across strings A2, B1, B2, C1, C2, etc. Tie in an alpha design/symbol/letter. MAKE SURE STRING A1 FINISHES IN THE SAME POSITION THAT IT STARTED IN - on the left side. Continue steps 2 and 3 until bracelet is desired length.
Videos
~ Added by Dodadoo.
[p]
Editors
The original author of this tutorial is kallum but it was also edited by Huntress, Dodadoo, RockePloeger, Sareana, Alicat, kleinevos and moonaaxo.
Uploaded photos (see all 19)
Comments