(( Closures )) Attaching a Clasp
| Table of contents |
|---|
| 1 - Step 1 2 - Step 2 3 - Step 3 4 - Step 4 4.0.0 - Extra Notes |
Step 1
First thing you need to do is get your supplies. You will need a bracelet, a clasp (I like to use twist clasps) and two jump rings. Pliers and clear nail polish are also very helpful. The bracelet should already be completed with either a knot or a loop at the ends. It will be easier if it isn't a buckle and it will work better.

I like to use these clasps because they are small
and easy to use with only one hand when you are
putting the bracelets on.

Here is the bracelet that I'm going to be using.
(Up until the very end)
Step 2
The next thing you want to do is get one jump ring on each end of the bracelet. You may have to loosen the knot slightly to get the ring in. On this bracelet there are knots on the ends so this is how it will look.

This is how it should look on each end.
Step 3
Now you want to put the clasp on the jump ring. Start with the entire clasp hooked together with one side on the ring. It should look something like this.

This is where the pliers will come in handy. Tighten the jump ring only on the side with the clasp in it. You can tighten it as much or as little as you want as long as it's tight enough that the clasp won't slip off.

Then unscrew or unhook the clasp and do the same thing to the other side.
Step 4
The last thing you want to do it make sure everything is secure. I suggest putting a few drops of clear nail polish on the knots to make sure that they don't pull out. When you know everything is secure you can cut the excess string off right up to the knot. Put one more dot of nail polish on the string where you just cut off and let it dry.
Extra Notes
Make sure your bracelet is long enough for your wrist (or whoever it is for) or just slightly under. Depending on what type of clasp you use it will add a little bit of length to your bracelet.
PM if you have any questions on the tutorial. I will be happy to help!
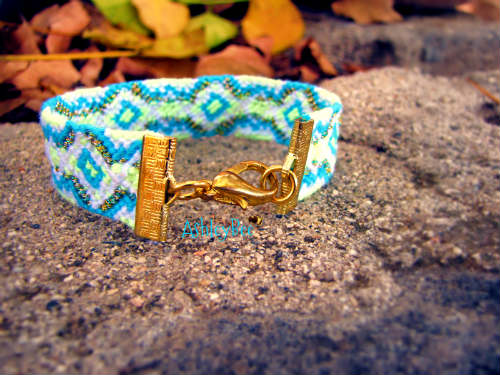
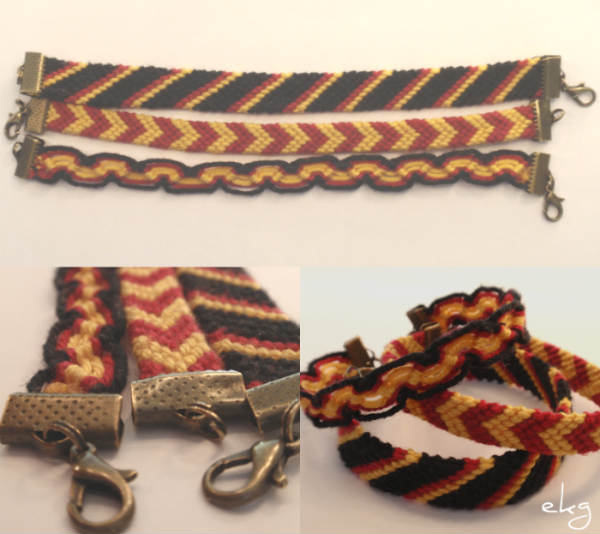
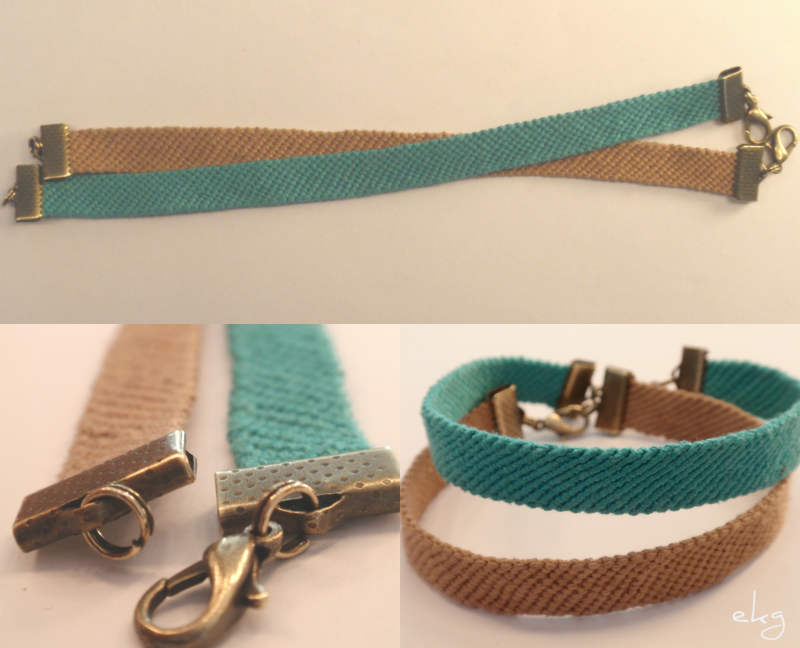
Here are some finished ones.

This is how it will look with a knot or a loop at the end.
(The only reason that the bracelet is different from the
beginning of the tutorial is because I'm not sure how big
I want the bracelet yet :p)
Editors
The original author of this tutorial is iajc20 but it was also edited by Stefan, Sareana, Jeckle and Kestrel.
Uploaded photos (see all 10)
Comments