(( Projects )) The Stretchable Button Bracelet
http://www.youtube.com/watch?v=yOAaES-9ZAs
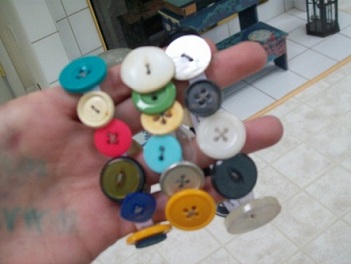
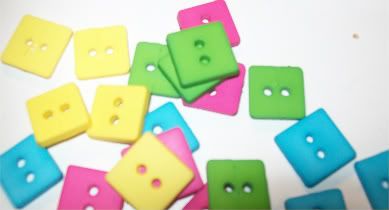
You can use ANY type of button of any size, shape or color for this project. Have fun and make a funky mix that expresses your personality. Gold tones and teal, multicolor or black and white. They ALL look adorable and are all equally affordable.
You could use a needle if you are having trouble with the cord. I just didn't want to bother since I stab myself way too much when sharp objects are involved.
Another way this can be made is with elastic tape. Cut an elastic tape to a bit tighter than you would want the end product to be (I've noticed that the buttons make it a bit bigger- maybe their weight pulling on the elastic), but add about 3/4" on the end. Sew the ends together (accounting for this 3/4"), and sew each button on seperately: secure each one on with a knot.
It also looks cute and interesting if you stack some smaller buttons on top of larger ones!
Continue on until all buttons have been sewn on, then tie a finishing securing knot. You're done!
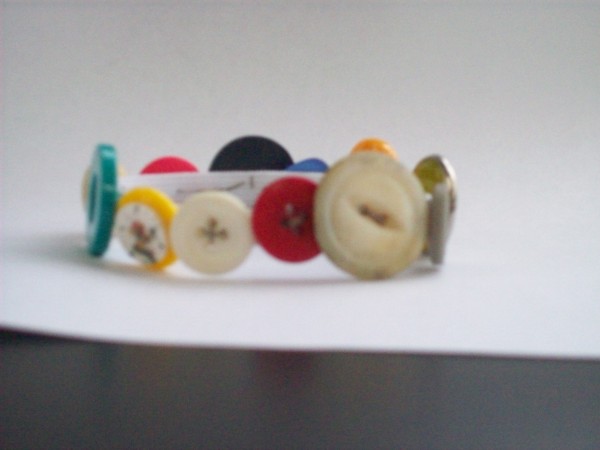
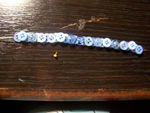
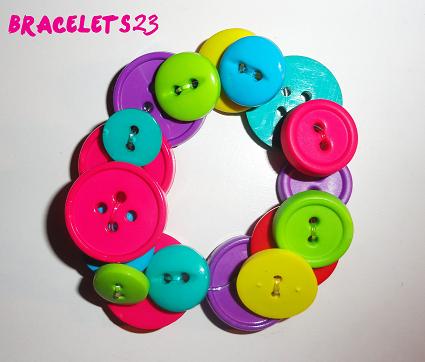
Here's mine:
Enjoy!
OTHER TUTORIALS FOR BUTTON-BRACELETS:
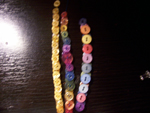
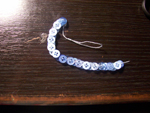
Hi people! I made this button bracelet but I don't know if it was made by anyone else.
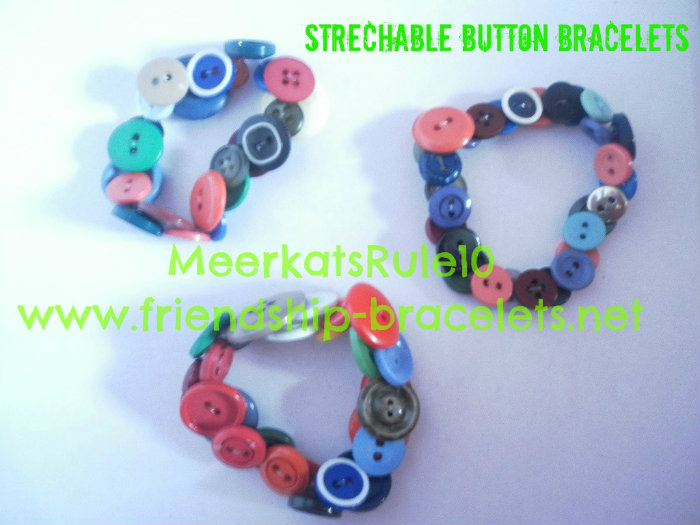
(these are three of the bracelets I made)
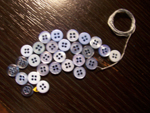
Ingredients= 28 buttons(It works best if you take small buttons) and some string
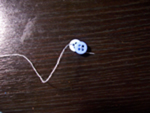
Step 1. Make a knot at one end of the string (any knot)
Step 2. Put the string through one of the holes and out the hole opposite.

Step 3. Do step two again. You will notice that you have one button on each side.
Step 4. Do step two 26 more times (or until you run out of buttons)
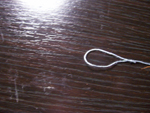
Step 5. make a loop with the leftover string
Step 6. Done!
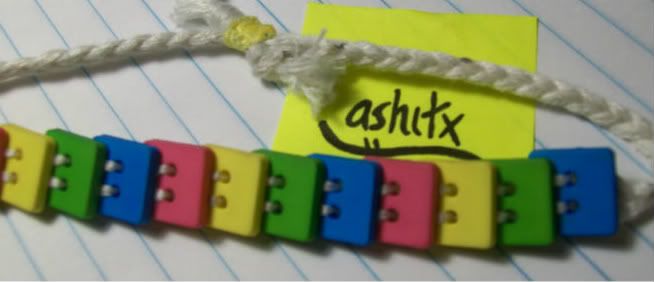
LAYERED BUTTON BRACELET
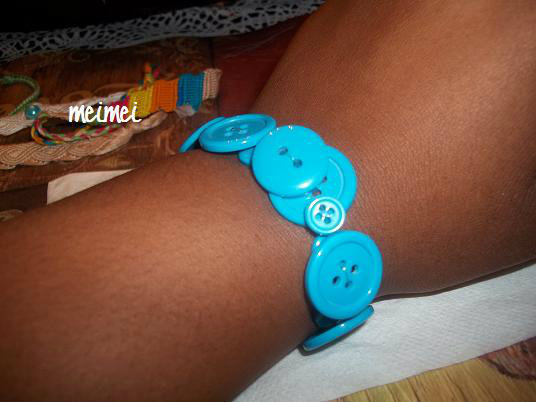
In this tutorial I will show you how I made my Layered Button Bracelet, shown below.
Materials
-string
-buttons
-and to know how to do fk and bk knots
Step by Step
Step 1
Choose your buttons! I got mine from Jo-Ann fabrics. I think that square ones work very nicely for this type of bracelet, however, you can use any kind you want.
Step 2
Start your bracelet any way you want. Stick to an even number of strings. The rule I use is: lay all the strings out flat, close together. If the width of the string is about the width of the button, then thats how many you need.
Step 3
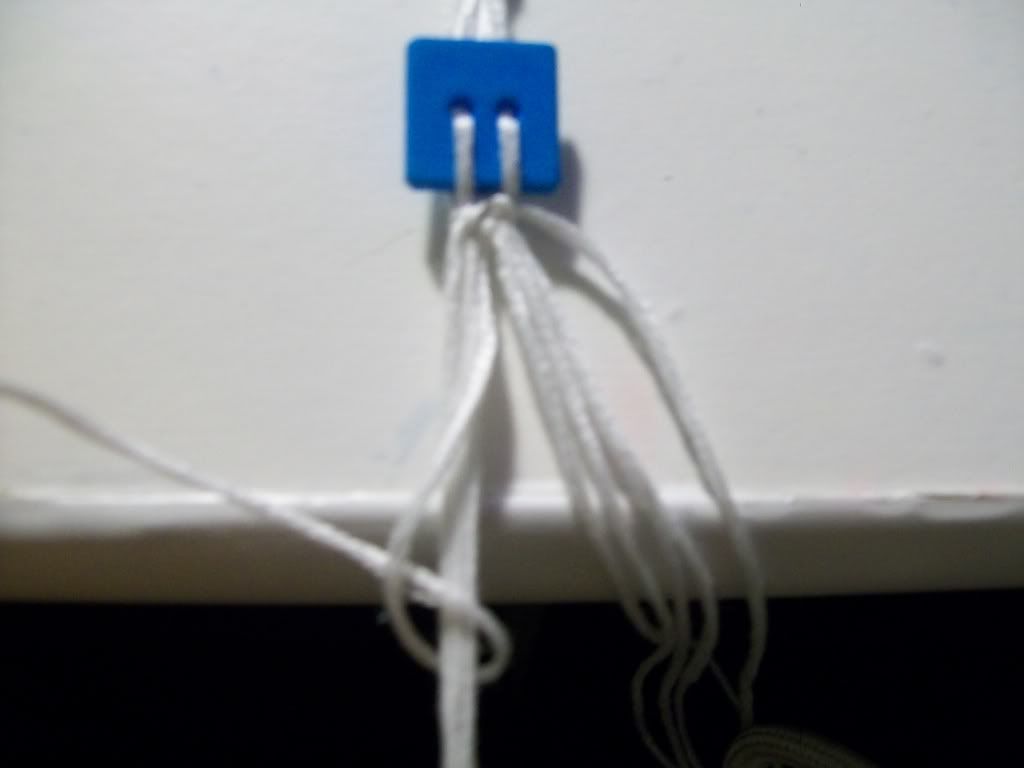
Take the two inner-most strings and make a forward knot.
Step 4
Take the left middle string and make a bk on all the strings to the left of it.
Step 5
Take the right middle string and make a fk on all the strings to the right of it.
Step 6
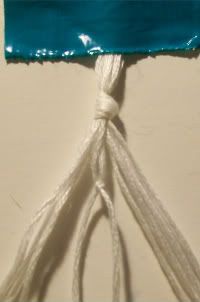
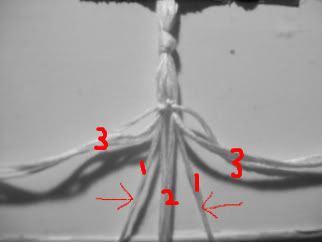
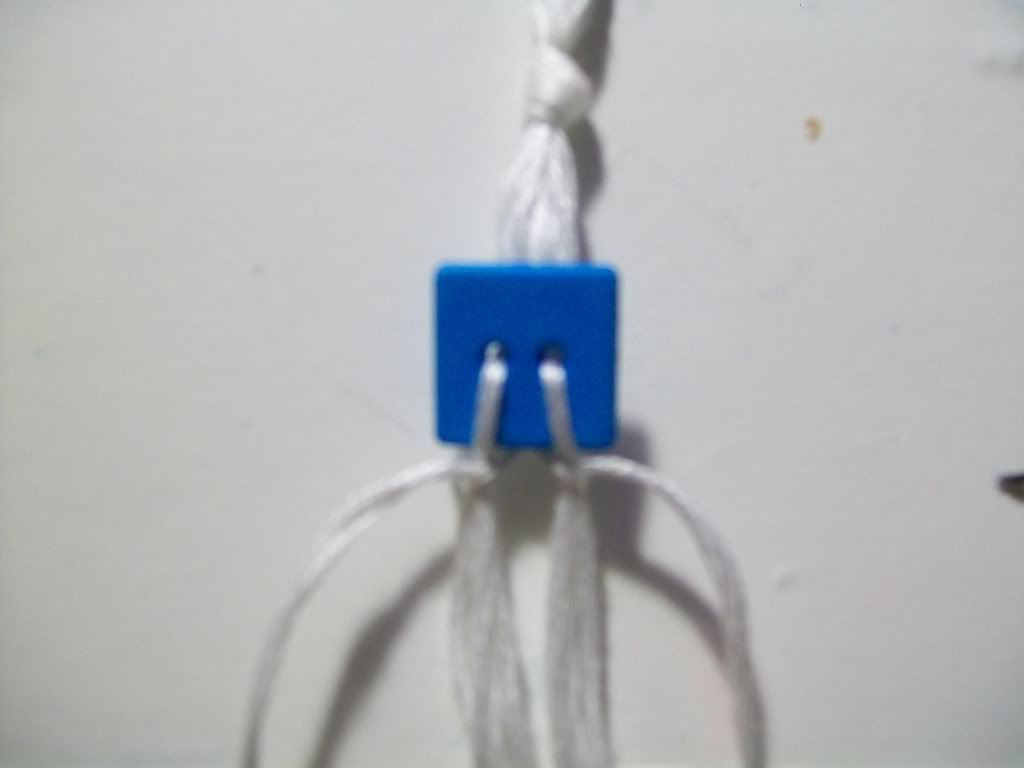
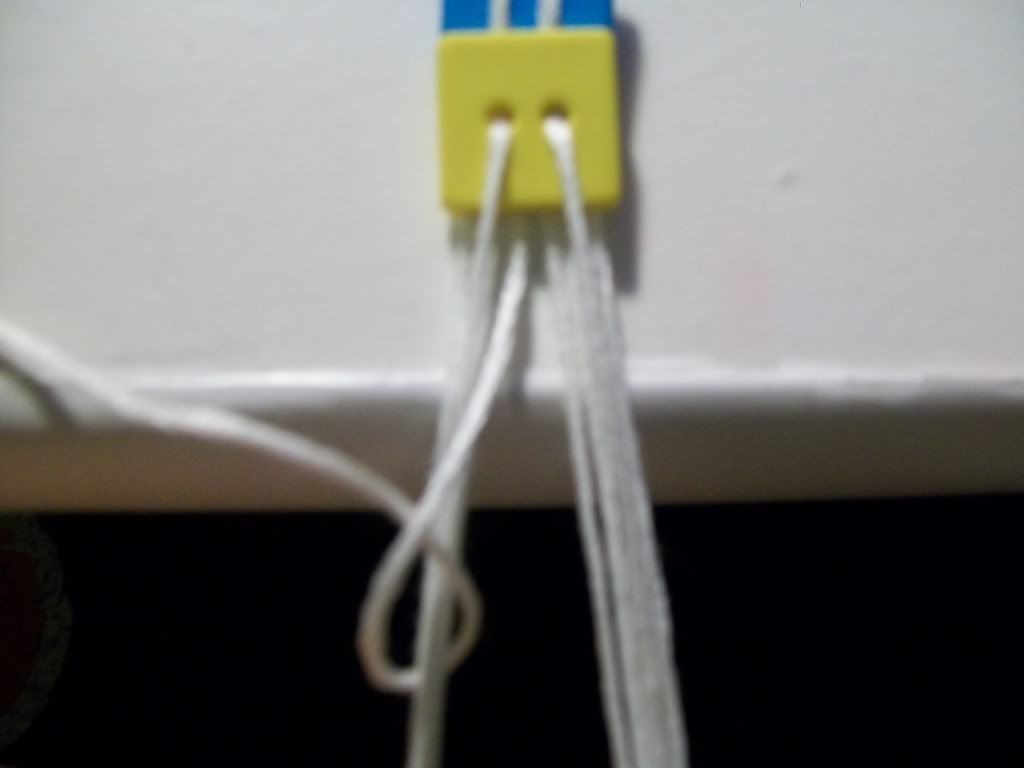
Now you will have 3 knots in the shape of an upside-down V.
Step 7
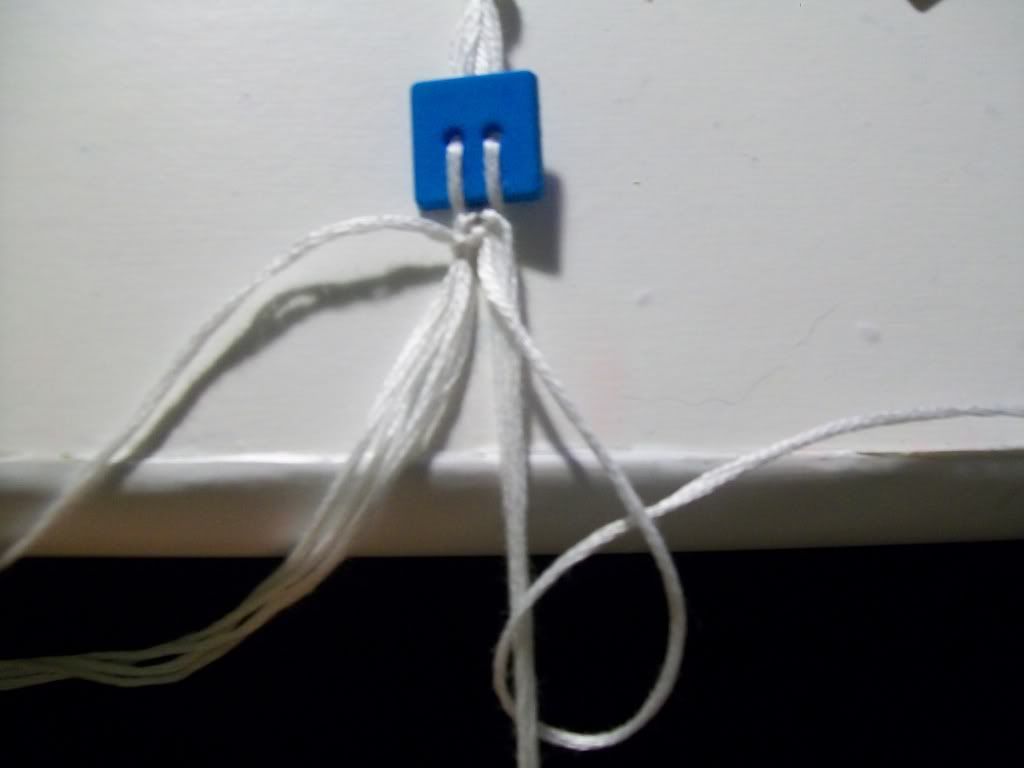
Now separate the strings like this. 3 1 2 1 3. Take both strings labeled 1. They should be the strings immediately surrounding the middle 2 strings.
Step 8
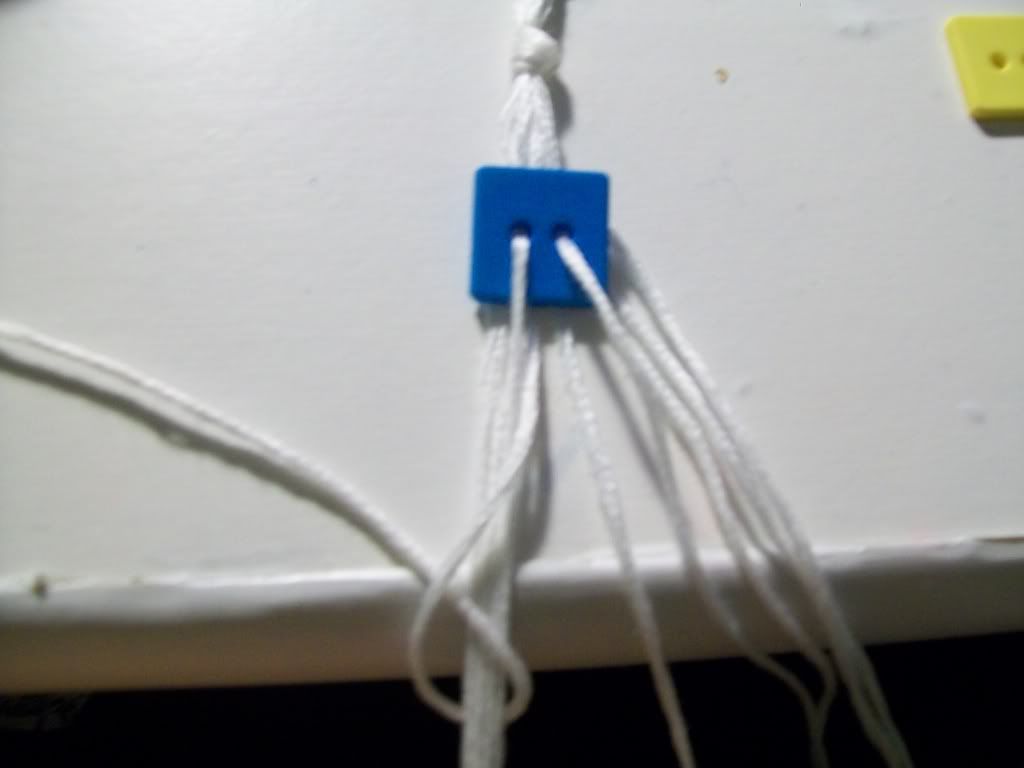
Take a button and string it through the button holes. Use the strings that I labeled 1.
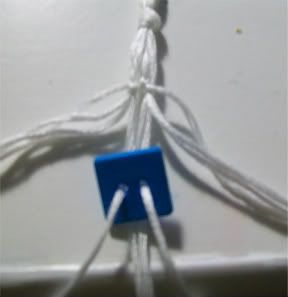
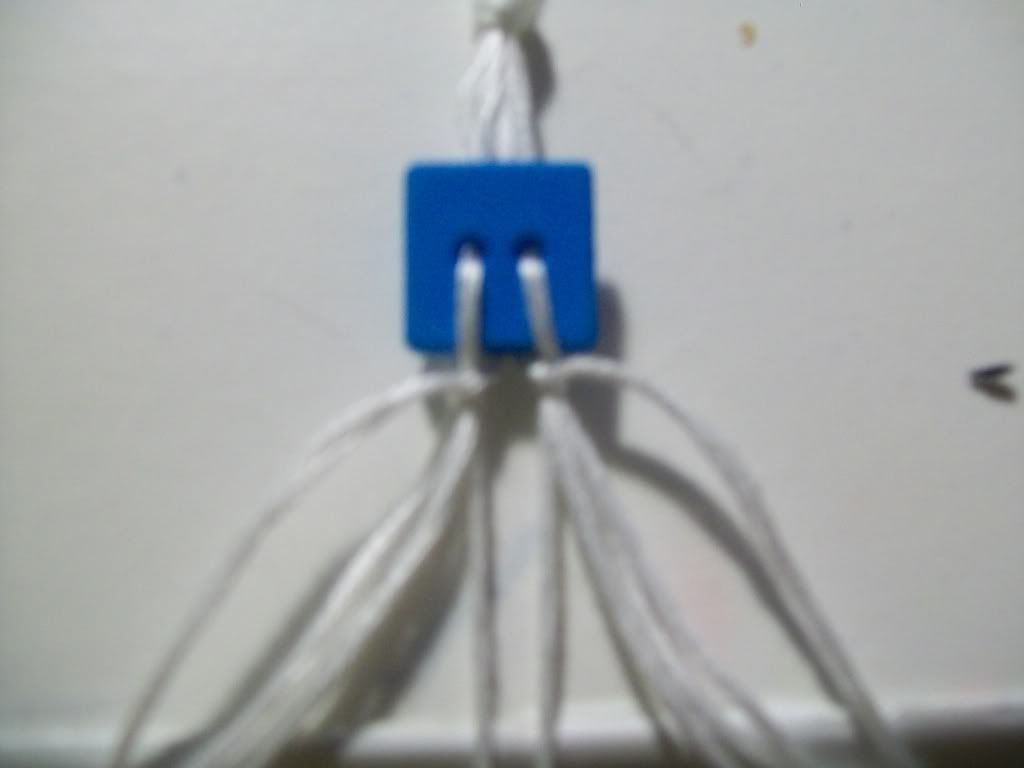
Step 9
Push the button all the way up to the three knots above.

Step 10
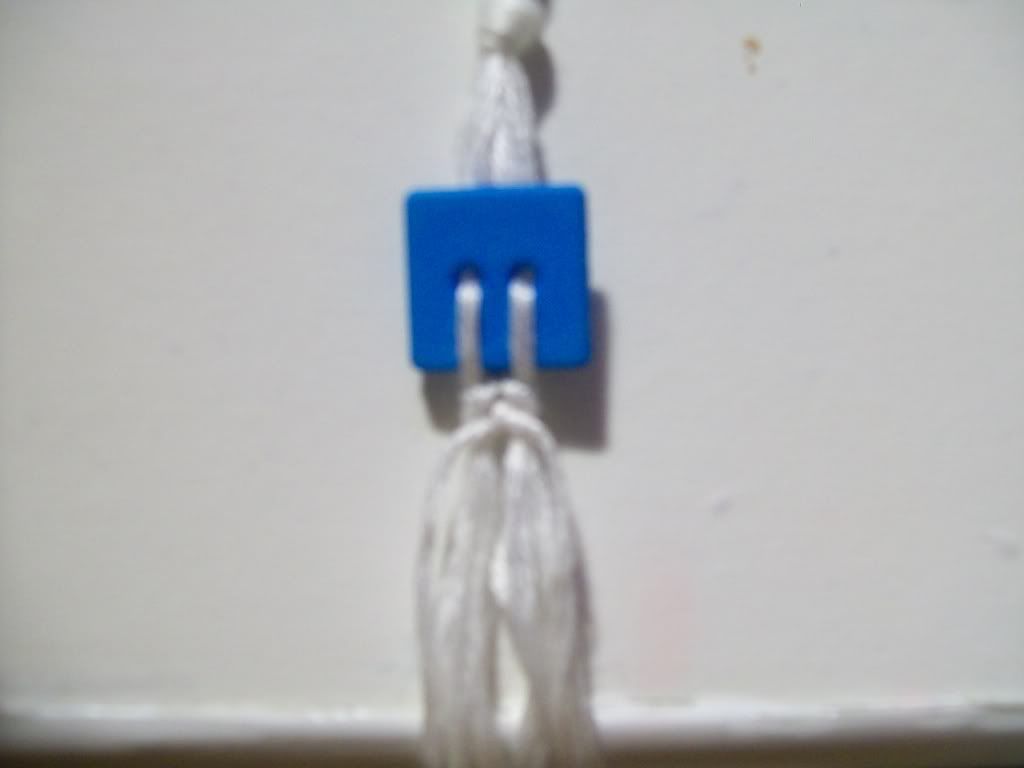
Take the left middle string under the button. Use this string and make a bk on all of the strings on the left.
Step 11
Take the right middle string under the button. Use this string and make a fk on all of the strings on the right.
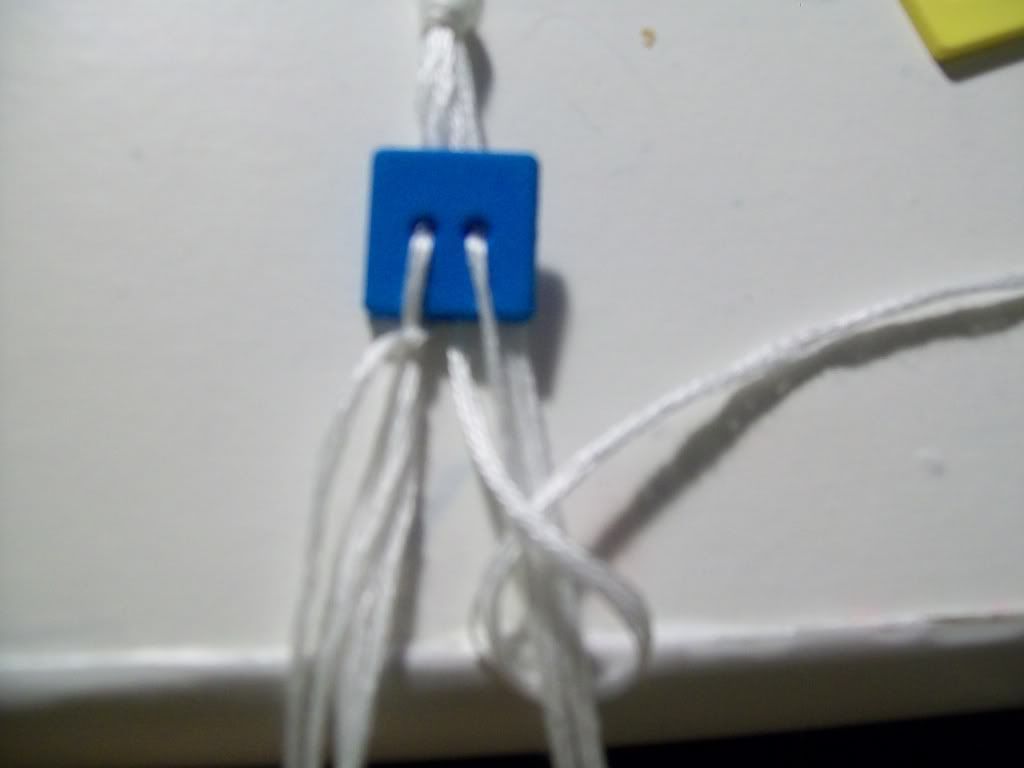
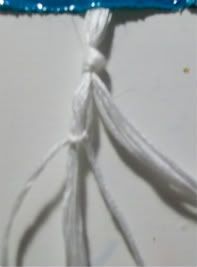
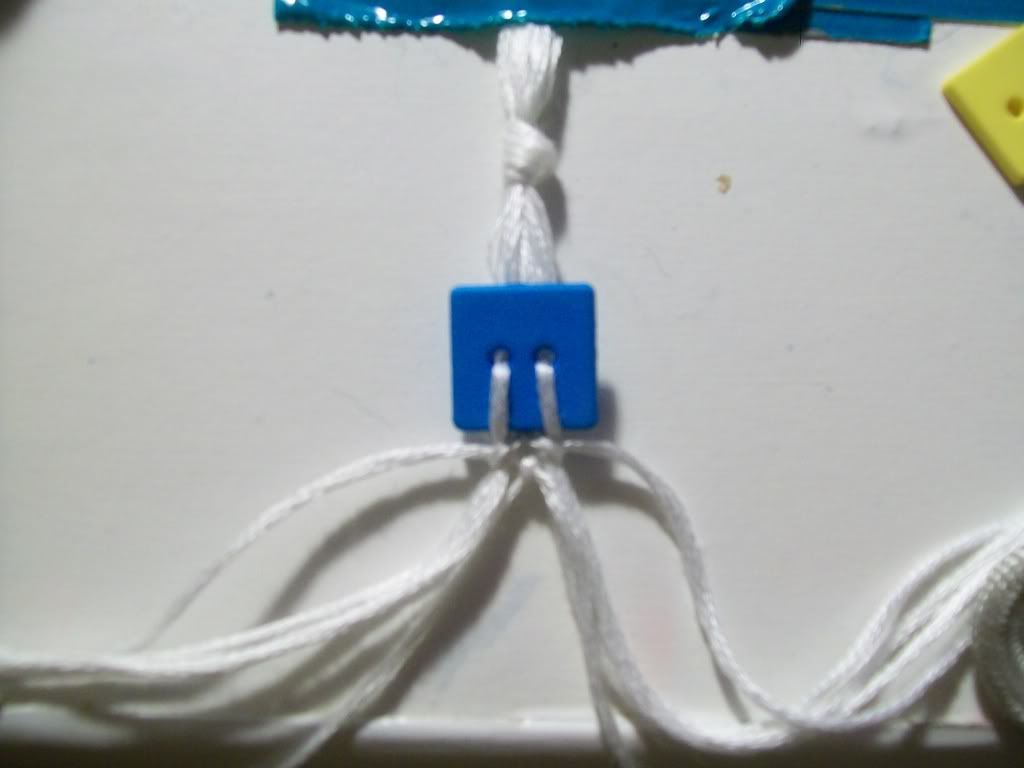
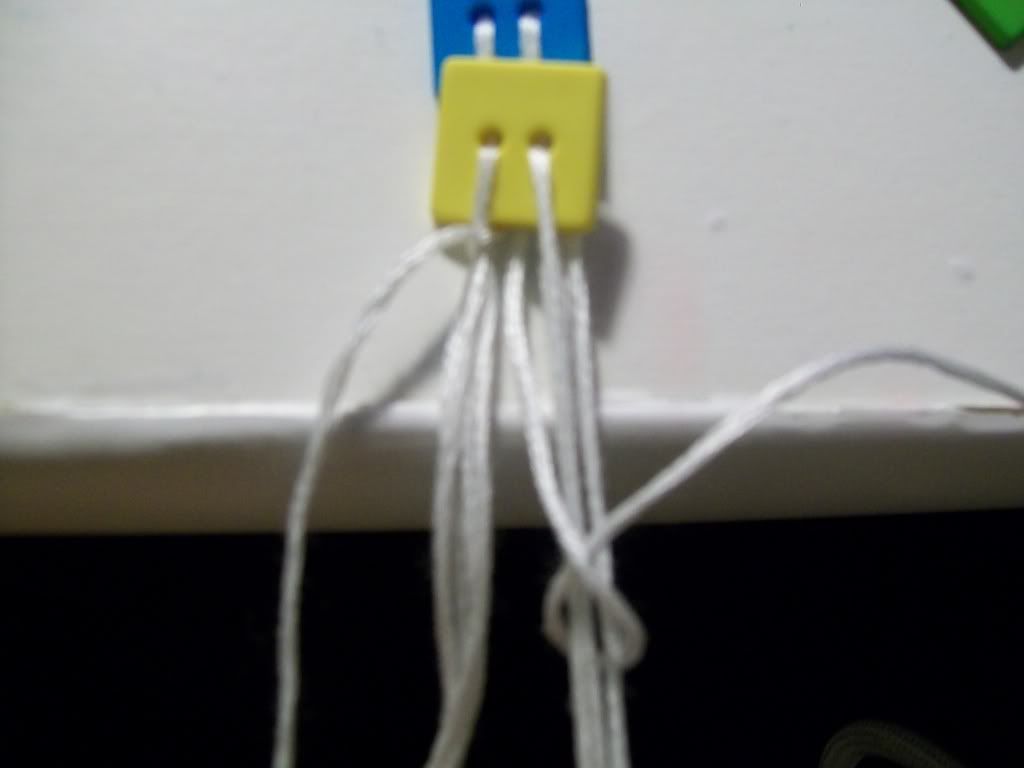
Step 12
Your bracelet will now look like this, with two knots directly under the button.
Step 13
Take the two middle strings.
Step 14
Make a fk with them.
Step 15
Take the two middle strings again, the ones that you used to make the last fk.
Step 16
Take the left middle string and make a bk on the strings to the left.
Step 17
Take the right middle string and make a fk on the strings to the right.
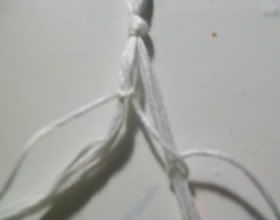
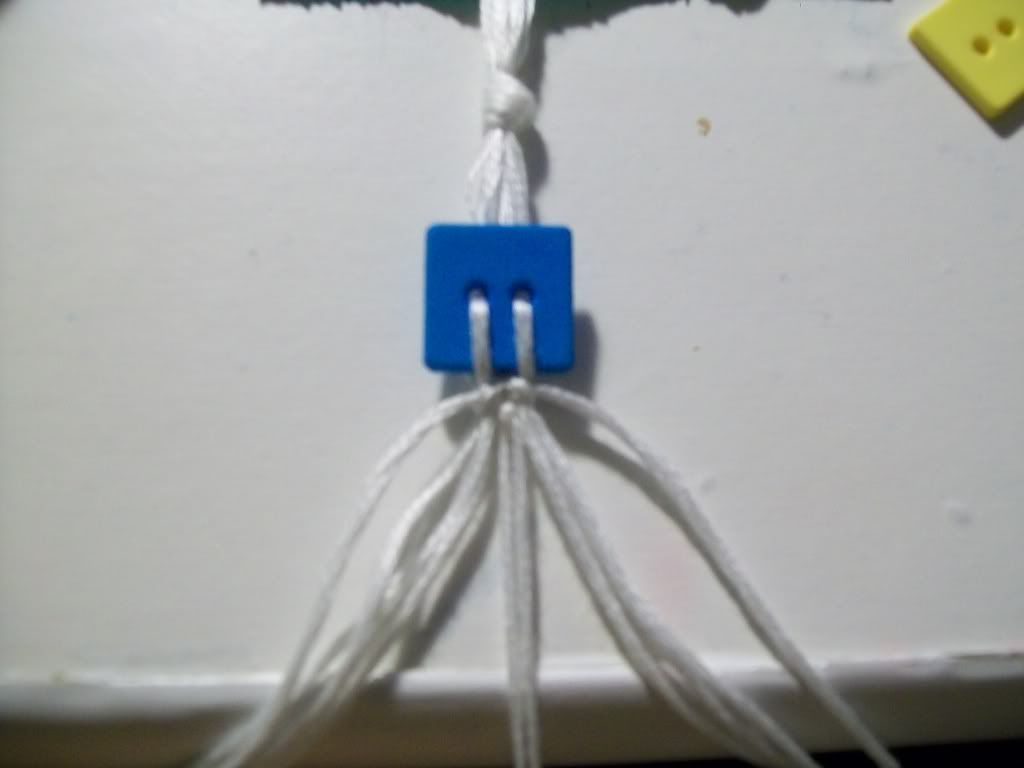
Step 18
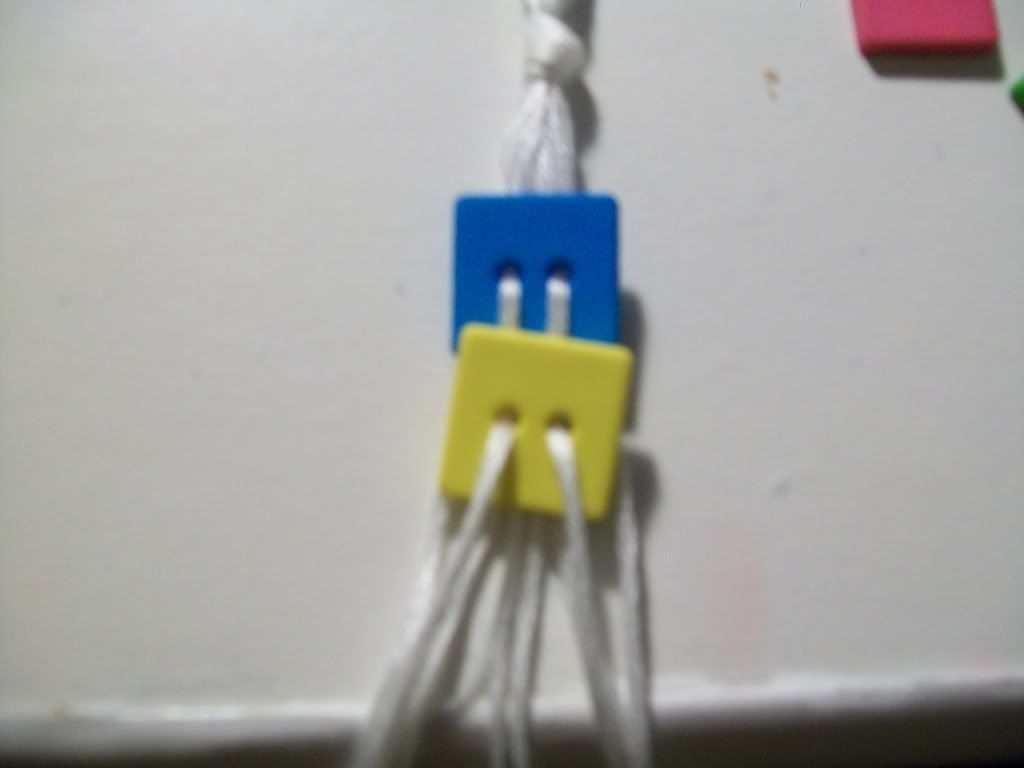
You should now have this. There should be five knots right now.
Step 19
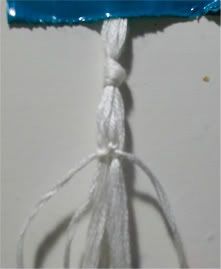
Now repeat steps 8 through 18.
Finishing the Bracelet
Step by Step
Step 1
Continue your bracelet until you have enough to wrap around your wrist.
Step 2
Take the left middle string and make a bk on the strings to the left.
Step 3
Take the right middle string and make a fk on the strings to the right.
Step 4
You will now have this.

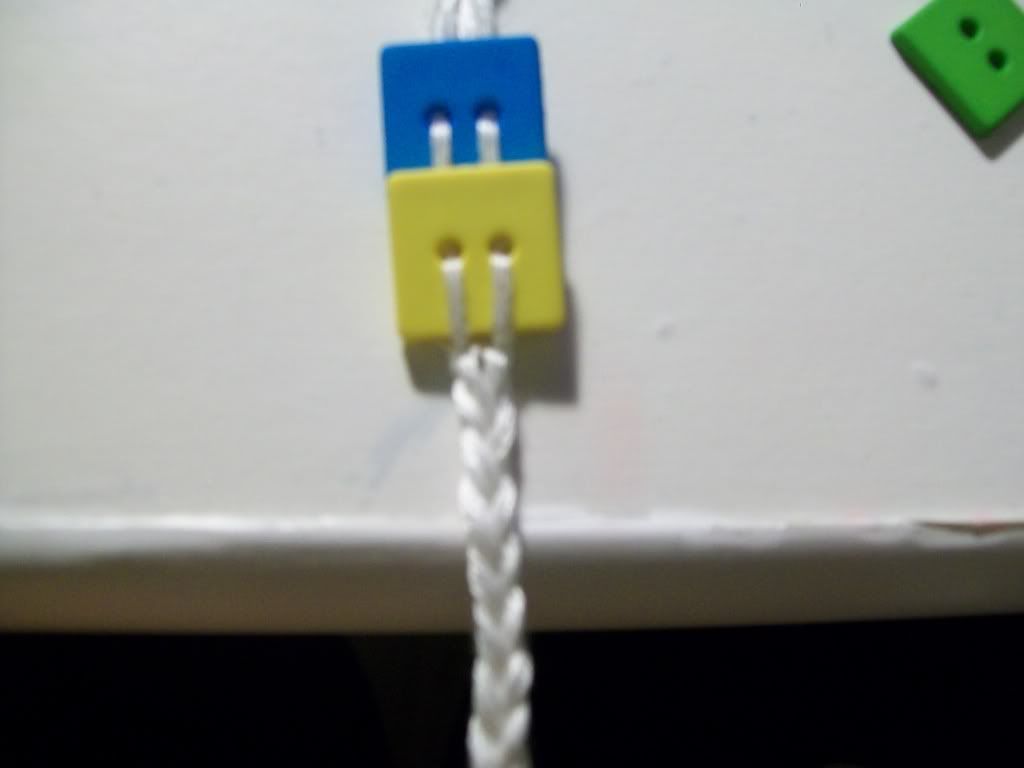
Step 5
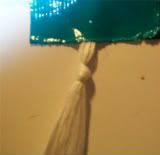
Now end the bracelet how you normally do. I usually use a braid.
Thanks for reading! I hope that your bracelet turns out great. I'm sorry about the quality of some of the pictures.
Editors
The original author of this tutorial is BeyondBracelets but it was also edited by Stefan, fieldhockey8, k_marie and kleinevos.
Uploaded photos (see all 19)
Comments