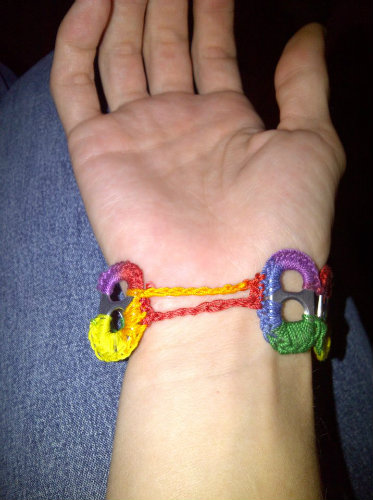
(( Projects )) Pop-Tab Crocheted Bracelet
Materials needed1) Needle nose pliers.
2) wire cutters
3) 14 or more pop tabs. More in case you accidently break the pop tab while rounding the edges.
4) Crochet string or one skein of embroidery floss of your chosen color.
5) Know how to crochet.
Preparation
Use the needle nose and carefully use them to roll/round back the flat bit of metal where the tab was attached to the can. Again be careful because you can break the tab.
Making the Bracelet
Start out by making a good length tail by crocheting a simple chain.
Once a good length chain has been made (about 5 inches) place two of the pre rounded tabs together, back to back, so all sharp edges are covered. Make sure they match correctly! If they don?t it won?t look right.
Hold the tabs in one hand (left if your right handed) and the crochet chain and loop in the other.
Then begin to crochet the string onto the tab.
Once you have a couple (knots) crocheted on, slide the crocheted knots down so the tail and beginning (knot) are in the middle of what will be one end of your bracelet.
Continue to crochet your string along the tab till you reach the center divider.
Now comes where you will have to experiment with how many crocheted knots will be needed, because the number of knots depends on size of thread/string you use.
Editors
The original author of this tutorial is Sareana but it was also edited by Stefan and k_marie.
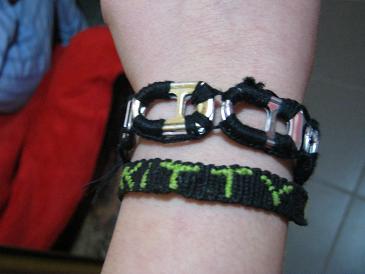
Uploaded photos (see all 4)

Comments