(( Bracelets )) Frostyna Bracelet
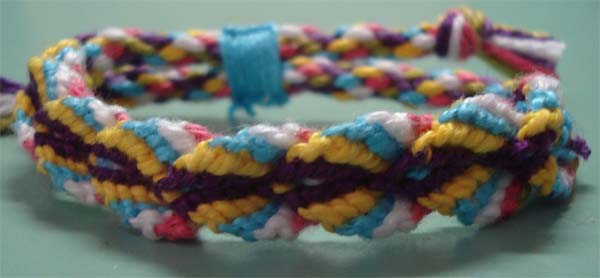
Introduction
This bracelet came about when I was trying to make the Zolino Bracelet and made a mistake. For the purposes of this tutorial I have used 14 strings however I have also made one with 12 strings and I prefer this amount. In the tutorial I have used 7 different colours but for the 12 string bracelet I only used 5 dfferent colours so colour choice and combination is up to your imagination.
Materials and Set Up
To set up your bracelet you will need 7 different colours (I used purple, yellow, blue, white, pink, green and lilac) - 2 strings each. Cut each string about 1 metre in length.
Place the strings in the following order:
Pu, Y, B, W, Pi, G, L, L, G, Pi, W, B, Y, Pu
or
1,2,3,4,5,6,7,7,6,5,4,3,2,1
Begin your bracelet in the usual way but make sure the colours are in the correct order when you come to the knotting.
Step by Step
Step 1
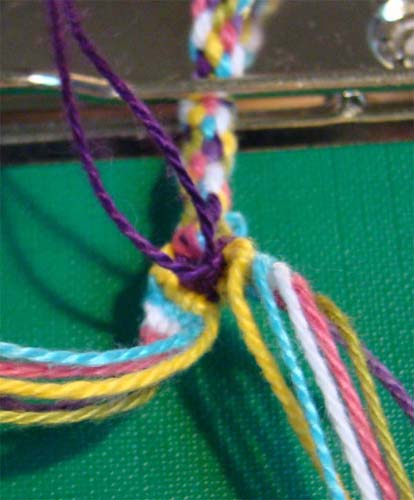
Start from the left side and do a forward knot over each of the next 6 strings in turn - Pu over Y, Pu over, B, Pu over W, Pu over Pi, Pu over G, Pu over L.
Step 2
Now using the Yellow string do a forward knot over the next 5 strings in turn - Y over B, Y over W, Y over Pi, Y over G, and Y over L
Step 3
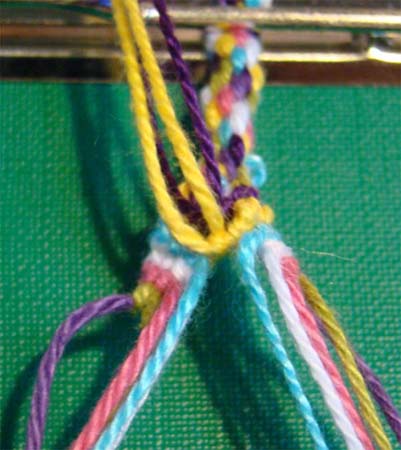
Using the blue string do a forward knot over the next 4 strings in turn.
Using the white string do a forward knot over the next 3 strings in turn.
Using the pink string do a forward knot over the next 2 strings in turn.
Using the green string do a forward knot over the lilac string.
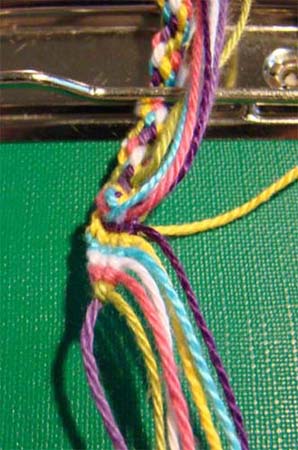
You have now finished the left hand side and it should look like this.
Step 4
Now it's time to do the right hand side.
Repeat steps 1 to 3 but starting with the right hand purple string and doing a backward knot instead of a forward knot.
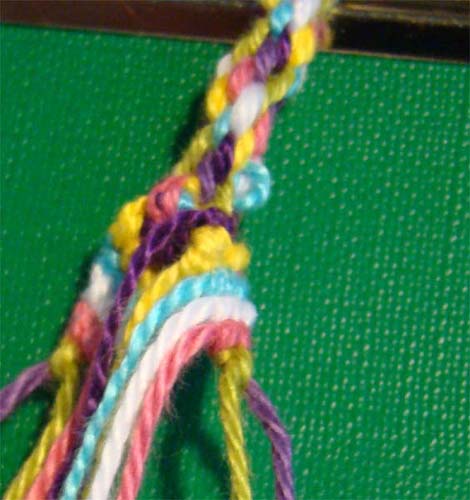
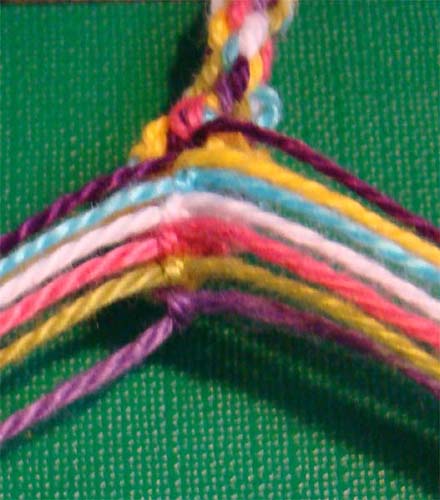
Step 5
Starting from the middle, join the 2 purple strings using a forward knot. Place those strings out of the way.
Join the 2 yellow strings using a forward knot. Place those strings out of the way.
Join the 2 blue strings using a forward knot. Place those strings out of the way.
Join the 2 white strings using a forward knot. Place those strings out of the way.
Join the 2 pink strings using a forward knot. Place those strings out of the way.
Join the 2 green strings using a forward knot. Place those strings out of the way.
Join the 2 lilac strings using a forward knot.
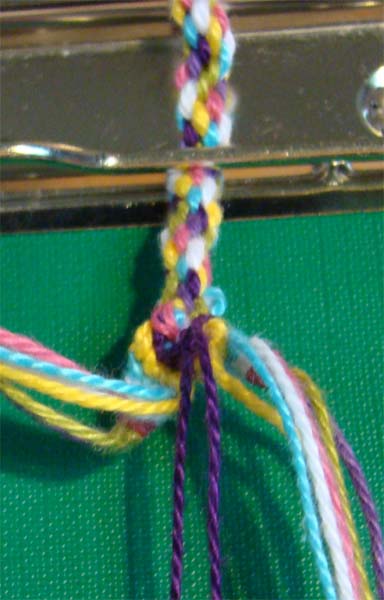
Step 6
Separate the strings into 2 sides.
Step 7
I find it easier to continue if you turn your bracelet onto the left side.
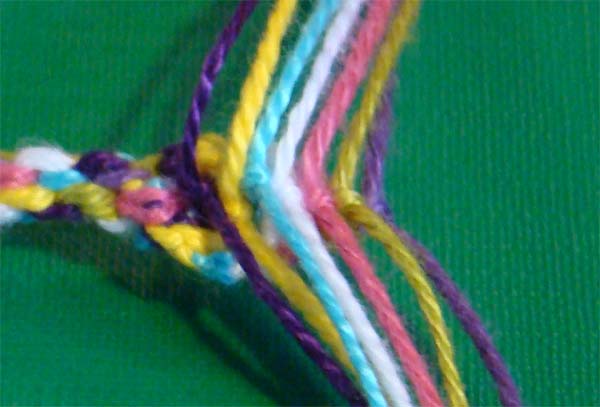
Repeat steps 3 to 5.
Step 8
Now turn the bracelet onto the right hand side and repeat step 6.
Step 9
Turn the bracelet striaght on and repeat steps 7 and 8.
Continue until your bracelet is the right length and then finish it off in your usual manner.
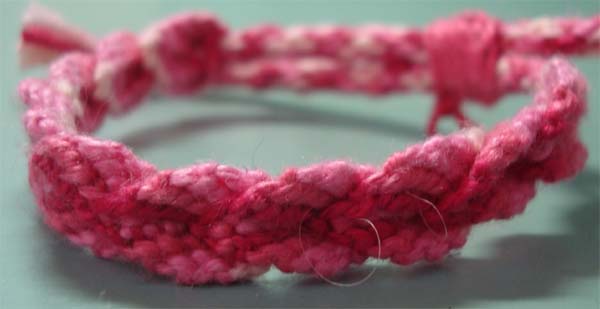
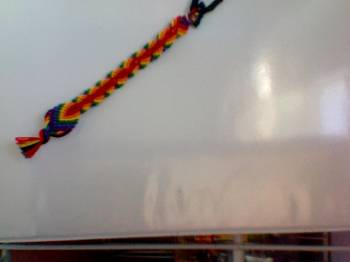
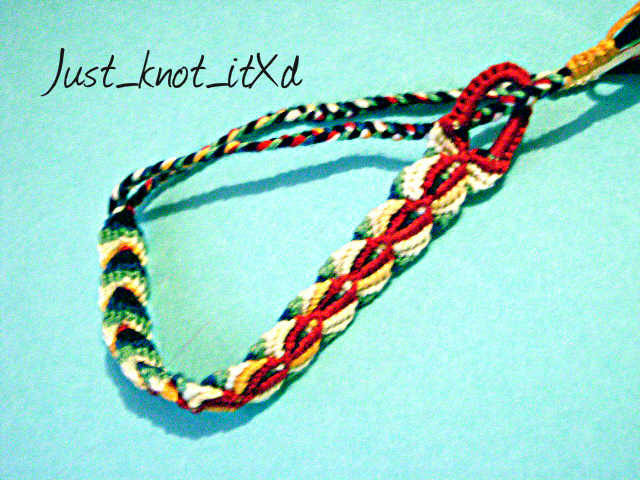
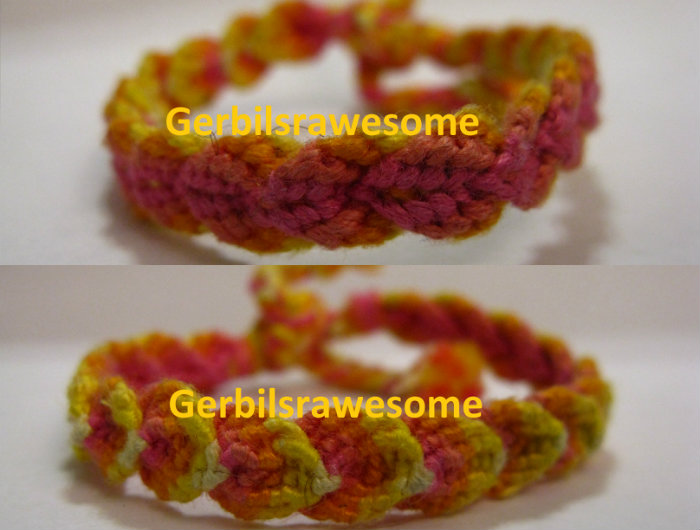
Photos
Video
Editors
The original author of this tutorial is Frosty but it was also edited by Stefan, Jeckle, zsylvester and Alicat.
Uploaded photos (see all 11)
Comments