(( How to... )) Extend short strings
Introduction
Have you ever run out of string before your bracelet was finished? Well here's 3 easy solutions!
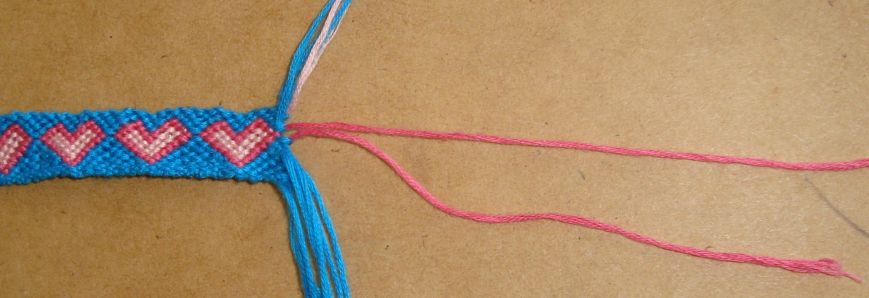
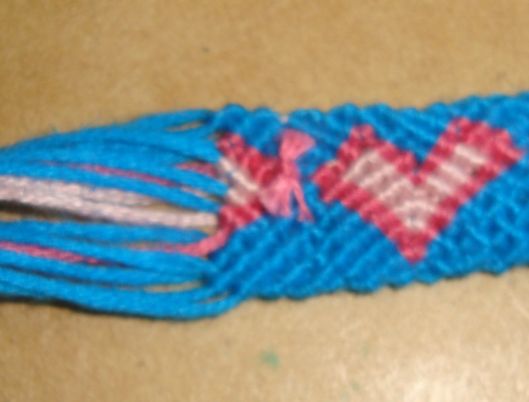
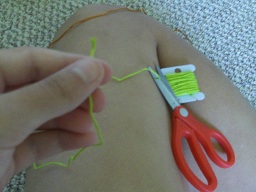
Method 1-Two strings
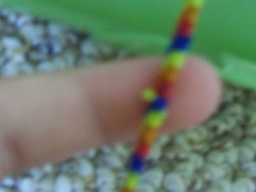
This method Requires groups of TWO strings in the same color
For this method the pattern shown is 38261
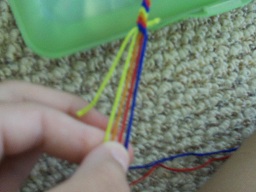
Step 1
Separate the groups of two that need to be extended.
Step 2
Determine how much more string you will need to complete the bracelet and fold it in half.
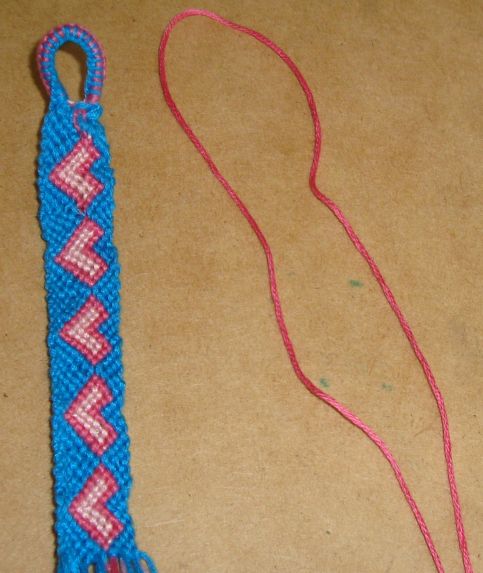
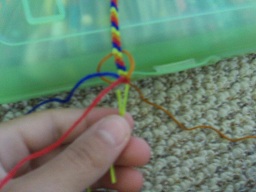
Step 3
Flip your bracelet over and wrap your new string around the group of two short strings and pin or clip your short strings up so that the new ones replace their spots.

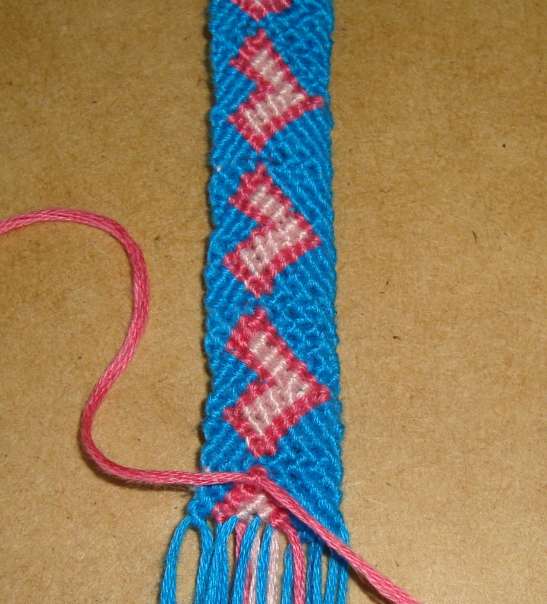
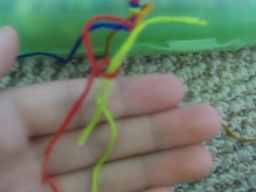
Step 4
Do a few more rows of your bracelet using the new strings.

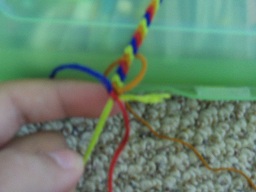
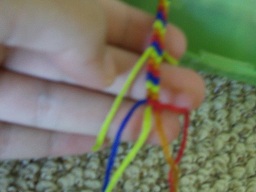
Step 5
Flip your bracelet over and do a forward knot with your two short strings.
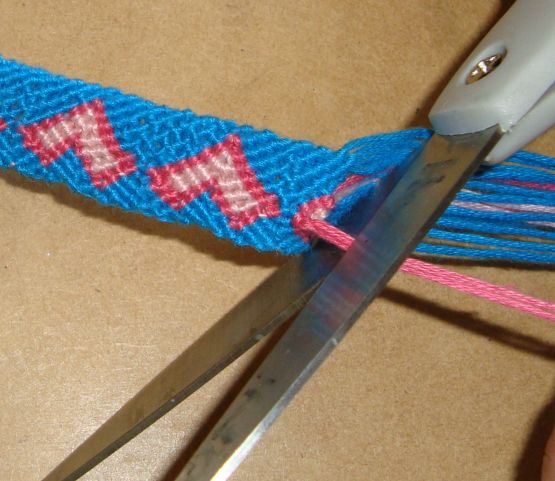
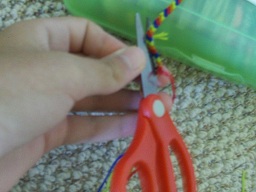
Step 6
Now cut your strings. (Don't do it to close to the knot or it will come undone!)
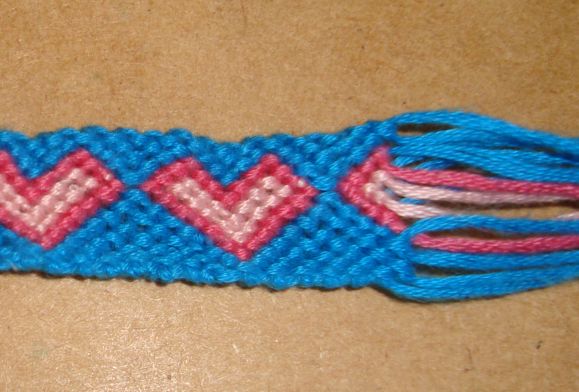
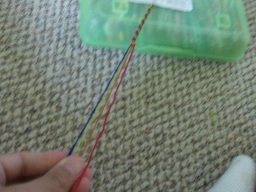
Finished look:
Method 2- Any amount, nail polish/glue
Materials
-String extensions, as long as needed to add to finish bracelet plus a few inches
-Clear nail polish OR glue
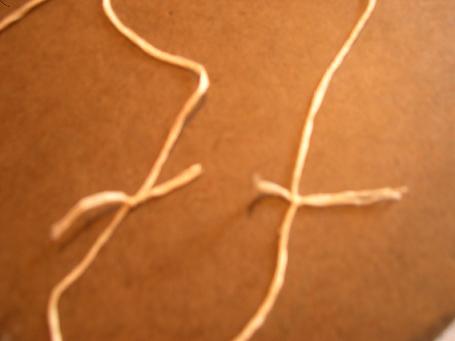
Step 1
Tie each short string to its matching extension string. It is okay to have the strings sticking out, we will fix that later.
Step 2
Cover each knot with clear nail polish (or glue) on one side and wait for it to dry(2-3 minutes). Flip the knot over and do the same to the other side.
Step 3
Once the nail polish is dry, cut off the excess string continue trying your bracelet. OR You can lay the strings on the back of the bracelet and apply more nail polish.

Method 3- Any amount, no knots
Instead of tying a new string onto the old one, continue knotting with the new string to fasten it. Exchange the old and the new string, and then include the old string is some knots. Both string ends will be fastened in other knots so the remainder ends can be cut off without problem.


Editors
The original author of this tutorial is princess77cool2 but it was also edited by iluvmyspud, spiffehgymnast, happybunny, twilove1901, kimicup, Foz, k_marie, Alicat and G_Y_Purple.
Comments