(( Projects )) Pop-tab bracelet
| Table of contents |
|---|
| 1 - How to make the pop-tab bracelet 2 - Pictures (by dancer1o1) 3 - Videos 4 - Other pop-tab variations |
How to make the pop-tab bracelet
1. Gather your can tabs, elastic/stretchy cord and scissors. You will need about 20-26 tabs depending on your wrist size.
2. Cut cord to approximately 2-1/2 feet. Then loop through the first tab, situating the tab at center of cord.
3. Hold another tab below your first tab, (make sure your rough edges are always facing each other, smooth side to the outside) overlapping so you can see through openings of both tabs. Thread the cord up from the bottom through both tabs, bringing top cord through top hole and bottom cord through bottom hole.
4. OK, now get another tab and hold it on top, overlapping as before, and this time, thread the cords through the opposite holes forming an X on top.
5. Repeat till desired length
6. Final tab needs to be placed in back. Then bring the ends together to form the final X.
7. Turn bracelet over and thread the cords under the cords from the previous tab.
8. Tie the cords in a knot and then trim then.
9. Turn the bracelet back over then slide it on your wrist.

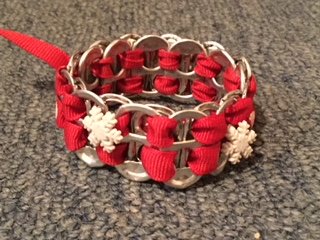
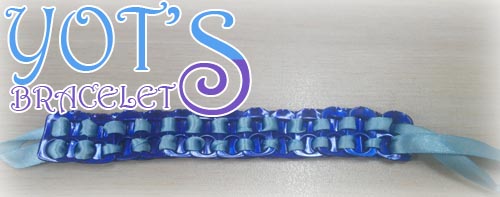
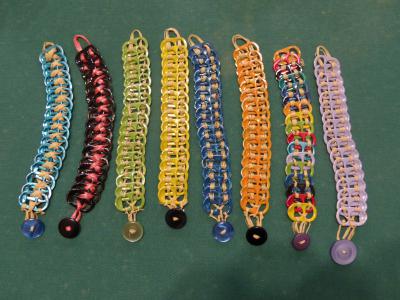
Pictures (by dancer1o1)


Videos
Other pop-tab variations
Editors
The original author of this tutorial is kitkat15 but it was also edited by dancer1o1, Stellaphone, Stefan, BeyondBracelets, Jeckle and k_marie.
Uploaded photos (see all 103)
Comments