(( How to... )) Make your own waxed cord
| Table of contents |
|---|
| 1 - Using glue: 2 - Using beeswax or paraffin wax: |
Using glue:
This tutorial will show you how to turn your standard six stranded embroidery floss into hemp-cording :D (Perhaps as a center for a peruvian wave or to make a wish bracelet (: )
You will need:
-precut embroidery floss (You could also do this with an entire skein but it would take longer )

-Elmer's Glue (You could use tacky glue or fabric glue but I'll explain why I chose elmer's glue)

-gloves (optional, if you dont want to get your hands all glue-y)
The reason I'm suggesting Elmer's Glue is because it WILL harden the string, but as you use it, it will get a little softer and easier to work with. I'm not sure how tacky/crazy/wacky glue or fabric glue might work, but I'm sure you could try it as well)
Step One:
Squeeze some glue into your open palm. (This is why you might want gloves...)


Step Two:
Take the string and smear it across your hand :D This will coat it completely in glue...

Step Three:
Now let it dry... after it dries completely, if you feel it's not hard enough, coat it again! (I usually coat it two or three times total. Remember, as you work with it, if you use Elmer's glue, it softens.)

When you finish it will be nice and stiff! Unlike (certain types of) hemp, you can just tie a knot, you wont have to burn it ^_^
Be sure to wash your hands.
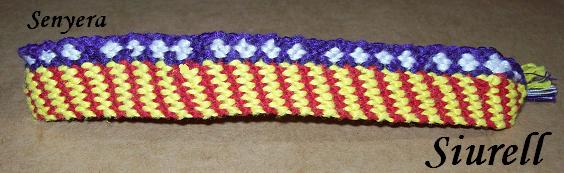
You can make something like this:

Another method could be to starch and iron your strings... not sure how that works, but it is surely worth a try. :)
Hope you understood.
Using beeswax or paraffin wax:
I use this technique with wide patterns with many strings, or patterns in which the strings are made of slippery poly or rayon threads.
You will need-
Wax, in a chunk size that is easy to handle (I like beeswax, but you can use a candle or paraffin wax in a pinch)
String of choice, cut but not woven yet
1. Grab your string near the end, short side facing away from you.
2. Place your chunk of wax underneath the string, and place your thumb over the string.
3. Pull! Keep firm pressure on the string as you pull. The string will begin to cut into the wax, coating itself along the way.
4. Once you've pulled the string through to the end, turn the string around and wax the short end.
5. If you just want a thin coating of wax on your string (to help keep it from tangling and help the knots stick a little better) then you are all done! If you want more wax coating, just identify the side of the string that did not get covered in wax and repeat the process on that side.
KEEP IN MIND over time, the wax will soak in to the threads a little and it will seem like the wax has worn off. To get the same level of workability back, simply sandwich the threads in some parchment paper and iron them, or use a hot hairdryer. Once cooled, the strings will feel freshly waxed again.
BONUS I've also used this technique to "glue" thin metallic threads to my embroidery floss, and the effect is AWESOME.
Editors
The original author of this tutorial is meimei but it was also edited by craftygirl98, Kestrel, iheartmrbump, KnotterHolic, FatnSassy, Alicat and kleinevos.
Uploaded photos (see all 1)
Comments