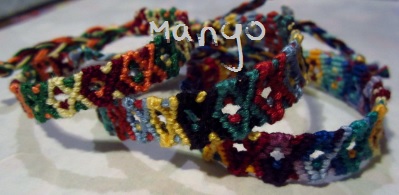
(( Bracelets )) Mirror Zig-Zag Scramble
| Table of contents |
|---|
| 1 - Materials and Set Up 2 - Step by Step 2.0 - Step 1 2.1 - Step 2 2.2 - Step 3 2.3 - Step 4 2.4 - Step 5 2.5 - Step 6 2.6 - Step 7 2.7 - Step 8 2.8 - Step 9 2.9 - Step 10 |
Materials and Set Up
Pick out what colours you will be using. This can be done with any number of strings, really. For the tutorial, I will be using four colours; red, orange, yellow & green. You will need two strings of each colour for this bracelet. Cut them and tie them in the middle as pictured below.

Next, line up your strings so they are A, B, C, D, D, C, B, A as shown below.

Step by Step
Step 1
Starting with string A (the outer most string) make one row of knots, meeting in the middle as in chevron patterns.
Far left string: do all forward knots on strings B, C, and D. Far right string: do all backward knots on strings B, C, D. Then tie both A strings together in a forward knot.
Your bracelet should look like this:

Step 2
Now, taking the far left string (string B), make a forward-backward knot onto the C string.

Step 3
Taking the far right string (the second string B), make a backward-forward knot onto the C string next to it.

Step 4
Next, beginning with the A string on the right, make a row of forward knots as shown below.

Step 5
Taking the other A string, make a row of backward knots.
Your bracelet should now look like this:

Step 6
Taking the inner two strings (the D strings), make a forward-backward knot and a backward-forward knot on the C strings as shown here:

Step 7
You will now repeat step three, taking the A strings and making one row of knots as in a chevron bracelet.

Step 8
Now, taking the B strings (in this tutorial, it will be my yellow strings), you will begin again at step three.

Step 9
Repeat steps three through nine until your bracelet is desired length.

Step 10
Braid the ends, and you're done!

Editors
The original author of this tutorial is cadillacphunque but it was also edited by Foz, Kestrel and Alicat.
Uploaded photos (see all 1)
Comments