(( Closures )) Attaching a keychain to a bracelet
So, to get things started, I will divide this into 2 parts; Method 1 and Method 2. Method 2, however, I will divide into 2 subsections: Method 2a and Method 2b
Things needed
A keychain (the one you regularly see just about anywhere)

(For this one, disregard the action figure. All you need is just the keyring on top and the row of smaller loops/rings that attaches the action figure and the keyring together.)
Pliers

The bracelet/s you want to put a keyring on
Now that that's over, I can now get started :D
Method 1
In method 1, what you need here is the keyring, complete with the smaller loops/rings, pliers and the bracelet.
Step 1
First, you need to have a finished bracelet. What you do here now is, to make it easier, is to use either a paperclip or a safety pin to poke a hole into the 2nd or 3rd row of the bracelet. This step however, is optional.

Step 2
The picture here pretty much explains everything for this step. Well, part of it. :| What you do here now, is to detach the last ring from the row of tiny loops you have in the keychain, so you should be left with a keyring and a row of tiny loops and a separate tiny loop.. By then, it should look like this:

or, more preferably, this:

Step 3
Now that you have an open loop and a bracelet that may or may not have a hole, the goal is the same. Stick in the loop in the center of the 2nd or 3rd row of the bracelet. It should now look like this:

Step 4
Now, before you close the ring, sealing it off, slide in the keyring and it should end up like this:

Step 5
Using the pliers, seal the loop you used for the bracelet and the keyring, and TADA! You have successfully made a keychain! :D

Method 2
Method 2 is more of a variation of Method 1. The only difference here would be the variation between Method 2a and Method 2b. So here, all you need is the keyring and the bracelet.
Method 2a
Step 1
Step 1 here is fairly the same as Step 1 in Method 1. This, however, is not optional. You really will need to poke a hole in it, otherwise, you'll have a harder time.

Step 2
All you need to do here is to open up the spiral keyring, and push it in towards the bracelet. Once you're done, the bracelet should now be hanging from the keyring.

Step 3
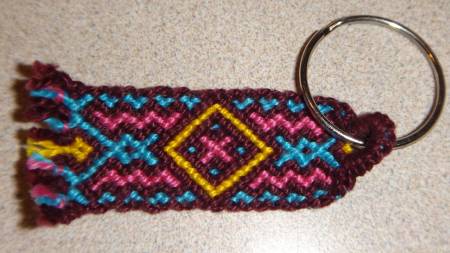
Your finished product should now look like this:

And that's the end of Method 2a. Now, onto Method 2b.
Method 2b
For Method 2b, your bracelet's gonna have to begin with the loop beginning. Much more preferable if you used a buckle for the loop. I actually prefer this method more, as opposed to the earlier ones in this tutorial. But, oh well... :. Let's get on with this, shall we? All you'll need here is the bracelet with a loop, and of course, your keychain.
This is actually pretty much straight forward, and steps are otherwise unnecessary, but I'll just put it for the sake of organization.
Step 1
You should have a bracelet with a loop, and your keychain. Now, what you do is, insert the loop in the inside of the keychain, and when you're done it should end up like this:
Just a quick note about this picture; It isn't mine. it's the profile picture of a user on the site, Joy. She owns it. I just needed to borrow it for the sole purpose of visual aid in my tutorial, since 1) I haven't made any bracelets with a loop, and 2) I'm fresh out of keychains, so I can't really make a Method 2b either way :P. I just needed to find an example picture of this method, and this is what I found on the site. So Joy, if you're reading this, I'm really really sorry using for using your profile picture! :(
Copyrights, Sources or whatever you want to call it
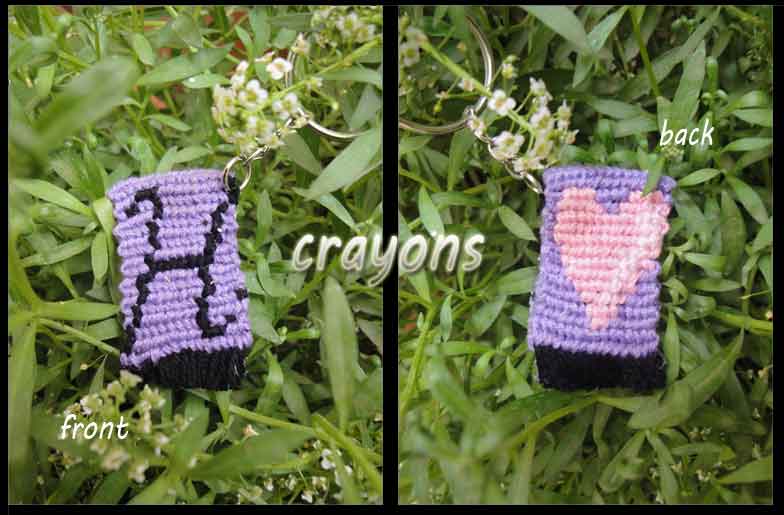
I own nothing. All copyright goes to it's respective owners! The only thing I'm claiming here is the wording of the tutorial, and the pictures of the keychain with the Divergent pattern. The rest of the images are NOT mine, and are used purely for visual aid only. This is customary with me, since I don't want to commit copyright infringement
Images:
Keychain: http://img.icefoundry.co.uk/l_stig_keyring_torch.jpg
Pliers: http://static.ddmcdn.com/gif/pliers-1.jpg
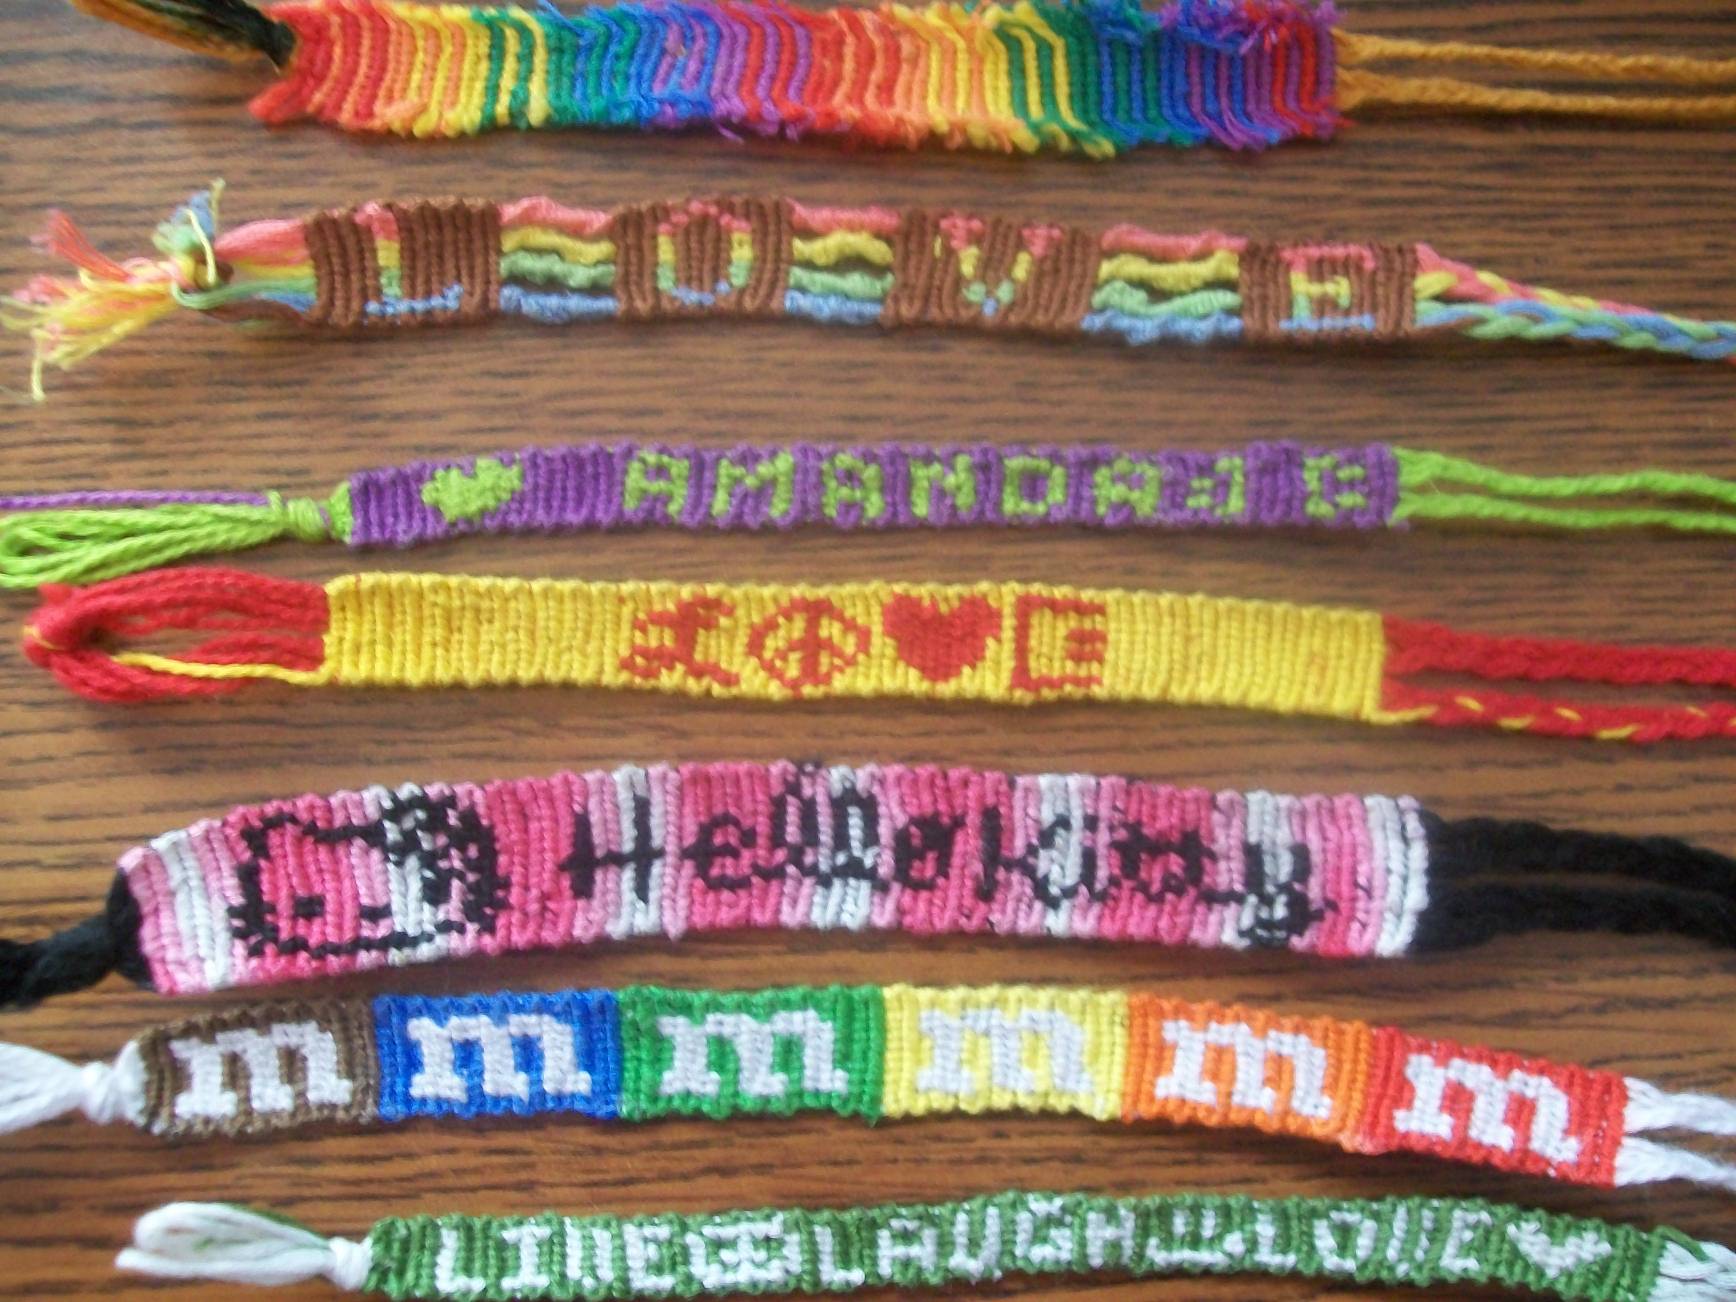
Bracelets: http://amandasbracelets.files.wordpress.com/2010/12/1.jpg
Alpha of a cat/ multicolor alpha bracelet: https://www.friendship-bracelets.net/gallery.php?id=15249
Pliers and ring: http://beading.com.my/blog/wp-content/uploads/2008/10/how-to-open-jump-ring-step-2-tn.jpg
Loop Braclelet and Keyring: https://www.friendship-bracelets.net/profile.php?id=2498
Editors
The original author of this tutorial is realornotreal but it was also edited by .
Uploaded photos (see all 2)

Comments