(( Bracelets )) Double Wave Bracelet
What you need
5 pieces of thread (for the best results use nylon micro-macrame cord in 1mm or size 10 crochet thread)
- 3 of one color
- 2 of two different colors (preferably)
Example
3 red, 1 white, and 1 black
- 1 thick nylon cord (like 1 ft longer or so than the length you want for the bracelet). You can also use 4 pieces of embroidery thread to make "one thread"
Preparations
For the sake of these instructions I will use the color combination from the example above, 3 red, 1 white, and 1 black.
Instructions
Step 1
- Tape, clip to a clipboard, or whatever you do to hold your bracelet in place while you work the thick nylon cord folded in half. DO NOT TIE IT! Well you can, but I guess it looks "authentic" if you don't, because that's the way they're made and you can't do the next thing if you tie it.
Step 2
- Fold the 5 thinner threads in half and then tie these around the thick nylon cord that is folded in half. and configure the threads like this: BWRRRTTRRRWB (B= Black, R= Red, W= White, and T=Thick nylon cord)
*note* you can switch the black and the white around, but just a note you always want the color you have 3 of towards the center, and both sides have to be symmetric, similar to the configuration of the cheveron patterns.
The Actual Process
Step 3
- Left side: Do 1 forward knot with each of the threads, red in this case (Only do around the thick nylon cord to the left side. Right side: Do 1 backwards knot with each of the threads, same concept but backwards.
3a. Left side: Do 1 foward knot with the white, right side: do 1 backwards knot with the white on that side.
3b. Left side: Do 1 forward knot with the black, right side: do 1 backwards knot with the black.
3c. Ok this is when it gets different, with that black on the left side do 1 backwards knot, and on the right side do 1 forwards knot around the thick cord.
Step 4
- Left side: Do 1 backwards knot with the white, Right side: Do 1 forwards knot with the white
4a. DO THIS ONLY TO TWO OF THE RED THREADS ON EACH SIDE. Left side: Do 1 backwards knot on each of the 2 red threads around the nylon cord, right side: Do 1 forward knot on each of the red threads on the nylon cord.
Step 5
- To me this was the hardest part. On the right side do your forward knot like you did on with the other 2. As for the left side do ? of a backwards knot (You know how you tie it twice to do 1 backwards knot, only tie it once) Then do the other ? of the backwards knot around BOTH of the nylon cords (This attaches it all to make a diamond)
*Note* alternate the side you do this one, like the "2nd diamond" do this on the right side by doing 1 backwards knot on the left, then on the right do ? of a forwards knot around the right nylon thread, then the other half around both nylon threads.
Finishing
Step 6
- After you done steps 3-5 enough times to get your desired length, make a knot with 2 threads around both nylon cord, then cut them pretty short. Cut the nylon cords if they're too long but keep them like 5-6 inches long. Super glue the thinner threads to the back of the bracelet (the side that is flat) and put glue or nail polish at the end of each of the nylon cords to prevent fraying.
Videos
Notes
Do not pull too tight on the strings, because then, the bracelet will start losing it's shape, and deform.
Editors
The original author of this tutorial is Griev but it was also edited by friendship12396, Stefan, dobridge74, Lots_o_knots, Jeckle, Foz, ketebeestje and Kestrel.
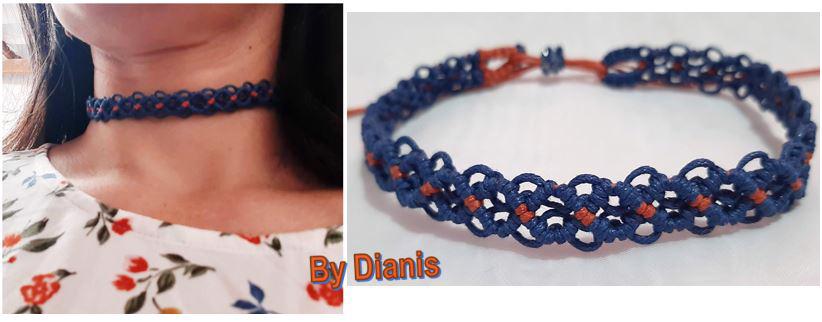
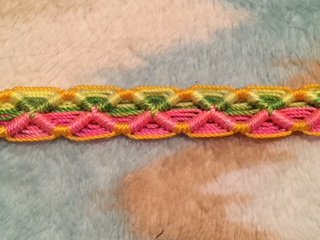
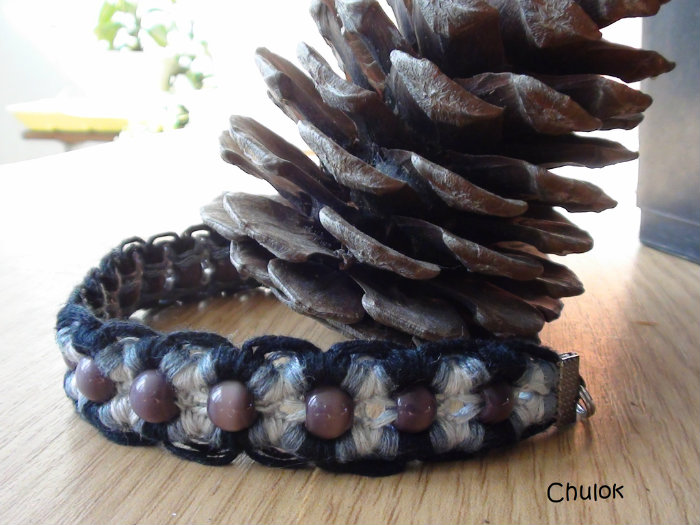
Uploaded photos (see all 48)
Comments