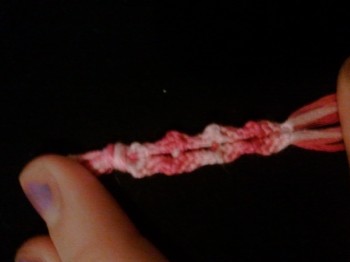
(( Bracelets )) French Princess Flower Bracelet!
| Table of contents |
|---|
| 1 - Materials 2 - Set- Up 3 - 1st Row 4 - 2nd Row 5 - (optional) diamond crown 6 - Photo Tutorial 7 - Photo Tutorial by MeerkatsRule10 8 - Tips... |
Materials
You will need an even number of strings (I used 8) and two strands of each color.
Set- Up
(Tie a knot) Divide the strings: (12344321) so that the colors mirror. Split (so 4) on each side
1st Row
Take string 1 and make forward knots across the first side. Take string two and make forward knots all the way cross the same side. Continue with 3 and 4. (Its like a chevron except you don't join the two sides) Now take string 1 on the opposite side and make backward knots across the second side. Take string two and make backward knots all the way across the same side. Continue with 3 and 4.
When you're done you should have 2 'columns'
Take both 1 strings (Should be on the far left and far right) And tie them together (behind the other strings)
DO NOT TIE ANY OTHER STRINGS TOGETHER!!!
2nd Row
Re-separate the strings so that it goes 43211234
Take string 4 and make forward knots across the first side. Take string 3 and make forward knots all the way cross the same side. Continue with 2 and 1. (Its like a chevron except you don't join the two sides) Now take string 4 on the opposite side and make backward knots across the second side. Take string 3 and make backward knots all the way across the same side. Continue with 2 and 1.
When you're done you should have 2 'columns'
Take both 4 strings (Far left and far right) and tie them together (behind the other strings.)
Now either repeat steps 1 and 2 or make an optional bow-tie:
(optional) diamond crown
Take both 1 strings and tie them together 3 times. Set them aside.
Take both 2 strings and tie them together 3 times. Set them aside.
Take both 3 strings and tie them together 3 times. Set them aside.
(You should already have tied both 4 strings together once, tie them together 2 more times.)
Now align all the strings on top of each other. (both 1 strings, both 2 strings, both 3 strings, and 4 strings on the bottom)
Tie s forward knot on the left string 2 using the left string 1.
Tie a backward knot on the right string 2 using the left string 1.
Tie a forward knot on the left string 3 using the left string 2.
Tie a backward knot on the right string 3 using the left string 2.
Take both 1 strings and tie them together 3 times.
Take both 2 strings and tie them together 3 times.
Take both 3 strings and tie them together 3 times.
Repeat from row 1 until desired length.
Photo Tutorial
Here is a photo-tutorial for the first and second rows. (No diamond crown yet)
Sorry the pictures are blurry!

The starting alignment and order for the strings

The finished 1st column of the 1st row

The two columns for the 1st row

the two number '1' strings are tied behind all the others

The finished 1st row

Starting order/alignment of the 2nd row

The 1st column of the 2nd row-starting order/alignment

The 1st column of the 2nd row- result

The 2nd column of the 2nd row- starting order/alignment

The two columns of the 2nd row

the two number '4' strings are tied behind all the others

The finished 1st and 2nd rows

And again the finished 1st and 2nd rows
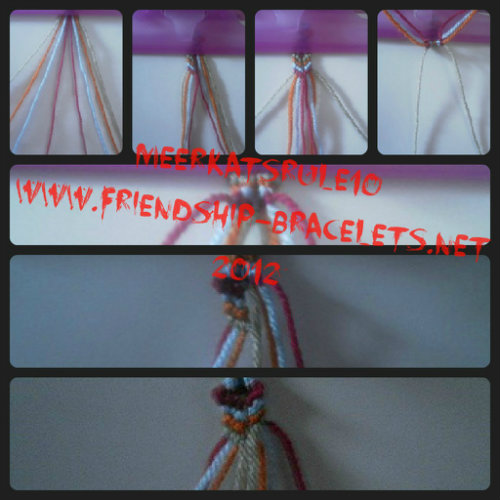
Photo Tutorial by MeerkatsRule10

Starting Order of Strings

First Row Finished

First Column Done!

Second Column Done

Knot these 2 strings

New order of strings, make forwards knots across the 4 strings.

Another Column Done!

Backward Knot Column done!
Tips...
PLEASE EDIT AND POST YOUR TIPS!!!!!!
Editors
The original author of this tutorial is abbyskigirl but it was also edited by Sareana, Jeckle, gracebri, k_marie and MeerkatsRule10.


Comments