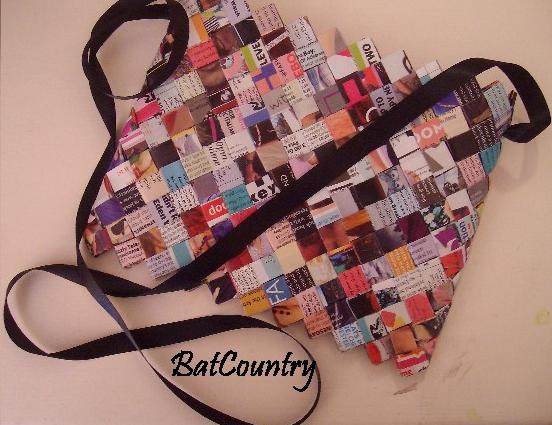
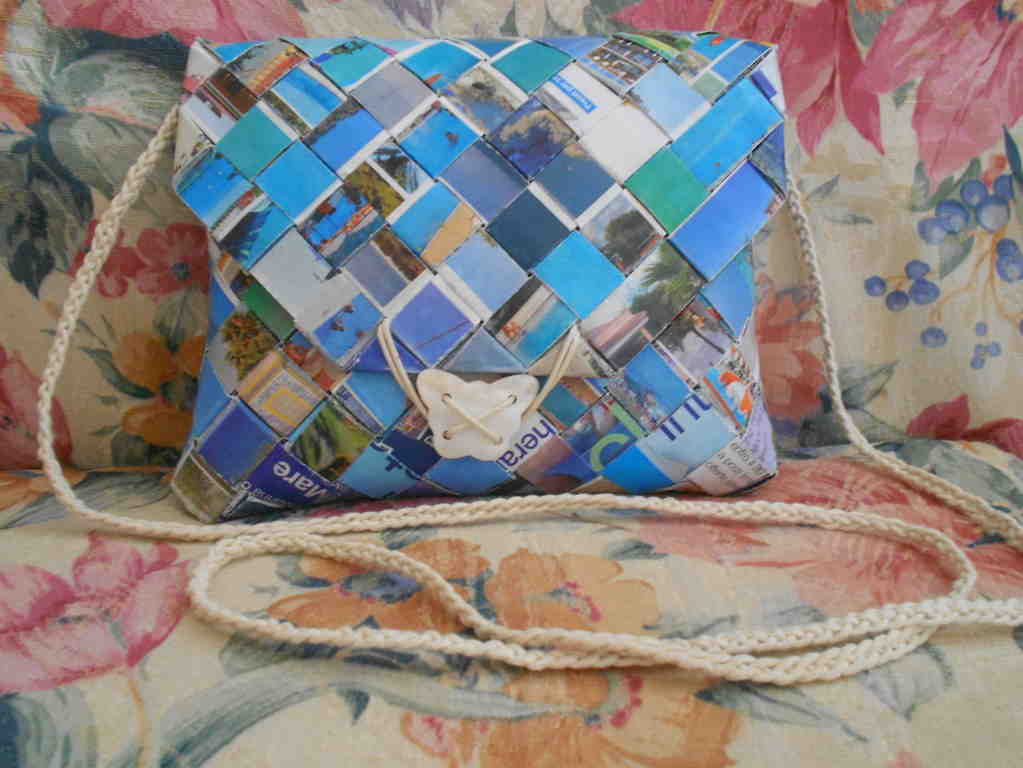
(( Projects )) Candy Wrapper Bag/Purse
This tutorial will teach you how to make a candy wrapper purse or bag. But the first thing you should know is that you do not have to use candy wrappers. I usually use magazines, but you can also use chip bags, newspaper, or any other creative item you can come up with. Some of the steps are tricky or confusing so I will tell you a short cut and help you cheat a bit, but it still works the same. So, the materials you will need come as followed:candy wrappers
magazines
newspaper or whatever
scissors
a ruler or measuring tape
clear tape (optional)
some sort of string
floss or wire
and a used or expired hotel card/credit card (optional).
You might also want a zipper and if you put that on you will probably need either a needle or super glue.
Step 1:
To start, you will need to cut your material (magazines in my case) in to 2x4.5 inch rectangles. This will give you about a 1 centimeter square when folded and linked together. If you want the squares bigger, try to keep the rectangles to that ratio, but keep in mind, the smaller the squares, the more intricate looking bag you have but it also will use A LOT more rectangles.
 This is about the size it would be.
Step 2:
Once you have cut out plenty of rectangles (at least 250) you will need to fold them to create links. To do that, you need to take one of the rectangles and fold it in half "hot dog" style. Unfold it and then fold both of the ends so they meet (also "hot dog" style) at the center fold. You then fold it up again so you have one long piece.

Step 3:
If you are using a material already waterproof, do not have tape, or you just dont want to make you bag waterproof, you can skip this step and go to number 4. To make you bag waterproof, you take one of the long pieces you have folded and decide which side you like better. So you don?t waste tape, though, I suggest putting tape on only one side but folding the ends over so they are covering the tips of all the sides. Does that make sense? You cover one side of the pieces with tape and then fold the extra over the side tips so only the middle section of one side is not covered with tape. If you do this to one link, I suggest doing this to the others.
Step 4:
After you have taped all the strips of your material you are using, or finished folding all of you material, you will need to fold the second part of the links. You pretty much repeat step 2, but instead of folding it "hot dog" style, fold it "hamburger" style. So, if you taped your pieces, with the side completely taped facing down and keeping the long strip folded the way you folded it in step 2, rotate the strip so its short side is facing you. Then fold it in half down or up and unfold it. Then fold it again so the tips of the sides meet at the center fold making sure all the fold of step 4 were "hamburger" style. Repeat this with all of your strips.


Step 5:
From here on out this will be the tough part. To make your bag look random, pick your links at random when linking them together, but you can also lay them out in a particular order if you want. So to link your pieces together, you need to align two of them together so one has its ends going through the loops of the other piece. Then push the ends of the top piece through the loops of the other piece. Take a third piece and push the ends through the loops of the top piece.
 Then take a fourth one and push the ends through the loops of the third link. Continue this and you need to make this as twice long as you want your bag.
Step 6:
Once you have made a chain twice as long as you want your bag, pull the ends of the link you just connected out. You then bring the beginning of the chain around and thread the two ends of the last link through the middle of the first link. Make sure the chain is not twisted in the middle. You then fold the ends over, one to each side, and tuck them into the link beneath it. There are other ways to do this, but I think this is simpler. To make it so the ends of where you just connected it don?t come out, I glue them down but you still want to be able to slip something through the space in between the loops. Make enough of these rings so that when stacked on top of each other, they are the height you want for your bag.
Step 7:
Once you have all of your rings made, you will need to connect them together. For this step you will need either a needle, or a credit card/hotel key that is cut so it will fit through the loops in between your links. String or tape the wire or string to the needle or card and tie a knot at the other end. Now, follow the diagram to show you where to enter the needle/card at. When you have gone all the way around once, I suggest going around twice and doing the inside at least once. Sewing the bottom is a little different, but I can't explain it. I just kind of weave them in a way so they stay together. Sorry if the picture is blurry, but the red line is what you want to follow.
 This is the bottom.
If you did not understand any of this or need help, you can comment, message me, or visit these sites.
? http://candywrapperpurse.blogspot.com/2007/08/chip-wrapper-purse.html
? http://www.cutoutandkeep.net/projects/candy-wrapper-purse
? http://www.makegizmos.com/things%20to%20make/how%20to%20make%20a%20paper%20chain.htm
I found a video on youtube that may help you begin yours.
Part 1
Part 2
Here is a video on how to make one out of "flower wrap"
Editors
The original author of this tutorial is a_g_gilbert2017 but it was also edited by regan, Zella, k_marie, Alicia434, Michela and BFF66.
Uploaded photos (see all 64)
Comments