(( Buckle )) Wave Buckle
Hi, this is my first tutorial so please forgive me if its a bit unorganized.This tutorial will teach you how to get a buckle on your bracelet that is different from the Chinese staircase but uses a similar method. so just in-case you haven't seen that tutorial i am going to go through the entire process so that its clear. It works best when the colours of your bracelet are symmetrical.
Step 1
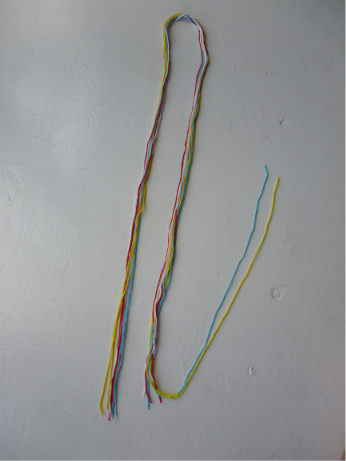
cut your strings to whatever length you need them but make two of them about 20-30cm longer, these are the two strings you will use to make your buckle. Mine are yellow and blue. (I'm making a basic chevron)
Step 2
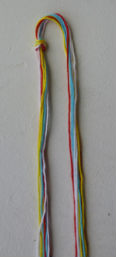
fold your strings in half but leaving the extra length of the longer strings on one side instead of equal.
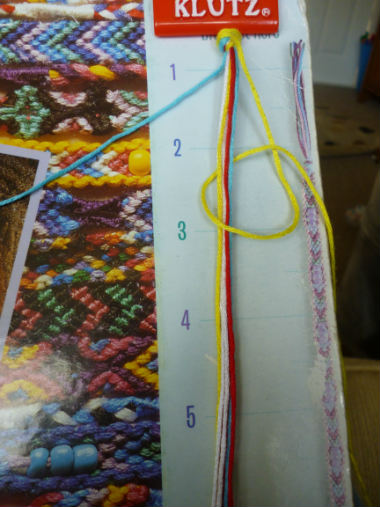
Step 3
tie a loose knot in your strings about half an inch from the fold in your strings. this will secure your strings while you tie your buckle.
Step 4
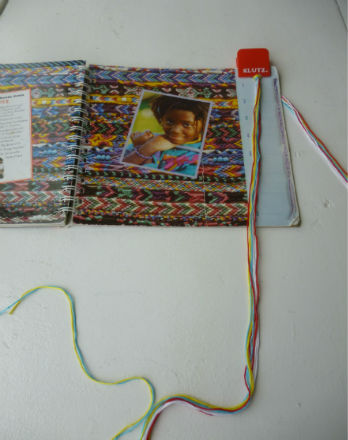
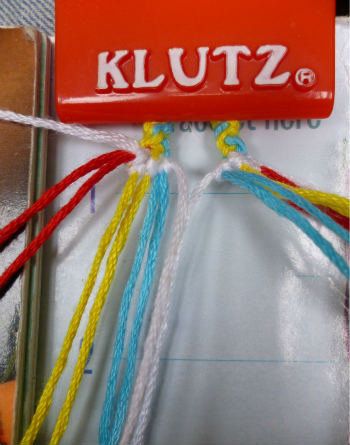
secure your strings against whatever you usually knot with...Loom, knee, pillow etc. I knot most of my bracelets on a book made of thick card. unless i'm knotting on the bus then they get attached to my trousers with a small bulldog clip :) you want to put the longer strings including your two extra long strings at the front or nearest you.
Step 5
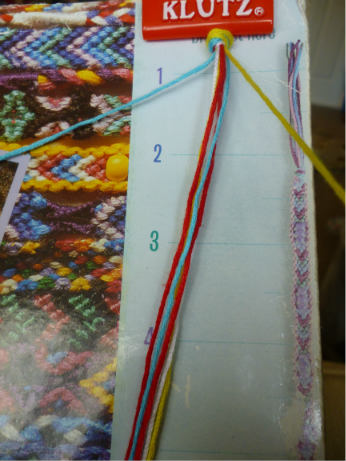
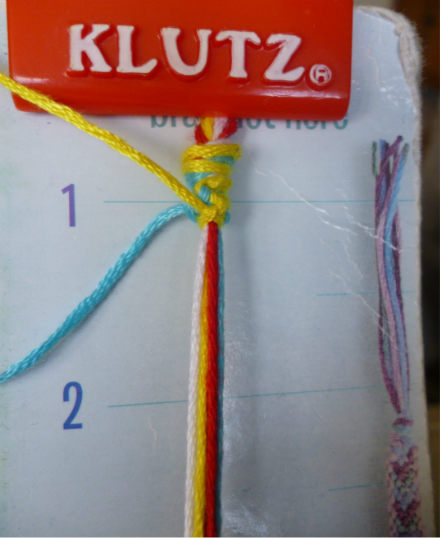
Separate your two longer strings off from the rest of your strings, i'm going to begin with my right hand string, which is yellow.
Step 6
take your right hand string and make two backwards knots over all your grouped strings (leaving the left hand string out- the blue one for me) This then moves over to the left, place it above the original left string.
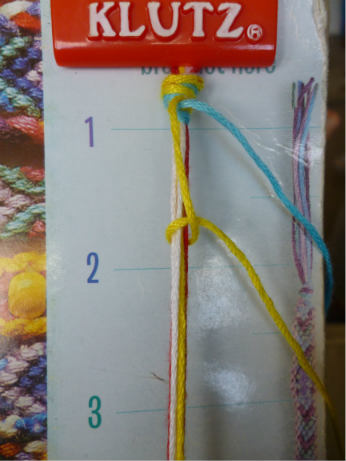
Step 7
Now both strings will be on the left but your will have only have knotted with one of them. take the string that hasn't been used yet (my blue one) and make two forward knots over your group of strings. this string now goes to the right.
Step 8
Now your strings will have changed places. Now you have to make two forward knots with the string on the left (which is yellow for me) it will then point to the right. As before place it above the string already there.
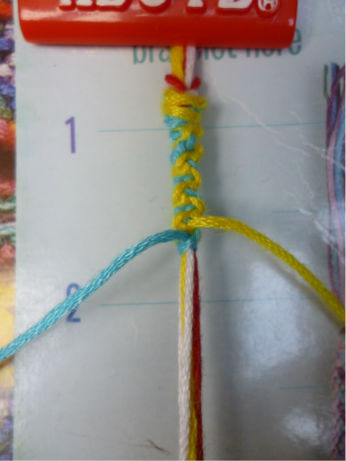
Step 9
both strings will be on the right so use the lower one and make two backwards knots over the group of strings. It will now point to the left.
Step 10
The next string to knot will be on the right, again do two backwards knots to have this string pointing to the left and place it above the other string. Both strings will now be on the left. You have to keep repeating the forward knots then backwards knots until the section is about an inch long. by placing the string that has just been used to knot above the other it will make the wave pattern.

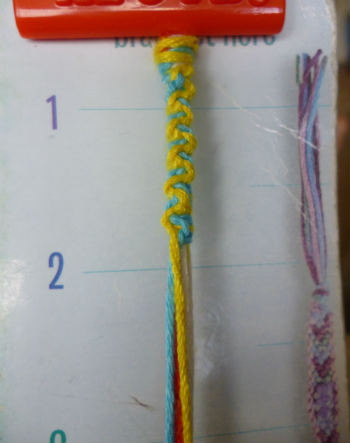
Step 11
Un-clip the strings from your working area and untie your knot that your made around all the strings in the beginning. this will leave a section in the middle of all your strings about an inch long.
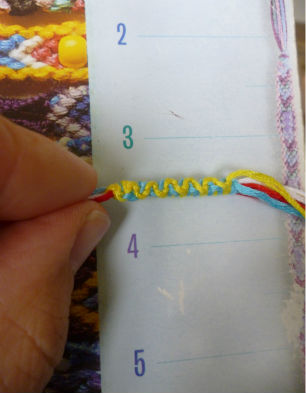
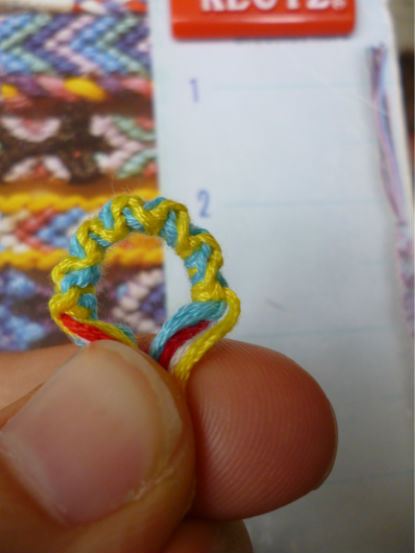
Step 12
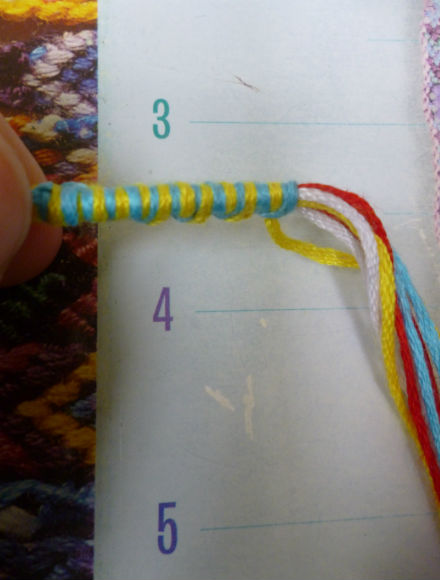
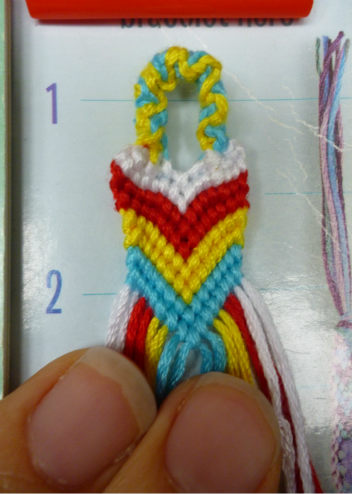
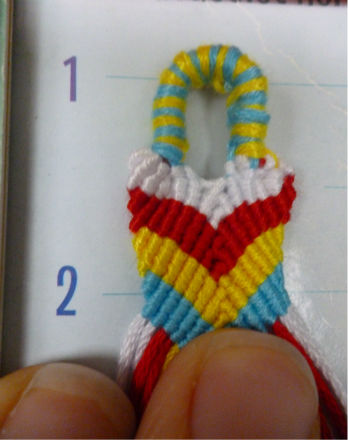
Fold this section so it creates a loop then clip it back on to your working area. you can have either the wavy side at the front of your bracelet or if you have used two colours it also looks good just alternating colours (like the back of mine in the pictures)
Step 13
separate your strings out in the order of your bracelet and begin your pattern as usual. like i said before i'm doing a basic chevron.
Step 14
When you get to the center two strings you do have to hold the string firm to keep the knots from pulling apart again.
Note: this does still work with more than two colours and will create a wave but i think it looks best with two colours. also if anyone else has already done this tutorial i haven't found it yet but i apologize for seeming to copy your idea x
Editors
The original author of this tutorial is Becci but it was also edited by Alicat and Foz.
Uploaded photos (see all 1)
Comments