(( Bracelets )) Laced Paracord Bracelet
| Table of contents |
|---|
| 1 - Introduction 2 - Materials 3 - Step by Step 3.0 - Step 1 3.1 - Step 2 3.2 - Step 3 3.3 - Step 4 3.4 - Step 5 3.5 - Step 6 3.6 - Step 7 3.7 - Step 8 |
Introduction
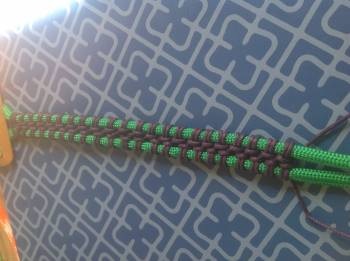
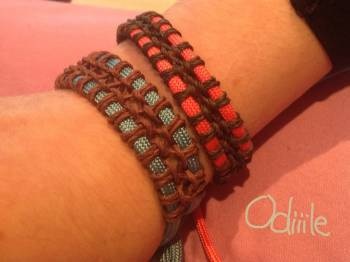
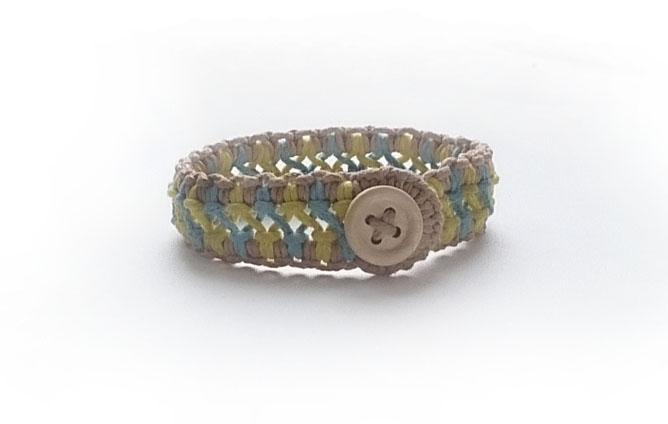
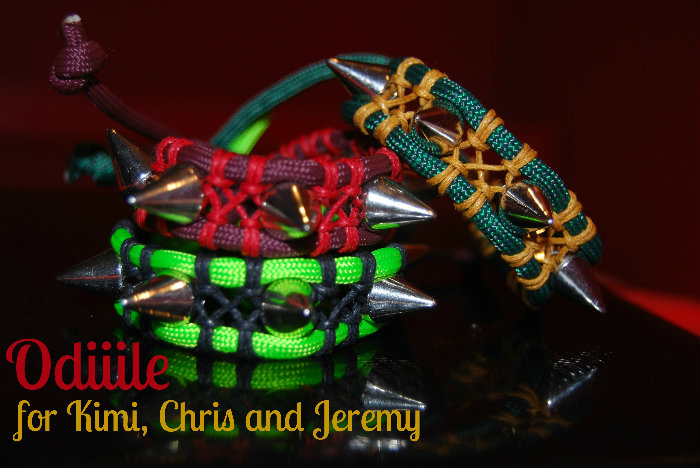
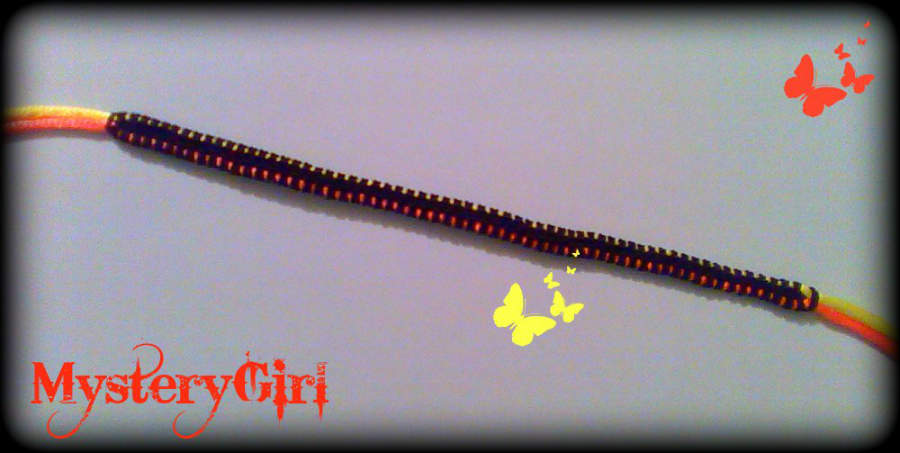
Today you will learn how to make the laced paracord bracelet.
it looks like this :

Materials
--> paracord, i'd say 20-30 inches depending on the size of your wrist (take the color you want, that's what makes the bracelet look different each time)
--> another kind of string, it should be long, I make it from the tip of my finger to my other shoulder 2 times (you can use what you want, I used waxed string or hemp cord or even bamboo string but here again vary on the type of string and the size)
--> a clipboard or whatever you use to hold your bracelets
--> a lighter to burn/melt the ends of the paracord
Step by Step
Step 1
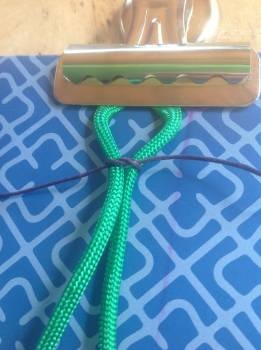
fold your paracord (I will call it string A) in 2 (that will make a buckle)
Step 2
find the middle of your small string (I will call it string B) and make a simple knot over the 2 strings of paracord. Flip the bracelet on the other side (so the knot is behing the bracelet.)
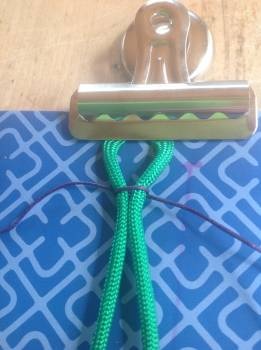
Step 3
take the right String B and make a Fk/bk in the right String A.
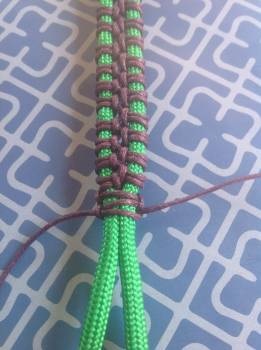
Step 4
take the left String B and make a Bk/Fk on the left String A.
then it should look like this : 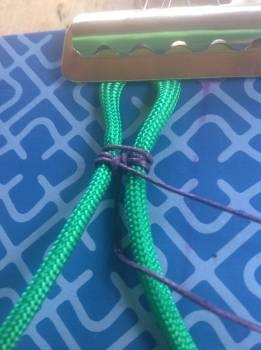
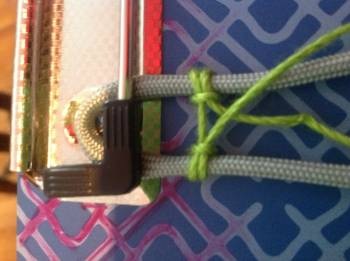
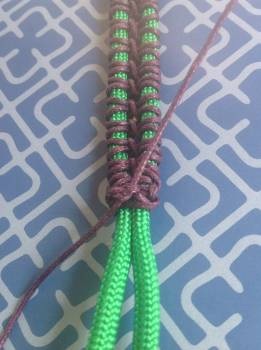
** there is an other way to start, but i don't know how to explain, so here is a picture**

Step 5
the two B strings will want to switch side, that's normal! so switch them : the right goes left and the left goes right. That will form the X.
Step 6
restart step 3 to 5 until the end.
Step 7
end with a square knot the tie the B strings together and cut them.
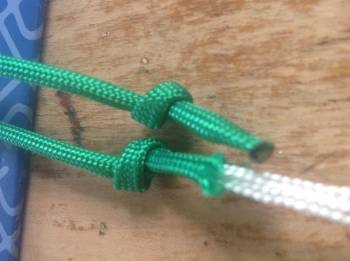
Step 8
do an overhand knot on both paracord ends and burn the ends.
*** Play with the tension of your knotting, that will make the bracelet looks very different if you tie super tight, as you see here with the pink and the blue. ***
Please take note:
--> this tutorial isn't finished, I will add more pictures as soon as I can, meanwhile, don't hesitate to ask questions if it's not clear.
--> english isn't my first language, so sorry for mistakes!
Editors
The original author of this tutorial is Odiiile but it was also edited by RPiper11, Alicat and Ukiedancer.
Uploaded photos (see all 7)
Comments