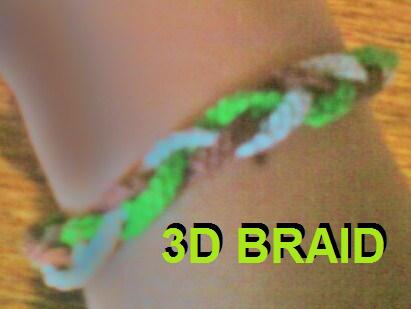
(( Bracelets )) 3D Braid
| Table of contents |
|---|
| 1 - Introduction 2 - Materials and Set Up 3 - Step by Step 3.0 - Step 1 3.1 - Step 2 3.2 - Step 3 3.3 - Step 4 3 - Alternative 4 - Help Link 5 - Video |
Introduction
This tutorial will help you to make a 3D Braid pattern.
Materials and Set Up
Made with three different colors. All strings should be about 75in (190cm) long. You need two long strings per color. If you want your braid to be wider, add one or two more strings to each set.
Strings should be then folded in half.
Example: A=Green B= Pink C=Blue
Setup of your strings: AA-AA, BB-BB, CC-CC.
Step by Step
Step 1
For every set of 4 strings, which are the same color per set, make 5 rows of forward knots just like a candy stripe. A row: means the number of lines there are going down, in length. Each row (or aka a candy stripe) should have 3 knots, which were knotted from the starting or first string in the row. There should be about 5 or 6 rows going down . You can add a few more rows to make the lengths even.
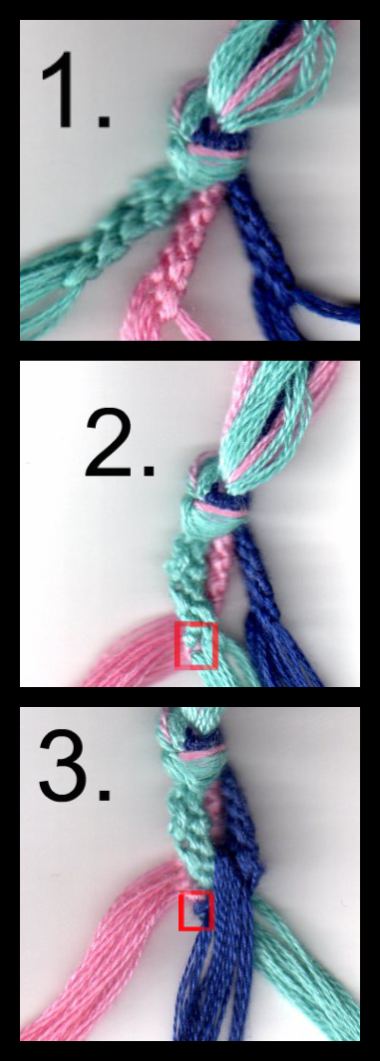
The red box shows where the knot is in each picture.
Step 2
Once you have made your 5 rows for each group of four strings, move the Green set in the first position over the top of the Pink set, in the second position. The Pink set should now be in the first position where the Green set was previously. Using the last string, the farthest right string, of the pink set (which is the set in the first position), make one forward-backward knot onto the first string, the farthest left string, of the green set. (which is now in the second position.)
Step 3
Move the Blue Set over the top of the green set, going from right to left. The blue set should now be in the second position, in the middle of the pink set and the green set. Using the last string of the blue set, make one forward-backward knot onto the first string in the pink set.
Step 4
Repeat steps 1-3 to continue the pattern.
Alternative
You can also do this by making three candy stripe patterns and braiding them together. You can even use alphas, or any pattern you choose!!
Help Link
http://hbernb3.atspace.com/brac39.html
Video
Editors
The original author of this tutorial is friendship12396 but it was also edited by Stefan, TammyS4, Jullz, Sareana, Jeckle, Alicat, Foz and BeyondBracelets.
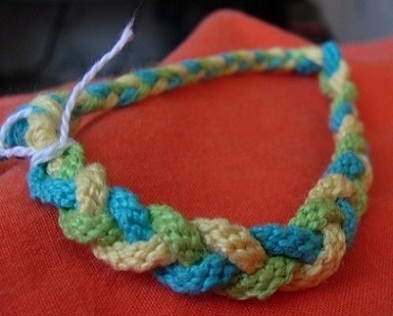
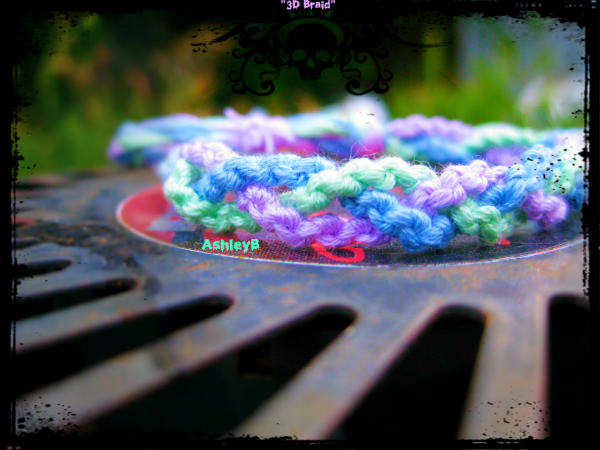
Uploaded photos (see all 54)


Comments