(( Bracelets )) Jiki Bracelet
| Table of contents |
|---|
| 1 - Introduction 2 - Materials and Set Up 3 - Step by Step 3.0 - Step 1 3.1 - Step 2 3.2 - Step 3 3.3 - Step 4 3.4 - Step 5 3 - Finished bracelet |
Introduction
This tutorial will teach you how to make a "Jiki" bracelet. It's a pretty simple bracelet made out of square knots.
First of all, you will need to know how to make square knots. If you don't know how to make them, you can learn using this tutorial.
A thing you need to know about this bracelet is that it kind of works like a normal bracelet, except you're only using square knots instead of forward, backward, forward-backward and backward-forward knots. So you're basically working on rows.
Materials and Set Up
You can add more pairs, but for this one I will be only using two. For each pair, you will need 4 strings of one color.
In this tutorial, I will be using white and green cotton thread. So mine will be arranged like this:
WWWWGGGG
Step by Step
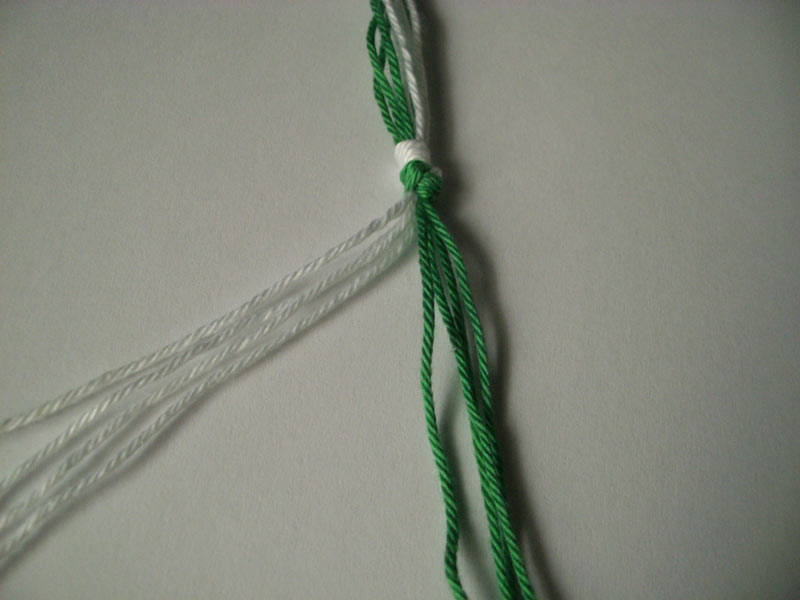
Step 1
First, you're going to work with the pair on your left, in this case the white pair. You can put the green strings aside as we are not working with them right now.
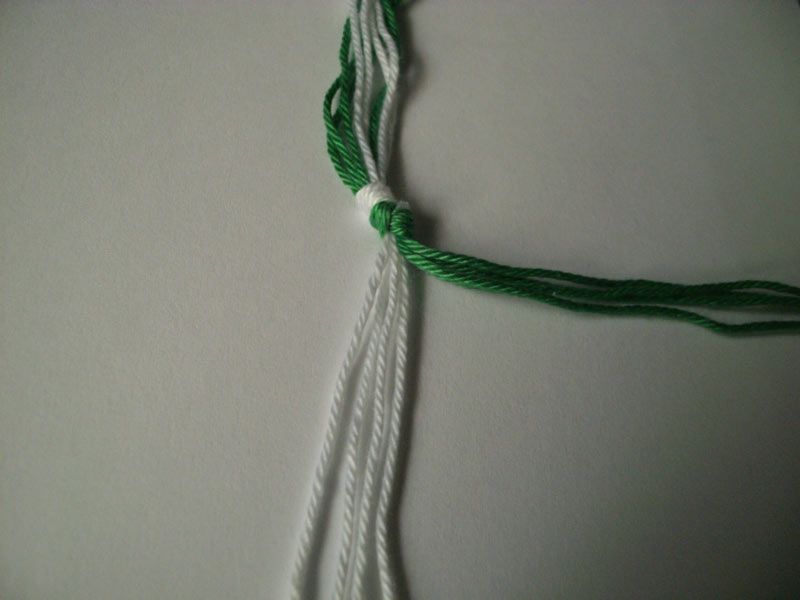
Step 2
Now, you're going to take the first and last white strings and make a square knot over the other white strings, which are between the two.
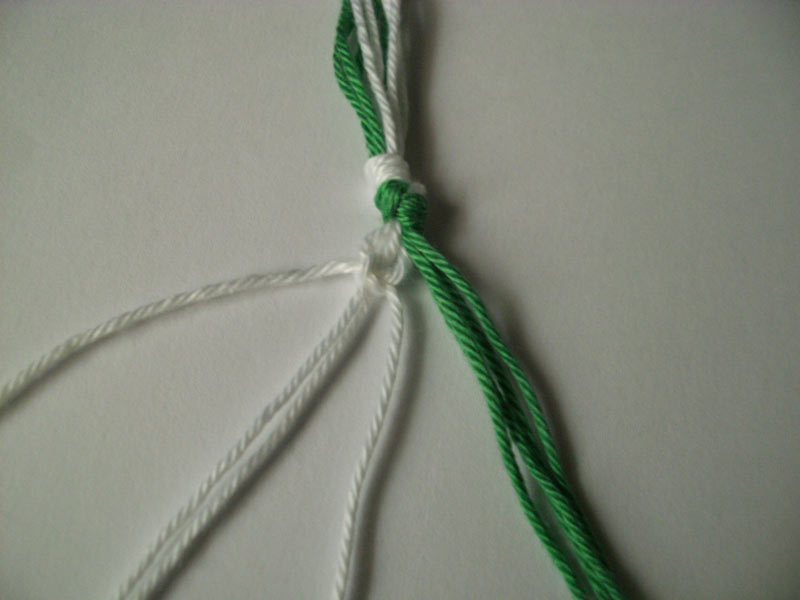
Step 3
After you've done that, put the white strings aside, because now we are working with the green strings. Do the same as above; take the first and last green strings and make a square knot over the other green strings, which are between the two.
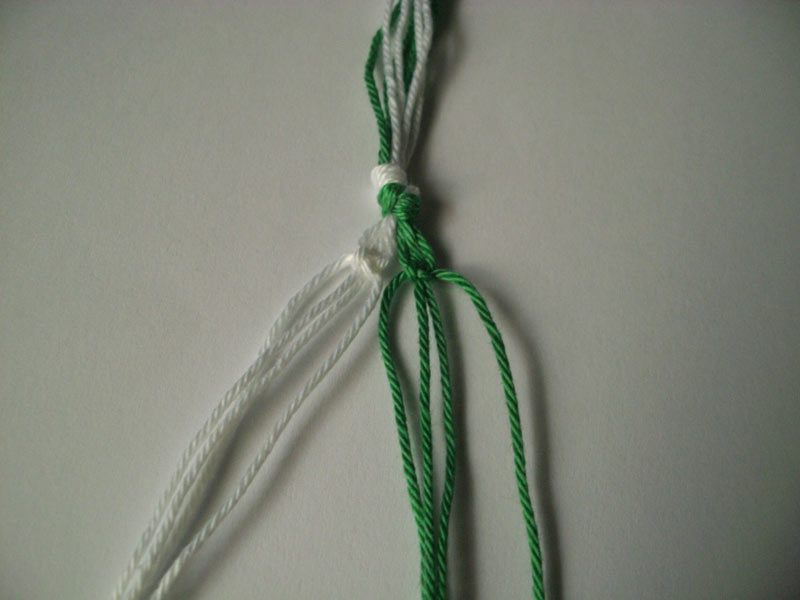
Step 4
As I've said earlier, this bracelet is pretty much like a normal bracelet, except you're using square knots (and the strings don't switch places). As you might've noticed, you're always working with 4 strings at a time.
For this step, you will be working with the 4 strings that are in the very middle. So, place the first two and last two strings aside, as we are not working with them for this step.
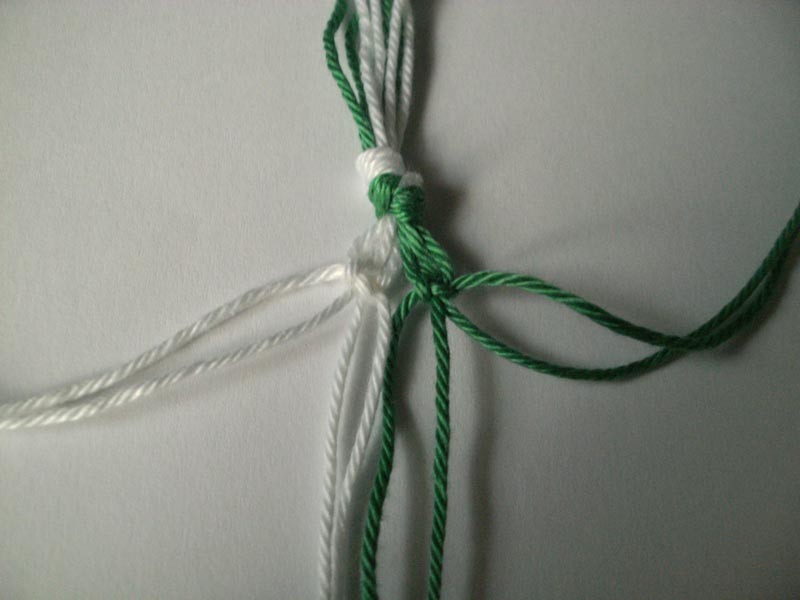
Step 5
You now have two white strings on the left and two green strings on the right. Take the first white string (the one that's further to the left) and the second green string (that's further to the right) and make a square knot over the other two strings that are left.

That's pretty much it. Your strings will always stay in the same arrangement, which will leave you with a white side and a green side. In order to continue the bracelet, start over from the first step.
I hope you've enjoyed and understood this tutorial. It's my first, so I apologise for any mistakes I might've made.
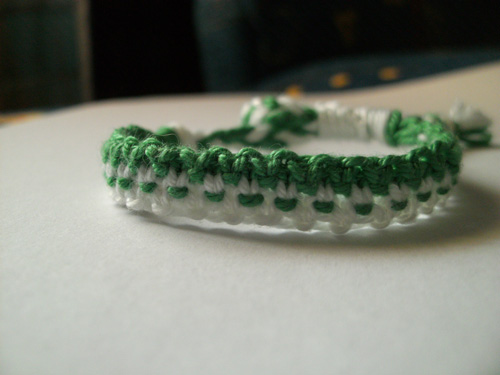
Finished bracelet
Editors
The original author of this tutorial is Dianasha but it was also edited by Alicat, princess_5775 and abir.
Uploaded photos (see all 17)

Comments