(( Bracelets )) Scoubidou Lanyard Bracelet (Boondoggle Knot)
Introduction
This knotting craft is more famously known as Scoubidou but is also called a variety of other names like craftlace, gimp, color wraps or rex-lace.
This is the same method used to make lanyards. I had a spark of genius and realized it would work with floss as well for bracelets. You can either make a "box" or a "spiral" design.
To make the box design you need to alternate the knotting direction while for the spiral design you always need to knot in the same direction.
Step by Step
Step 1
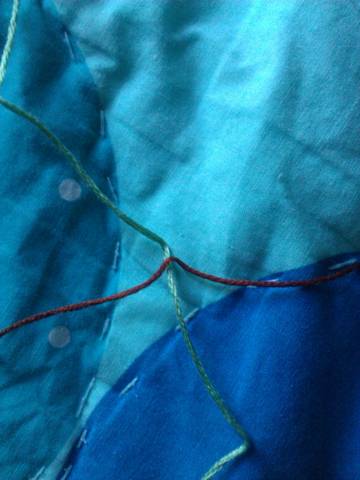
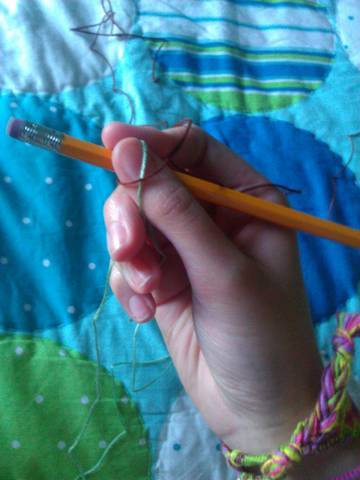
To get started, you need 2 strings of different colors. They will equal 4 folded in half. Place them in an "X" form in the center of the threads.
Step 2
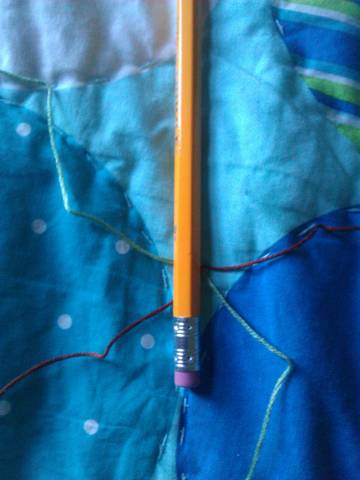
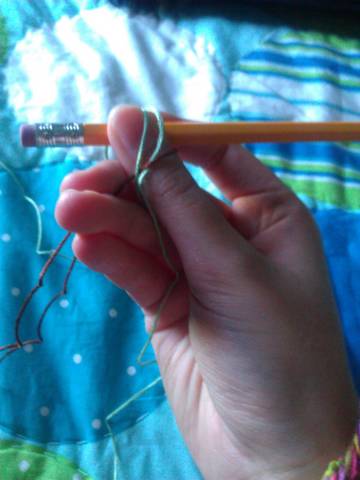
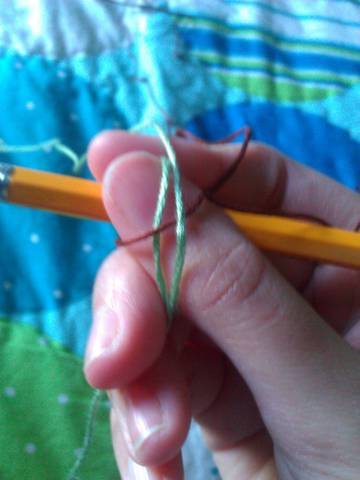
Place a pencil, pen, or even a kitting needle in the center of the "X". The bigger the object you use, the bigger your loop for tying it will be. I used a pencil.
Instead of putting your string around a pencil or similar objects you can also start by doing a loop using lark's head knots or you just making a knot using all strings to create a simpler loop. While you start your bracelet you can use this loop to hold your bracelet.
Step 3
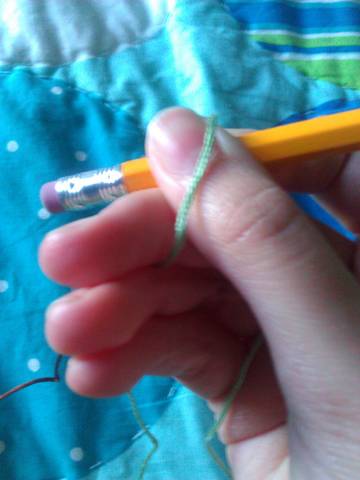
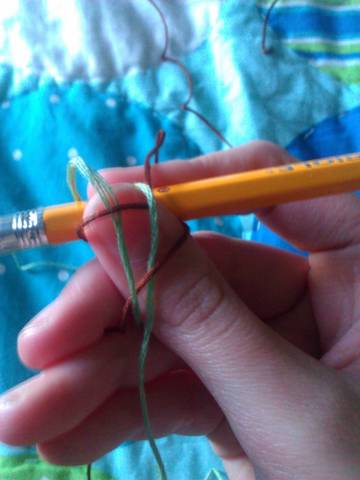
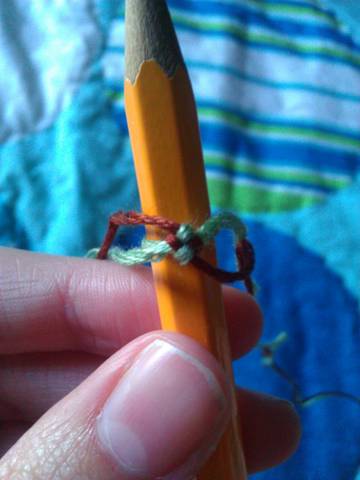
For this tutorial the strings you use will be numbered. String 1 is on top, string 2 is on the right, string 3 is on the bottom and string 4 is on the left. The positions of the strings are like a plus sign or like 3,6,9 and 12 on a clock.
Pick up the strings and pencil, be carefull not to moove them around too much. We will start knotting clock-wise. Take string 1 fold it over string 2 towards the bottom. Secure it with your fingers.
 [/p]
[/p]
Step 4
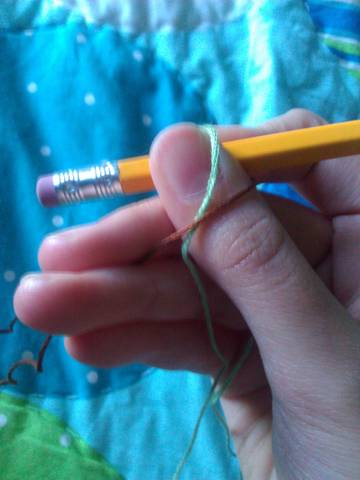
Take string 2 and fold it to the left so it crosses string 3. String 2 will also cross string 1 that you just folded down. Hold your strings in place with your fingers.
 [/p]
[/p]
Step 5
Take string 3 and fold it over string 4 towards the top. Be carefull that it doesn't cross string 1. It should only cross string 4 and the folded string 2. Secure it with your fingers.
Step 6
Take the last remaining string (string 4) and fold it to the right over the folded string 3. Instead of also folding it over string 1 you pull it through the loop that is formed by the folded string 1.
Step 7
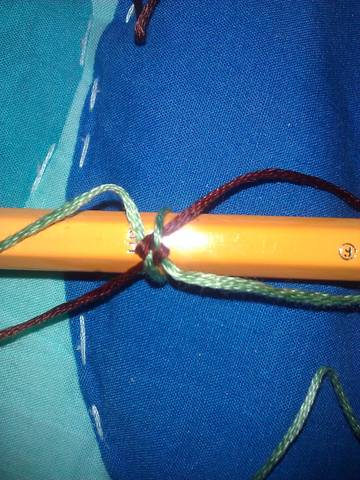
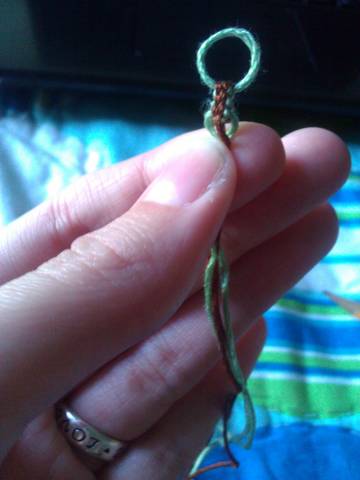
Now you finished your first round. Carefully pull the strings tight so the knot looks tight. It should look like a miniature 2x2 chessboard. If you looped your string around a pencil don't pull too tight or you won't be able to pull your work from the pencil once you're done.
Now, time to chose if you want to make a spiral or a box. If you want a spiral, just follow steps 1-7 until you have it the length you need.. For the box, continue down the tutorial.
Step 8
Now we will knot counter clockwise. Take string 1 and fold it over string 4 to the bottom.
Step 9
Take string 4 and and fold it to the right over string 3 and the folded string 1.
Step 10
Take string 3 and fold it to the top over string 2 and the folded string 4. Don't cross string 1.
Step 11
[p]Take string 2 and fold it to the left over the folded string 3. Instead of folding it over string 1 you are going to pull it through the loop formed by the folded string 1.
Step 12
[p]Keep repeating going clockwise, counter clockwise, clockwise, ECT.
More options and alternative knotting ways
You can also do this technique with more than 4 strings. It still works the same. You'll always fold your string over the string that's to the right or the left of your string and continue doing so for a whole round. At the end of the round you always pull your last string through the loop that is created by the folded first string to secure that round.
How you hold your bracelet while knotting is different from person to person. Try finding a way that is most comfortable for you.
You can also hold the end of the bracelet in one hand, after you fold one string over you secure it with the fingers of the hand you're holding the bracelet with. Then you turn the bracelet 45 degree (or less if you use more strings) and do the same thing with the next string. you do not fold over your thumb.
You can also use a kumihimo disk to help you hold the strings in place especially if you use a huge amount of string. When you fold the first string over make sure to hold it so there's a loop through which you will be able to pull the first string.
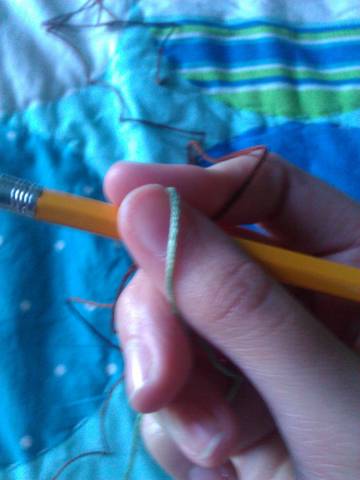
Here is a box that has a bit more done:
Editors
The original author of this tutorial is LizzardBeth04 but it was also edited by k_marie, Alicat and halokiwi.
Comments