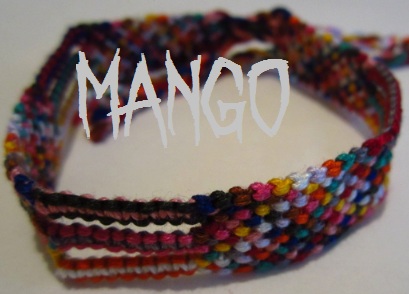
(( Bracelets )) Rag-rug Square Knot Bracelet
| Table of contents |
|---|
| 1 - Materials and Set Up 2 - Step by Step 2.0 - Step 1 2.1 - Step 2 2.2 - Step 3 2.3 - Step 4 2.4 - Step 5 2.5 - Step 6 2.6 - Step 7 |
Materials and Set Up
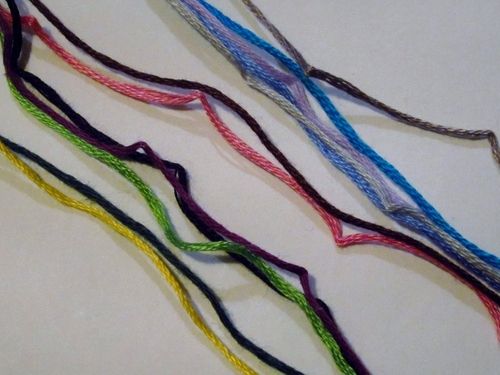
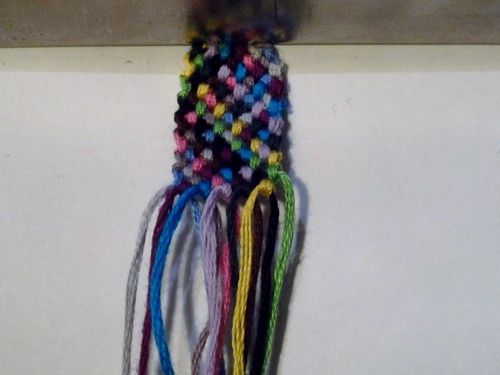
Select 12 threads, any colour combo desired. Multiples of the same colours can be used. Since this is a rag-rug bracelet, thread order does not matter.
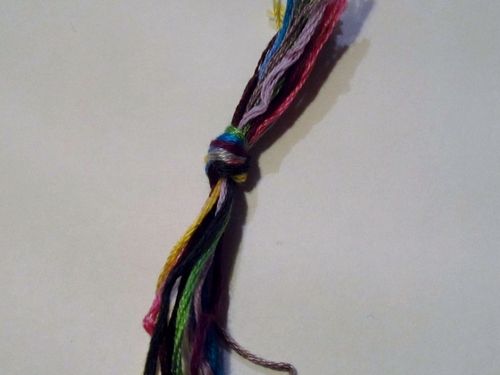
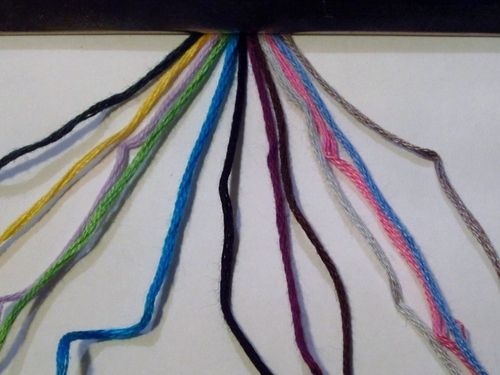
Tie the top of the threads so they stay together. Be sure to leave length for tying braids at both ends!
space out your threads in whatever order you desire.
Step by Step
Step 1
We will begin with the rag-rug part of the pattern. First, make one row (left-to-right) of all forward knots. Then one row of all backwards knots (from right-to-left).

NOTE: when starting the second row (the row of backwards knots), do not use the far-right thread when you start knotting. Start with the second thread in from the right.
Step 2
[p]Repeat step 1 until you have about an inch to an inch and a half of the rag-rug pattern completed.
Step 3
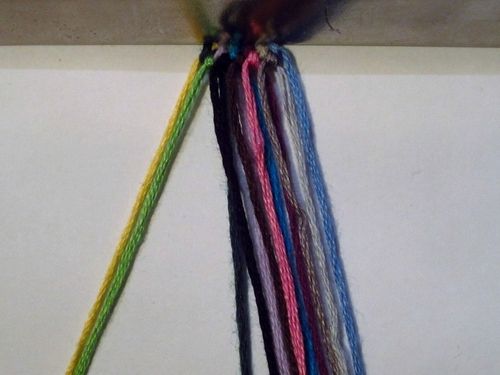
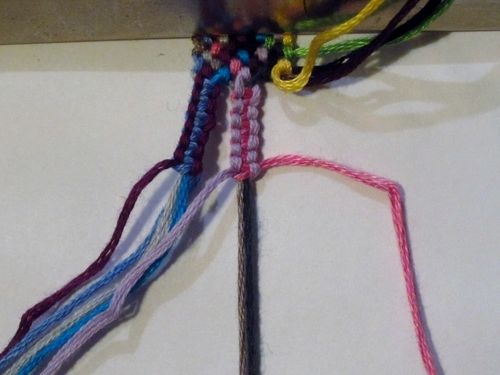
Separate the threads into three groups of four (4).
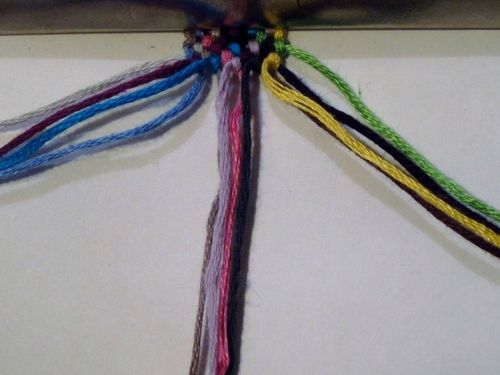
Step 4
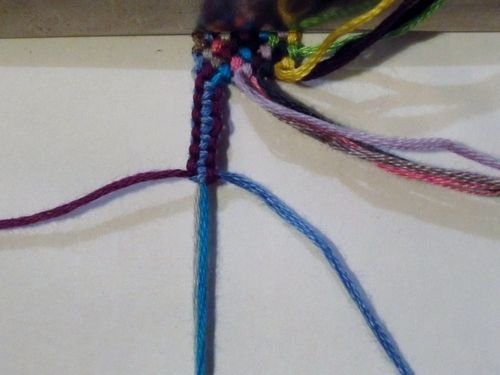
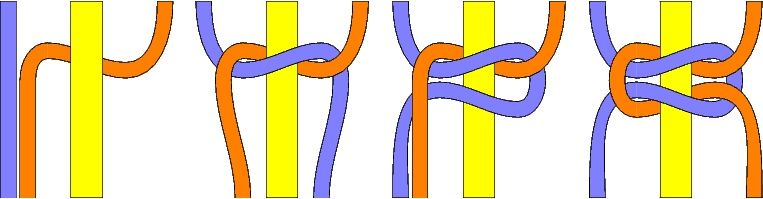
Take the far left group of threads, and do about a dozen (12) square knots.
If you don't know what square knots are, see image below
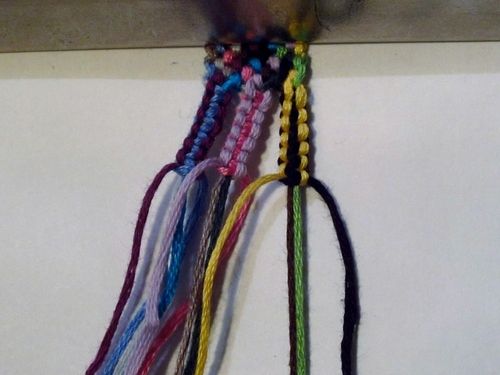
Step 5
Repeat the square knot pattern with the middle grouping of threads, making the length of it about the same as the first group of threads.
Step 6
Once more, repeat the square knot for the final group of threads.
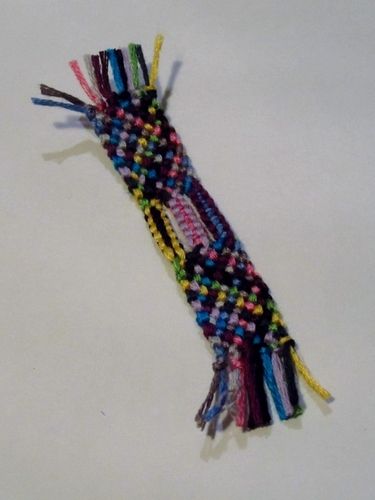
Step 7
Repeat steps 1 through step 6 until the bracelet is desired length.
Editors
The original author of this tutorial is cadillacphunque but it was also edited by k_marie and Alicat.
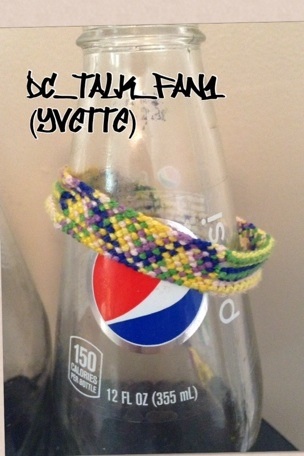
Uploaded photos (see all 5)

Comments