(( Buckle )) Braiding the Top of a Bracelet - Two ways
First Variation
This type is good for when the pattern is symmetrical at the top
Step by Step
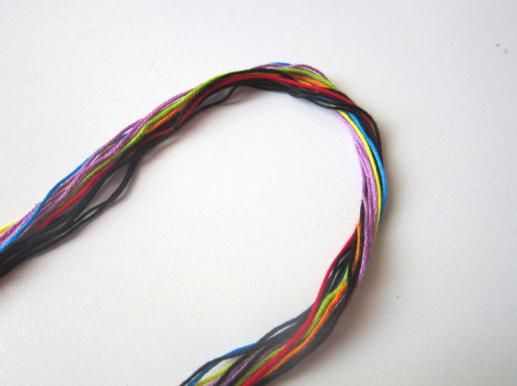
Step 1
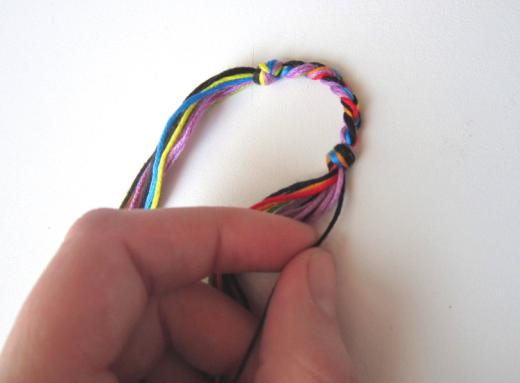
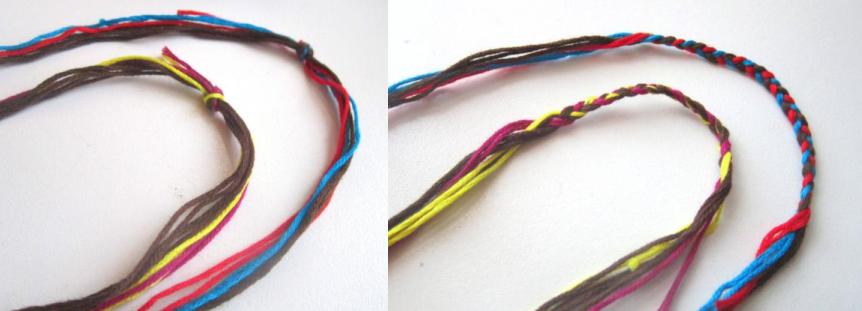
[p]After you have cut out your string fold in half
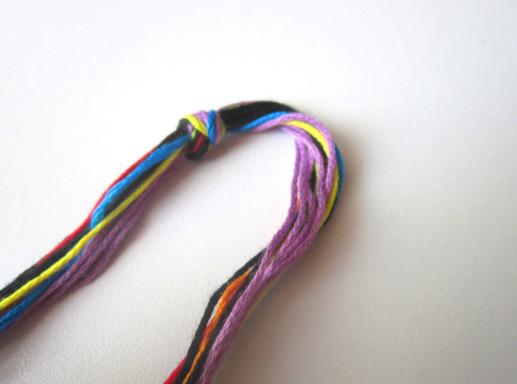
Step 2
Tie a knot a little off center
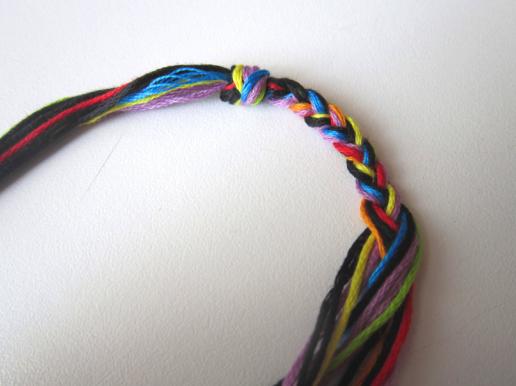
Step 3
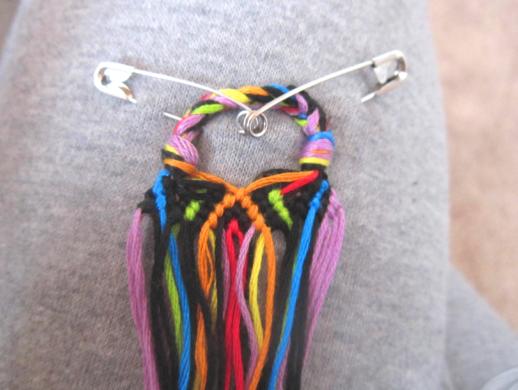
Braid the strings a short ways. The length of the braid depends on the width of the bracelet
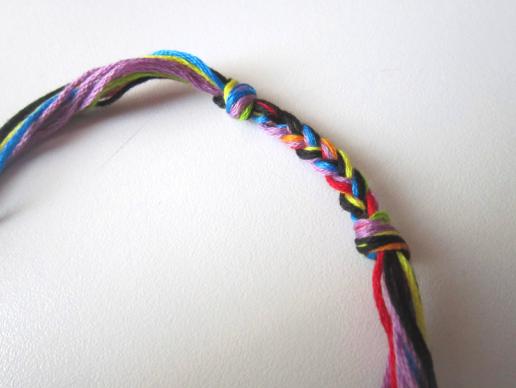
Step 4
Tie a knot at the end of the braid
Step 5
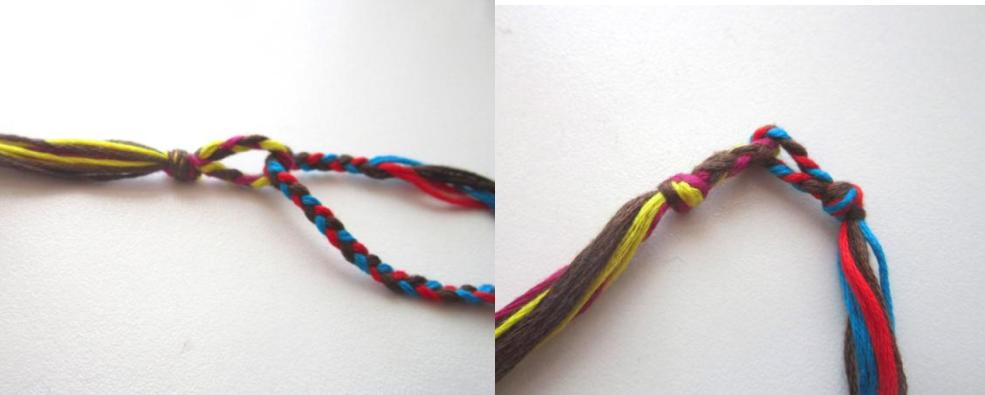
Pull each individual string on both knots tight to tighten the knots
Step 6
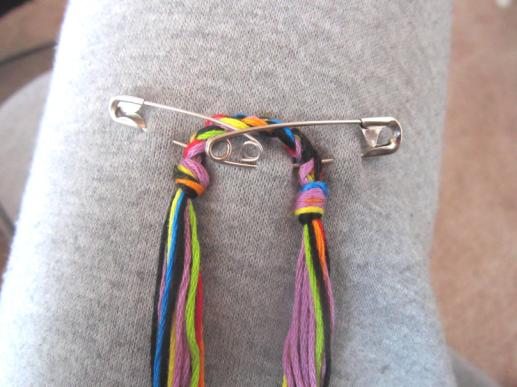
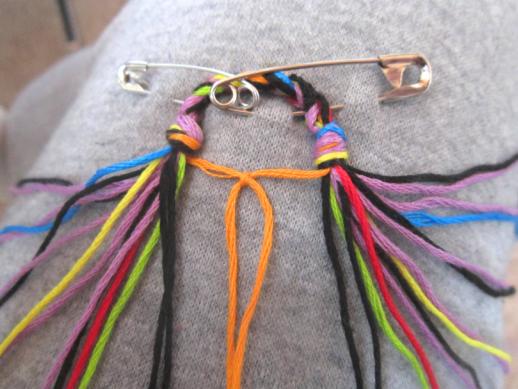
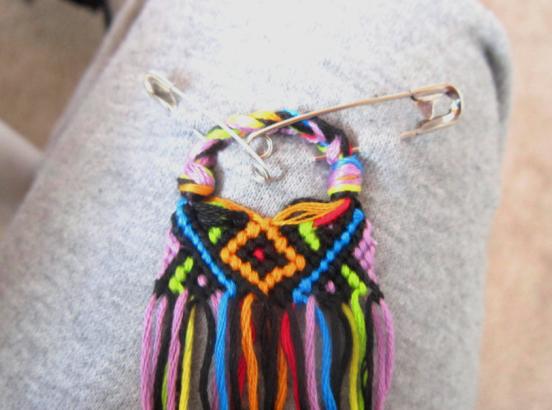
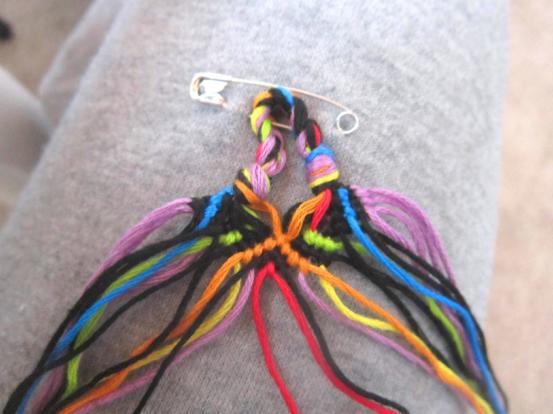
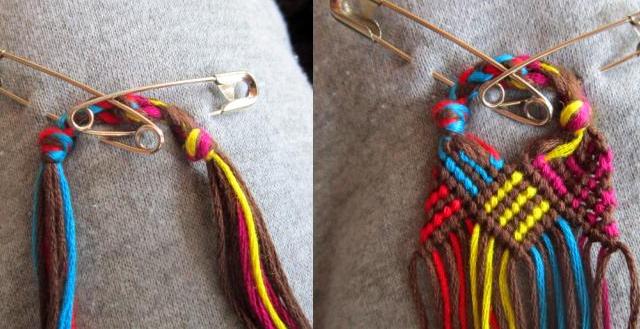
Pin the top down so the knots are apart
Step 7
When starting to knot make sure to keep the big knots on the outside.
Step 8
If you try and pull the knots tight in the beginning or dont separate the big knots the bracelet will look messed up.
Second Variation
This type is good for when the colors are split in half (pattern 2667)
Step by Step
Step 1
Split the strings and half like your making two bracelets. Then fold in half and braid like the above but take out the knots
Step 2
Tie one braid in a loop. Put the other braid through the first loop and tie in a loop
Step 3
Pin the knots apart and be sure they stay apart when you start knotting
Editors
The original author of this tutorial is Rose47 but it was also edited by ririttt, k_marie and Alicat.
Uploaded photos (see all 2)


Comments