(( Projects )) How to make a keychain
This tutorial will explain how to make a keychain without using lark's head knots.
For the tutorial on how to make a keychain WITH lark's head knots, click here
I find the keychains last longer, or stay nice longer when I'm not beginning with lark's head knots. Also, this way the keychain has two nice sides, and no messy reverse.
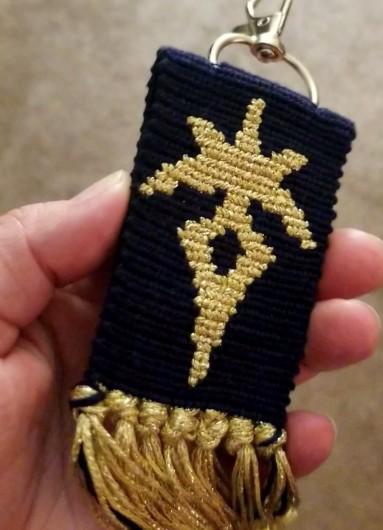
The first thing to do is choose a pattern. I chose migotka's cute penguin, A38843
I cut all letter strings 35 - 40 cm long, leaving approx. 7 cm before I started knotting. I'll need those ends to finish off the completed kechain at the end.
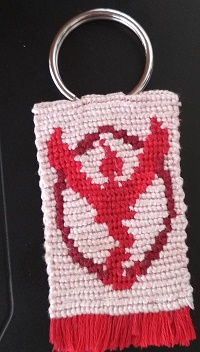
Proceed the way you would if this were a bracelet, but make the first pattern UPSIDE DOWN.
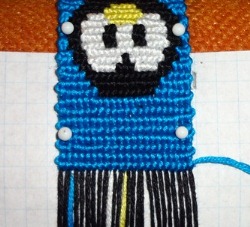
I forgot to take a better picture, I'm sorry. But if you make the first part upside down it'll ensure that the finished product has both pictures the right way up :-)
After the pattern I added 8 rows of background colour before reaching the point where I wanted to add the ring. Working from right to left, I made two knots. The third knot I made over threads 3 and 4, and the fourth knot over threads 5 and 6.
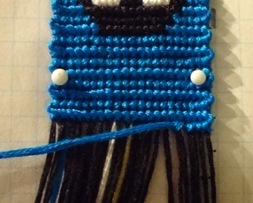
I did the same thing on the left side, knotting together the threads number 3 and 4, and 5 and 6 (counted from the left).

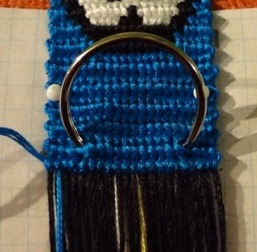
Since the pattern itself is 3 cm wide I'm using a 2.5 cm keyring. Now it's time to guide the threads through the ring, leaving out only the outermost four threads on either side. If you look closely you'll see how the ring fits quite nicely into the small gaps we created earlier.
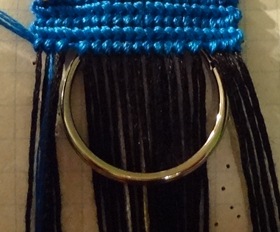
The ring won't stay put unless you hold on to it - but since I need both hands to knot, I pinned it onto the bracelet. This is quite fiddly business, and the ring will try and get in the way of your hands and vision ;-)
The next row will be identical to the previous one - knotting threads 3 and 4, and 5 and 6 together at the left and the right side of the pattern.
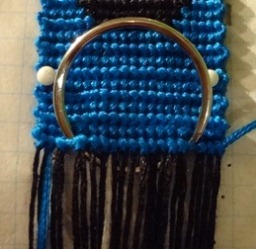
It doesn't look as neat as it could right now, but at least the ring can no longer budge :-) Also, as soon as you add more rows, evenness will return.
Make as many rows of background as on the other side with the first repeat of the pattern, and then make the pattern the right side up. Once it's finished, it'll look like a bracelet with a ring at the middle -- and rather disturbingly short threads for ties.

Fold it in half, and fasten it shut by making tight overhand knots snug up against the edge of the knotted area. I grouped the threads together in fours - 4 from one side, and 4 from the other. You can sew up the sides if you feel like it, but there really is no need to.
Done!
Editors
The original author of this tutorial is Foz but it was also edited by Sareana and Kestrel.
Uploaded photos (see all 47)

Comments