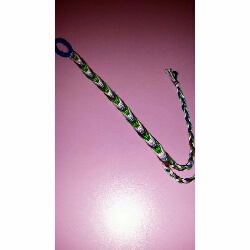
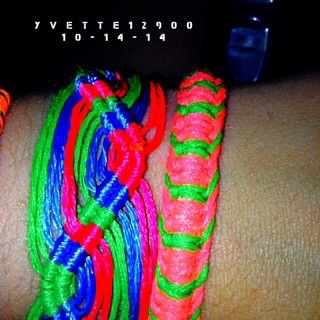
(( Bracelets )) Straight Wave
Materials and Set up
Cut 28 inches of 4 colors you like.
Cut 18 inches long of any random color (16 inches long if you have a small wrist).
*Note* The random color will not show.
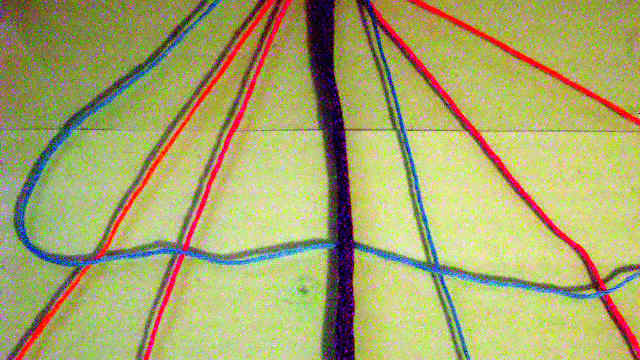
Set up your strings in this order:
| A | B | C | D | E | E | D | C | B | A |
Step by Step
Step 1
Take your furthest string(A) from the right and go over all the other strings(A B C D)make a backwards knot onto the string in the middle(string E) from the right and then onto the next string(E) from the left.
Step 2
Take your furthest string(A) from the opposite side(left) and go over all the other strings(A B C D)make a fowards knot onto the 2 middle strings(first on string E from the left then on string E from the right).
Step 3
Repeat steps 1-2 until you have the desired length of your bracelet.
(You can also do the box knot down the middle to make it "double-sided")
Video
Another explanation:
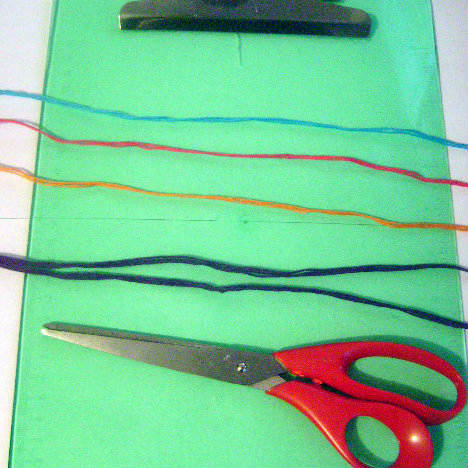
Materials
You will need:
-3 different colored strings, 60 inches (folded in half) or 30 inches (unfolded)
-one thick string or a bunch of normal strings, 26 inches (folded in half) or 13 inches (unfolded)
-one clipboard (or something you can hold your bracelet with, but I'm sure most of you have a clipboard at you :) )
-scissors
Note:
-If you don't know how to make a Macrame Knot, I will explain how it's made. You have to know, though, how a loop is made!
-You can use how many strings you want, but I use three, because 3 is the minimum!
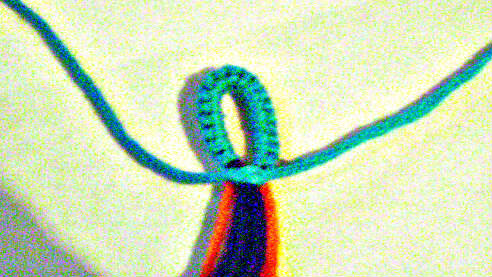
-I'll use a loop (because it's more classy and practical for me), you'll need one of the strings longer (with 4-5 inches for each side).
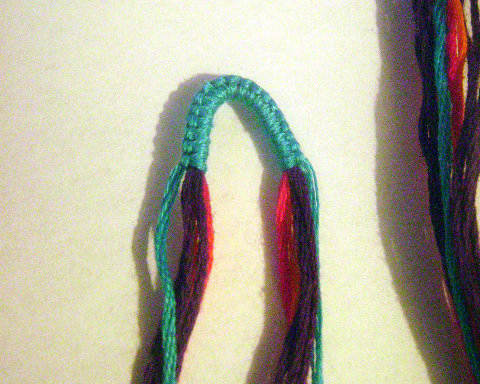
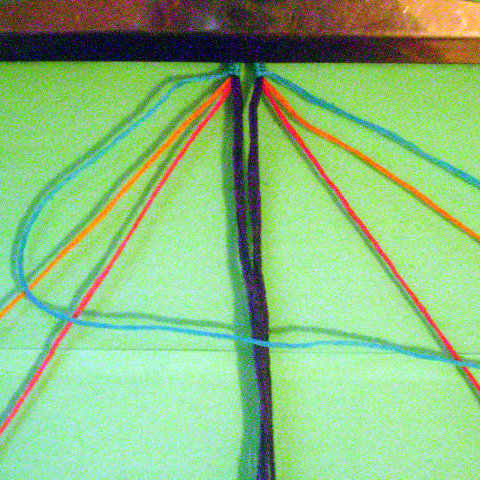
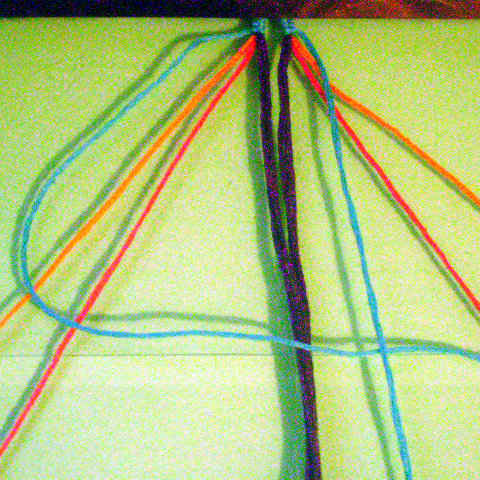
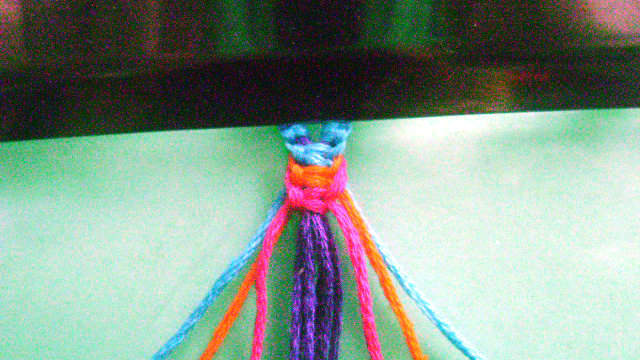
Set Up
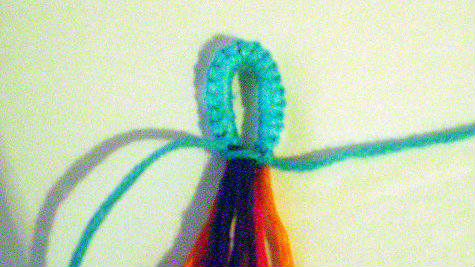
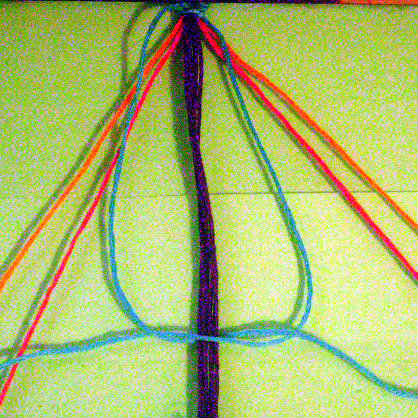
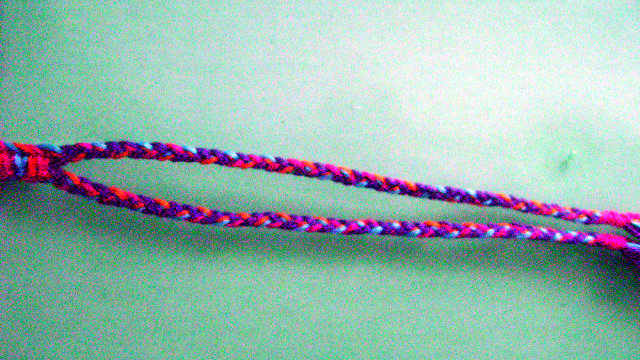
First of all, you should make a loop (at least that's what I do :) ). You can do any kind of loop you desire.
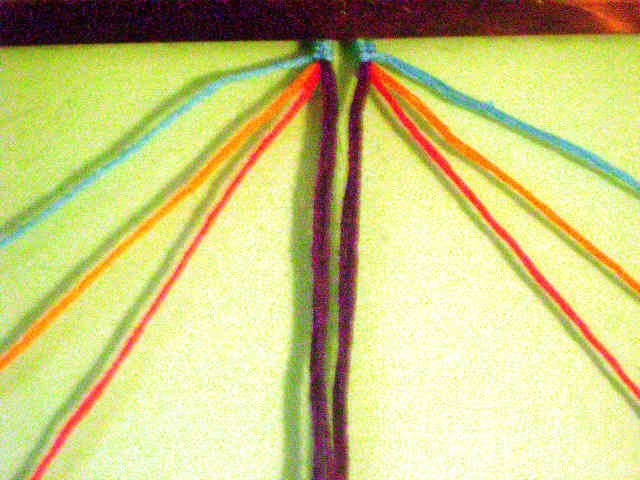
Now, arrange the strings in this order:
| | | | | |
- Blue
- Orange
- Pink
- The thick string/bunch of strings
Step by Step
Step 1
[p]Now, we will make a Macrame Knot
First, make a '4' with the first string over the string.
Step 2
Pick up the second string and put it over the first string (you actually make now the real '4' :)) ).
Step 3
To finish the first half-knot, pull the second string under the string and then through the '4''s loop.

To see this half-knot, pull the two strings.
Now you've made a half-knot!
Step 4
You'll now make the second half-knot!
Take the first string and make a '4' under the V string.
Step 5
Put the second string under the first string (and now you've made another '4').
Step 6
Now, pull the second string over the string and trough the '4''s loop.
To finish the half-knot and the Macrame Knot, pull the strings
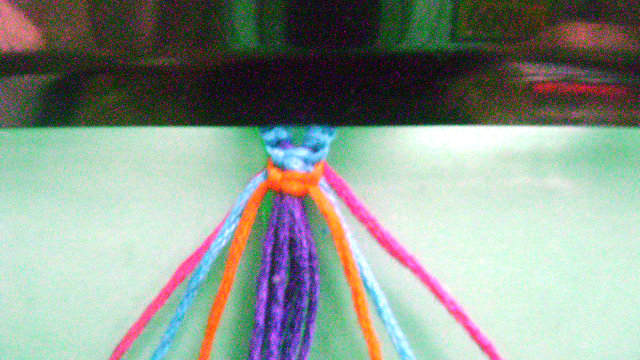
You finished one Macrame Knot!!!! Yeey :)))!
Step 7
Now, your position of strings should be this one:
| | | | | |
Make another Macrame Knot with the strings on the string, but not on the other strings, just on the string.
Step 8
The position of the strings should be this:
| | | | | |
Now, make another Macrame Knot with the strings on the string, but not on the other strings, just on the string.
Step 9
Repeat the Steps1 to 8, until you reach the desired length! The length of the strings is suitable for 5 inches of bracelet. So the length of the bracelet depends on the length of the strings.
Step 10
After you finish Step 11, make two braids of 5 inches each.
Then, finish them with a big knot or in another way.
Final Notes
For the ones who know how to make a Macrame Knot, the Steps 3 to 8, well, you can consider them as one Macrame Knot, but as you know the rule, already, knot just on the , not on the other strings!
I hope the tutorial was clear enough? If not, feel free to comment or PM me and I will edit the tutorial, or answer the questions.
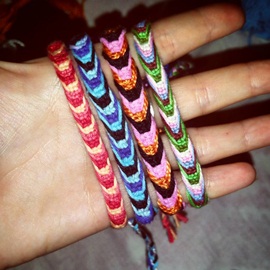
In my opinion, the tutorial is pretty easy, so I can't wait for you to put your photos of it here!!!
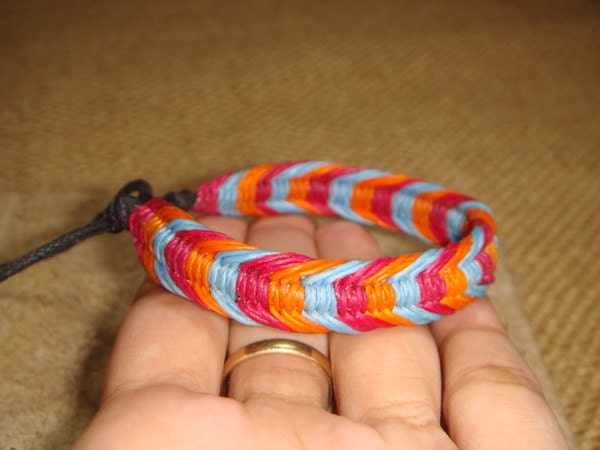
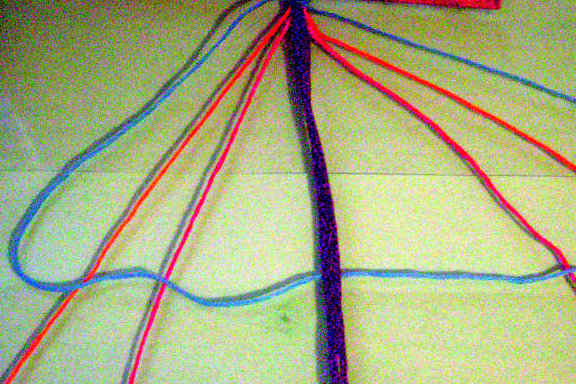
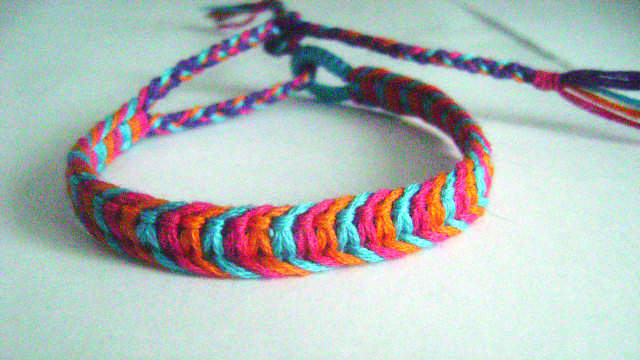
This is the result:
Video
This video includes plastic strings, but it's exactly the same principle of the tutorial... So, I hope it helps!
This is the same pattern, but placing the strings in different order. Instead of putting the strings as or however its done, put the strings as . Hope this helps =)
Editors
The original author of this tutorial is creativitygirl but it was also edited by ScruffyPup, RockePloeger, Sareana, Jeckle, k_marie, Giveagift, Foz, Alicat and kleinevos.
Uploaded photos (see all 51)
Comments