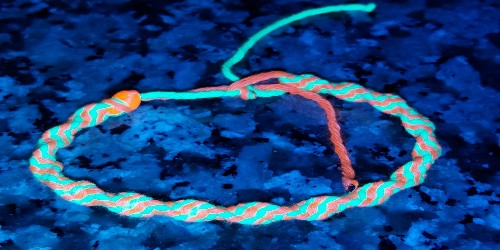
(( Bracelets )) Twisting Square Knot-Beads Optional
Twisting Square Knots
Step 1
First cut two pieces of gimp from two different colors.
Step 2
Fold them in half to find the centers.
Hold both pieces in one hand.
Place one on top of the other.
Step 3
Twist one around twice, making two loops.
Step 4
Take the other piece and weave it above the first one and under the second. Remember over under.
Do the same to the other side of the strand.
Pull tight.
Step 5
Do the same pattern on the rest, over first under second, over first under second, pull tight.
Step 6
Make the gimp sinnet (chain of knotted gimp) as long as it needs to be (use a measuring tape on your wrist and add an inch).
Step 7
Tie a knot at the end or melt the end with a match.
Step 8
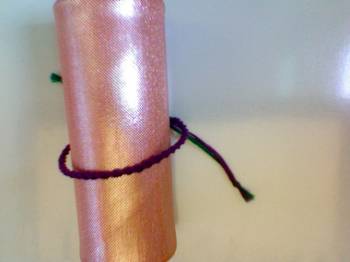
Super glue the ends together and then slip it around your wrist. You could also use metal clasps.
Tips
Be careful. It is easy for you to get your string twisted. If that happens take out that row and redo it. It's as simple as that.
Beginning can be difficult and take lots of practice. Remember to have extra gimp just in case you ruin some.
If your fingers get tired or get blisters on them, take a break. You can always continue work on it later.
If you don't have super glue you can tie the ends together, but these can easily come out. You can also use a match to melt the ends together. Children should have adult supervision however.
It is possible to make a "seamless" bracelet. A safety pin is usually helpful in loosening the first square knot so that it can be connected.
Twisting Square Knots with Beads
by legogirly2
Step 1
Cut three strings (yarn, floss, etc.) about 30-45 inches long, or as long as you think it should be.
Step 2
Next, tie a large knot at the top.
Step 3
Put a bead on each of the three strings.
Step 4
Tie a square knot under the beads (important: make sure that you start the knot with the left string because or else it can get confusing and it won't end up a twisting.)also make sure the middle string stays strait and tight.
Step 5
Tie another square knot, and remember to start with the left string.
Step 6
Put a bead on each of the strings again.
Step 7
Tie two square knots and with each knot start with the left string.
Step 8
Once you reach the desired length tie a knot at the bottom or put a clasp on!
Editors
The original author of this tutorial is gymnast07 but it was also edited by Stefan, Sareana, k_marie, legogirly2 and Alicat.
Uploaded photos (see all 47)

Comments