(( Bracelets )) Kumihimo Square Braid
| Table of contents |
|---|
| 1 - Materials 2 - Step by Step 2.0 - Step 1 2.1 - Step 2 2.2 - Step 3 2.3 - Step 4 2.4 - Step 5 2.5 - Step 6 |
Materials
You will need 16 stings about 20 inches long (or 8 stings, 40 inches long, folded in half).
>Different color variations will produce different looking patterns, but the style will stay the same.<
For this tutorial I will use 4 red, 4 blue, 4 green and 4 yellow.
If you don't have a Kumihimo disk you can make your own with cardboard or dense foam board.
Here is a link to the original tutorial by Stefan
Step by Step
Step 1
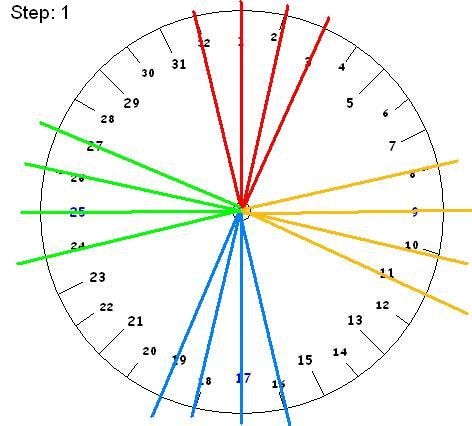
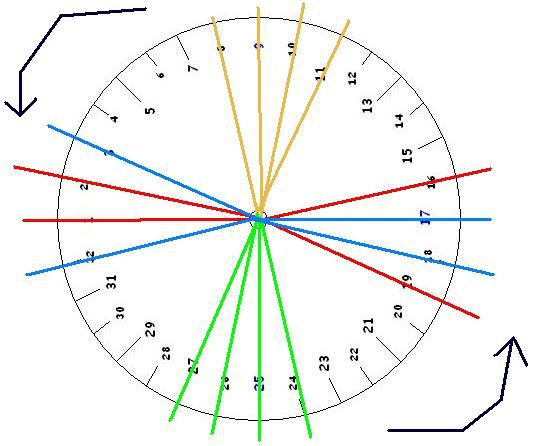
Set up all your string. You will have 4 groups of 4 strings each. Slide your knotted end through the center hole and arrange your string.
Make sure that your groups are opposite each other. If your first group is taking slots 32, 1, 2, 3 than the opposite group will occupy slots 16, 17, 18, 19. If you are using a 32 slot Kumihimo disk there should be 4 empty slots in between each group.
When your strings are all set up it should look like this.
Step 2
Take the two inner most strings from your first group (1, 2) and move them to the outter most slots of its oposing group (20, 15)
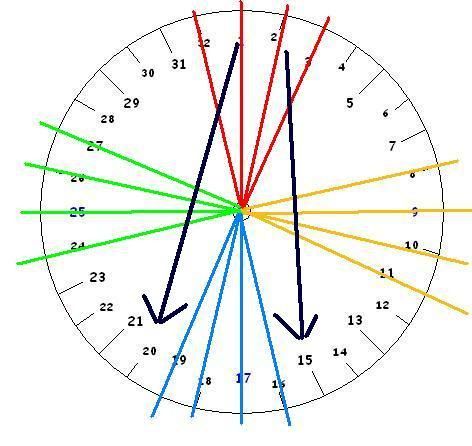
Your disk should now have 2 strings at the top separated by 2 empty slots and 6 stings at the bottom.
Step 3
Take the 2 inner most strings from your bottom group ( 18, 17) and move them to the outer empty slots of your top group (31, 4).
( Sorry there is no Picture of this :/ )
Step 4
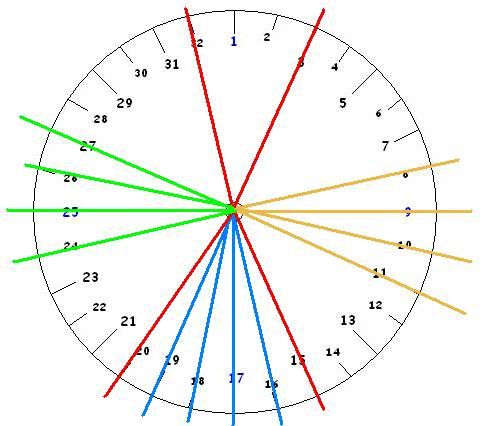
Move your stings back to the starting slots like this:
Youre groups should now be blue red red blue, yellow yellow yellow yellow, red blue blue red, green green green green (if youre looking at it clockwise.)
Step 5
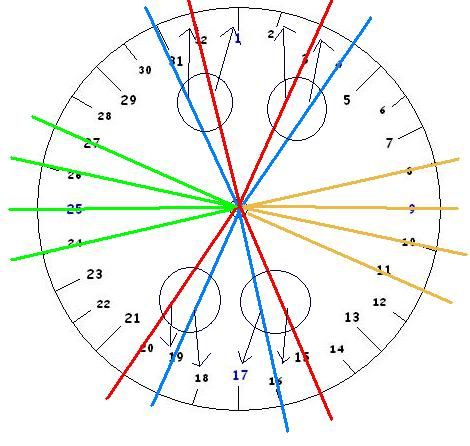
Turn your disk counter clockwise so that the "east" or right group is now at the top.
It will look like this:
Step 6
Repeat steps 1-5 and continue until your bracelet (or keychain) is the desired Length.
Enjoy!
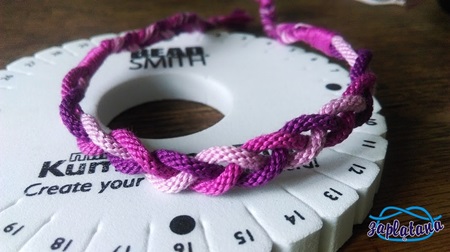
Note: If you want to do a pattern that goes from dark to light arrange two colors in each group with the darker color on the inside.
ie: violet, purple, purple, violet.
and the group across from it with the next two lighter colors.
ie: white, lavender, lavender, white.
when your braid is complete it will go purple, violet, lavender, white.
^_^
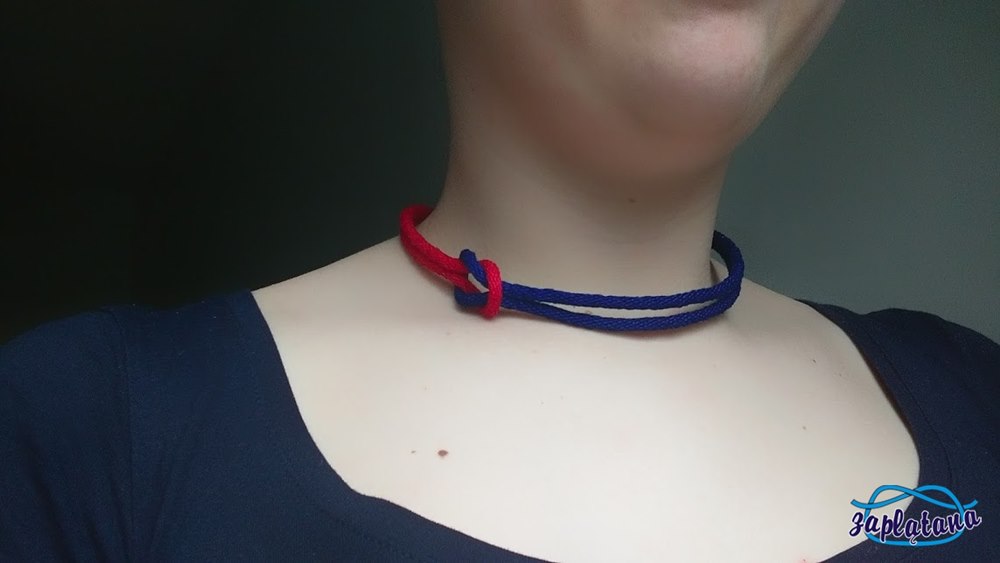
>>>Added Photos as Patterns!!<<
Editors
The original author of this tutorial is AutumnRane but it was also edited by k_marie, Kestrel and Alicat.
Uploaded photos (see all 18)
Comments