(( Patterns )) How to tie #43221 - zigzag
This is a super fun bracelet to make! And really easy too- you only need to know how to make 2 knots: the forward knot and the backward knot.I hope I'm not copying anybody- if I am, sorry! Or if this is already a pattern that everybody knows, sorry because I am a newbie to this website. And this is my very first tutorial. :) (*cough cough*don't judge me too harshly *cough cough*)
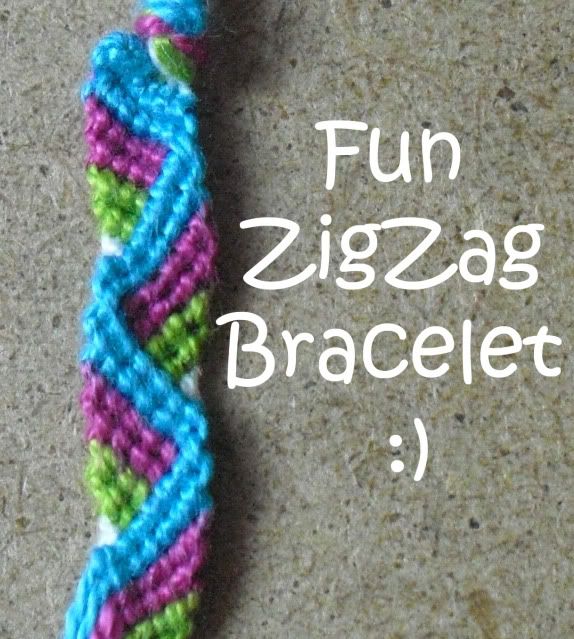
That's what it basically looks like.
You Need:
-8 Strings (4 colours, 2 of each)
-Clipboard/Tape/Safety Pin
-Knowledge of Forward Knots and Backward knots
Okay! So I think we are about ready to start now, eh? (Yes, I am the typical Canadian stereotype :P)
OH! Before I forget, make sure your first two strings (the blue ones) are a lot longer than the last ones (the white ones) because the blue will be doing the most knotting while the white will almost be doing none at all.
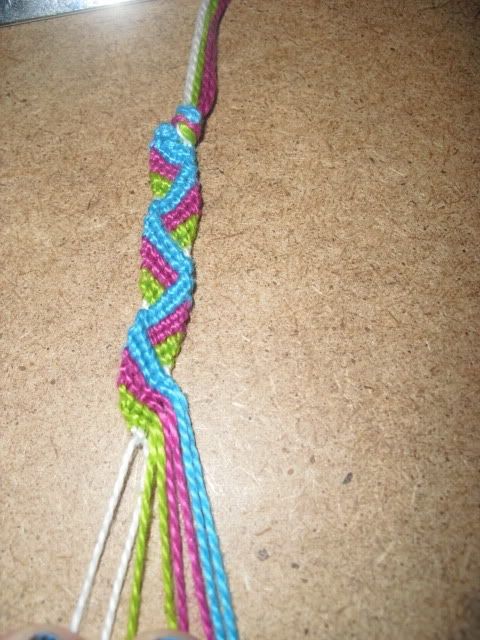
I started the tutorial with some of the bracelet already done, just so you could see how it is supposed to look.
Start with your strings lined up like this: Blue>Blue>Purple>Purple>Green>Green>White>White.
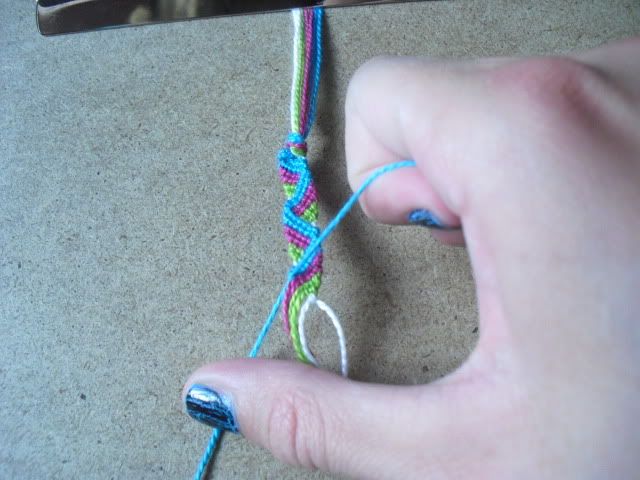
Using your left most blue string, make forward knots on ALL of the seven strings beside it, so it ends up at the very right. (Like the first row of a candy stripe). (Pictured Below)
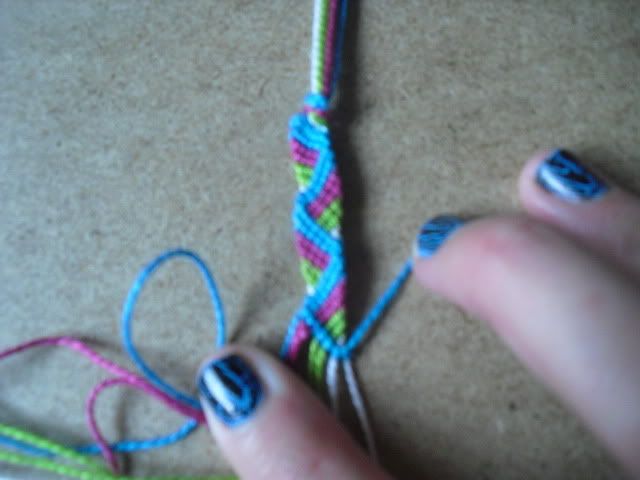
After you've done that, with the (new) left most blue string, make forward knots on all of the SIX (Count 'em, six) strings beside it.
So pretty much make forward knots on all of the strings except for the first one that you knotted all of them with. (Pictured Below)
As you can see, the string I'm pulling just knotted the first six, not the last one.
So, keep doing that with the rest of the strings.
Purple A- Five forward knots
Purple B- Four forward knots
Green A- Three forward knots
Green B- Two Forward knots
White A- One forward knot
White B- No forward knot, just sits there
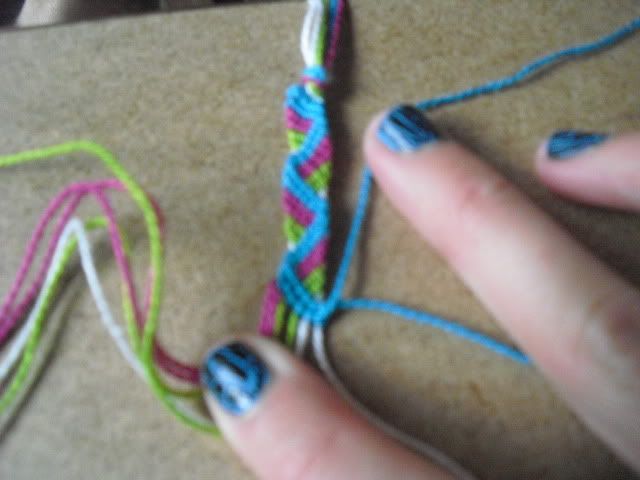
If you've done that successfully, then your bracelet will look like this (sorry for the forced head tilting) with all the strings on the other side, in this order: White>White>Green>Green>Purple>Purple>Blue>Blue.
Next, you do basically the same thing, just with backward knots!
(You know, right most blue does 7 backward knots, new right most does six.....)
And you just repeat that until your bracelet is at it's desired length!
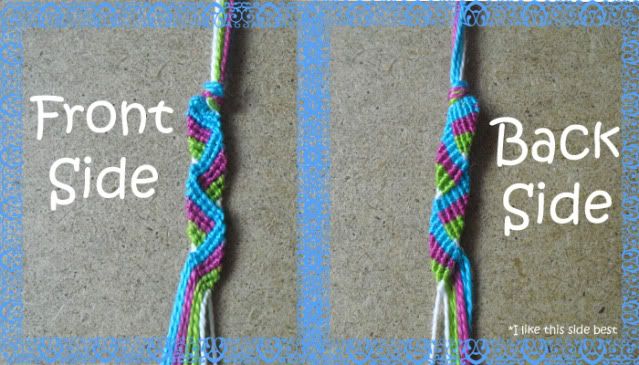
You can wear it on both sides, either looks fine.
Buuuuuut I like the back side (LOL) best. :)
I hope you liked my very first tutorial!
If you have any problems at all with this, please comment and tell me! I'd love to improve on anything if possible. :)
Also, upload your pictures if you make this bracelet, if it's a masterpiece or an epic fail, I would love to see!
Well I guess that's it! Bye!
P.S. If anyone is wondering, I am wearing OPI's No Room For The Blues with Black Shatter on top. :) (I am also a nail polish addict.)
Editors
The original author of this tutorial is jamiethegymnast but it was also edited by GennaLea1985, Jeckle, Foz and k_marie.
Uploaded photos (see all 7)


Comments