(( Bracelets )) Twist Knot Bracelet
| Table of contents |
|---|
| 1 - Materials and Set Up 2 - Step by Step 2.0 - Step 1 2.1 - Step 2 2.2 - Step 3 2 - Video |
Materials and Set Up
Cut 2 long strings each a different color (fingertip to fingertip length). Fold them in half together and tie a knot so there's a loop. I recommend using opposite colors. They're more noticeable, say, red and orange.
Separate the strings so colors 1(A) and 2(B) are alternating. A B A B.
Step by Step
Step 1
Take the outside A and B and put them to the sides. In the middle there should be the middle A and B. They are going to act as 1 string.You must keep the middle strings taut. I hold them in my mouth, but you can also use tape.
Step 2
Take the Right string (outside B) and make a"4" like you start a backward knot. Then take the Left (outside A) and Bring it over far B. This is important, because if you don't do this, it will get messed up. Bring B under middle A and B, and through outside B's loop.
Step 3
Your strings should now be in this order: B AB A. Keep repeating steps 2-3. After a few knots the strings will start to twist around the bracelet. Simply spin them around it so they don't twist anymore. After some time check to see if there are 2 ridges going around the bracelet. If there are, then congratulations!
Hope the directions were clear enough.
Video
Editors
The original author of this tutorial is Nessy but it was also edited by Sareana, Stefan, Jeckle, K4yk4y101, Alicat and Friendship_123.
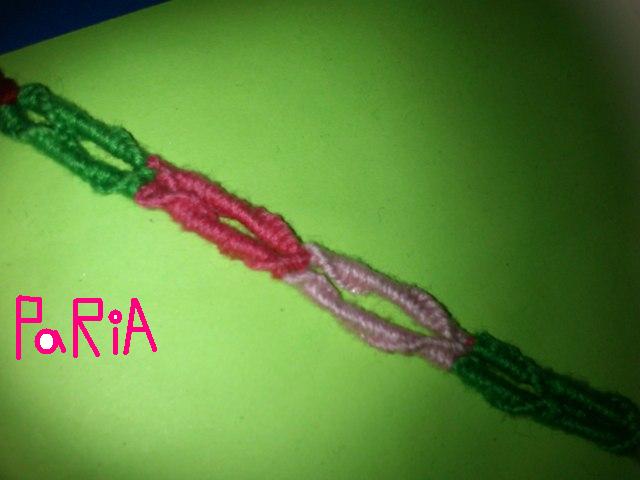
Uploaded photos (see all 1)
Comments